Welcome to Week 5 of the Silk Stars Quilt-along - the final week! Christine from Tessellate Textiles and I have had so much fun watching all of your quilts come together!
Today's blog will give you the final steps for the assembly of the Extra Scrappy Silk Stars quilt - a variation made available as part of the quilt-along. In order to follow this variation, you'll need to purchase the pattern from Christine at Tessellate Textiles HERE, and read the previous blog posts for the variation instructions.
The final week - all of your hard work is about to pay off! Let's assemble those quarter stars into stars and then a quilt top.
You should be starting off with a stack of these quarter stars:

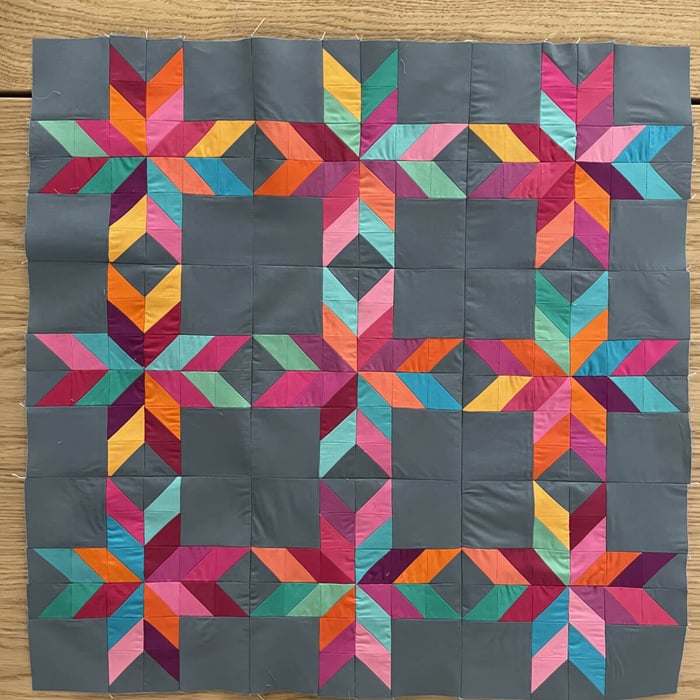
Lay them out until you are pleased, but don't overthink this! You are working on the Extra Scrappy version, so you want it to not look too purposeful. :) Just watch for too much colour clustered in one place.

Start joining the quarter stars into half stars, pinning at the seam intersections so that the star looks like a cohesive unit and not all choppy. Press the half star units open and then assemble into full stars. Press again, and assemble the quilt top by rows and then into a whole finished quilt top. It's really that easy and fast!

If you'd like a video presentation of this week's task, watch this:
Your finished quilt top is going to be a little larger - I made a miniature version so that I can use it to make a pillow! Check out the back of this assembled pillow/quilt top - the back of tiny piecing projects make me so happy in their pressed perfection:

One more blog post next week as part of the Silk Stars Quilt-along with a look at how I make this into a pillow.
Until then!
Kendra