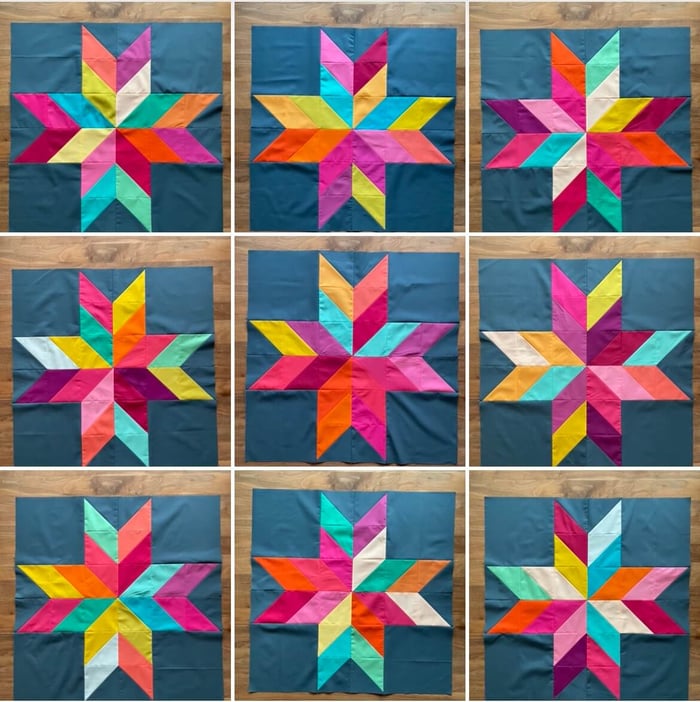
Welcome to Week 3 of the Silk Stars Quilt-along! Christine from Tessellate Textiles and I are so excited to quilt along with you!

This week's task is finally one where we get to use our sewing machine, and if you are making the Vintage version or Scrappy version from Christine's pattern, then you can find everything you need to know in there! Purchase the pattern from Tessellate Textiles HERE.
But, if you are tackling the Extra scrappy version, your half square triangles will have different instructions.
This video explains your half square triangle assembly for the Extra Scrappy version only (please don't try it with the other versions - it just won't work out!).
I really find the video helpful in explaining the method for these half square triangles, but let me try to use words too! At the end of last week, you ended up with neat little sets made up of 2 background squares and 4 matched pairs of colours. Here I was making sets along the bottom of my cutting mat.

Grab those sets and bring them over to the machine. Choose one set to start with, and lay them out, separating the colours:

Using standard two at a time half square triangle construction methods, sew together these sets:
- a Background and a Colour 1
- a Colour 1 and a Colour 2
- a Colour 2 and a Colour 3
- a Colour 3 and a Colour 4
- a Colour 4 and a Background
Keeping them together in their original sets, make two at a time half square triangles out of all of the sets from last week. Remember your scant 1/4" seams! Cut them apart and trim them (the video provides more instruction), and press them open.
See this chart for the size your half square triangles should be trimmed to:

Here are some very good tips from Christine from Tessellate Textiles about half square triangles in the Silk Stars Quilt:
Regardless of whether you are doing the Scrappy or Vintage Version (or Kendra's Ultra Scrappy Version), here are some tips to help you make a beautiful star block.
That's it for this week, but if you'd like to be well-prepared for next week, feel free to watch to the very end of the video to see which part of the quilt these will be.

Look at that perfect pile of trimmings. It's too pretty to throw away, so I have this little stack saved for something special.
See you next week!
Kendra