

Hello and good day, friends! I have a confession to make. As someone who sews… a lot…. There are several sewing techniques that I am still afraid to do, and sewing half circles was one of them!
If any of you who sew told me that, I would likely scoff at you, and tell you that you can do it! Quit being scared! Just try it and fail and then try it and be better and then try it and do it marginally well and then try it and succeed!
But instead… I just didn’t attempt sewing any kind of circles for several years.
Which is actually ridiculous. I started my sewing journey with clothing instead of quilting, and the principle of sewing circles is used frequently, in shoulder seams and more. But something about sewing a circle and hoping it would lie flat was, well, scary? Lol.
The Start
And then one day, I just decided to do it. And I made Cedar Creek Quilt Co.’s Whale’s Tail Quilt.
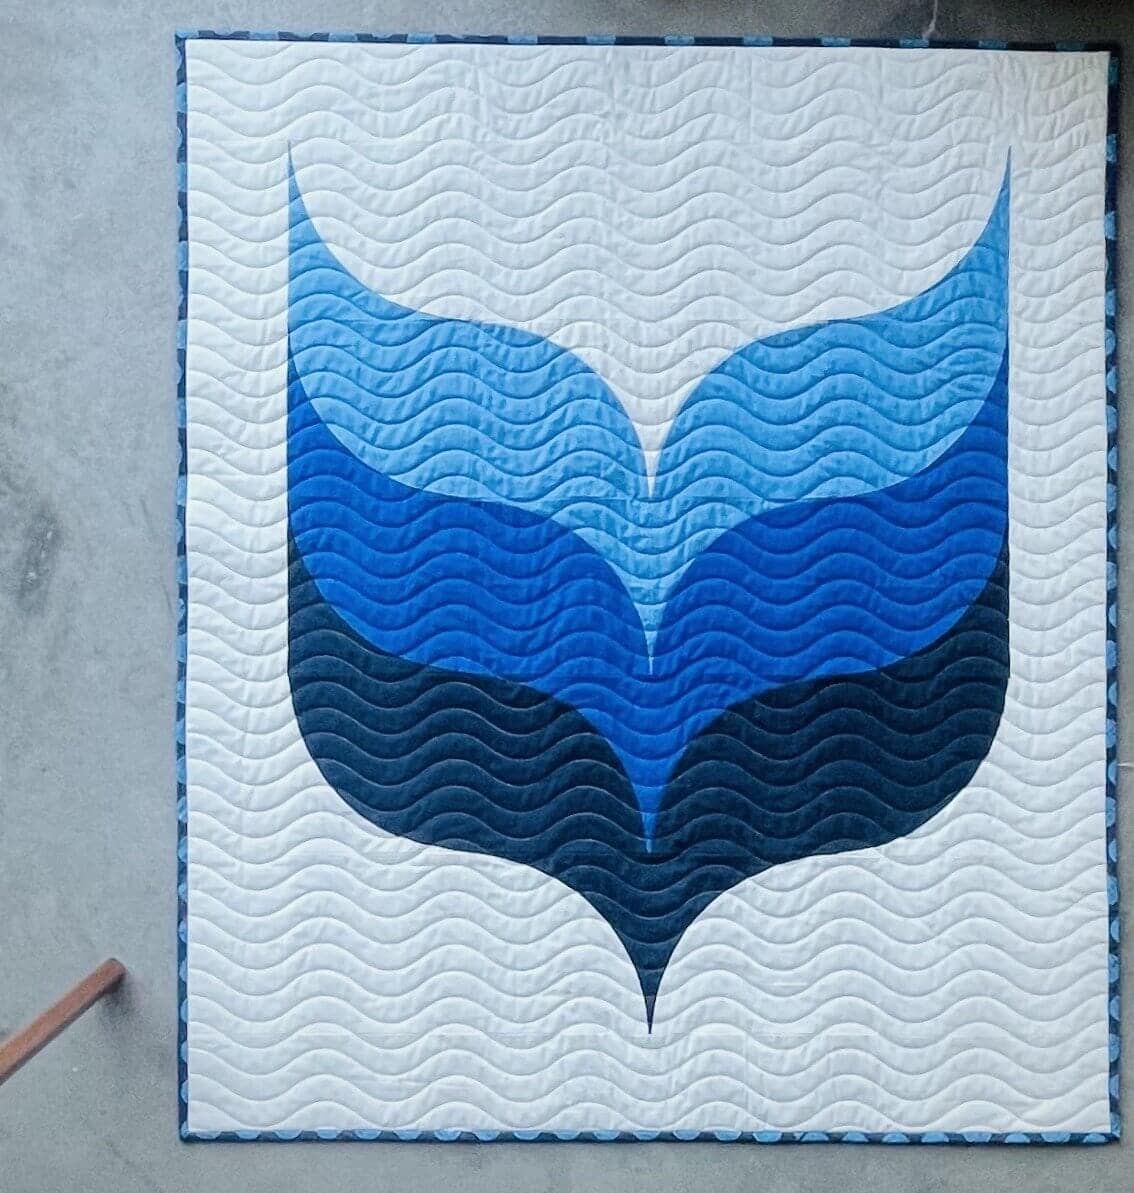
I was shocked, seriously, at how easy these quarter circles were to sew and how well they turned out on my first try.
Here comes the Half Circles!
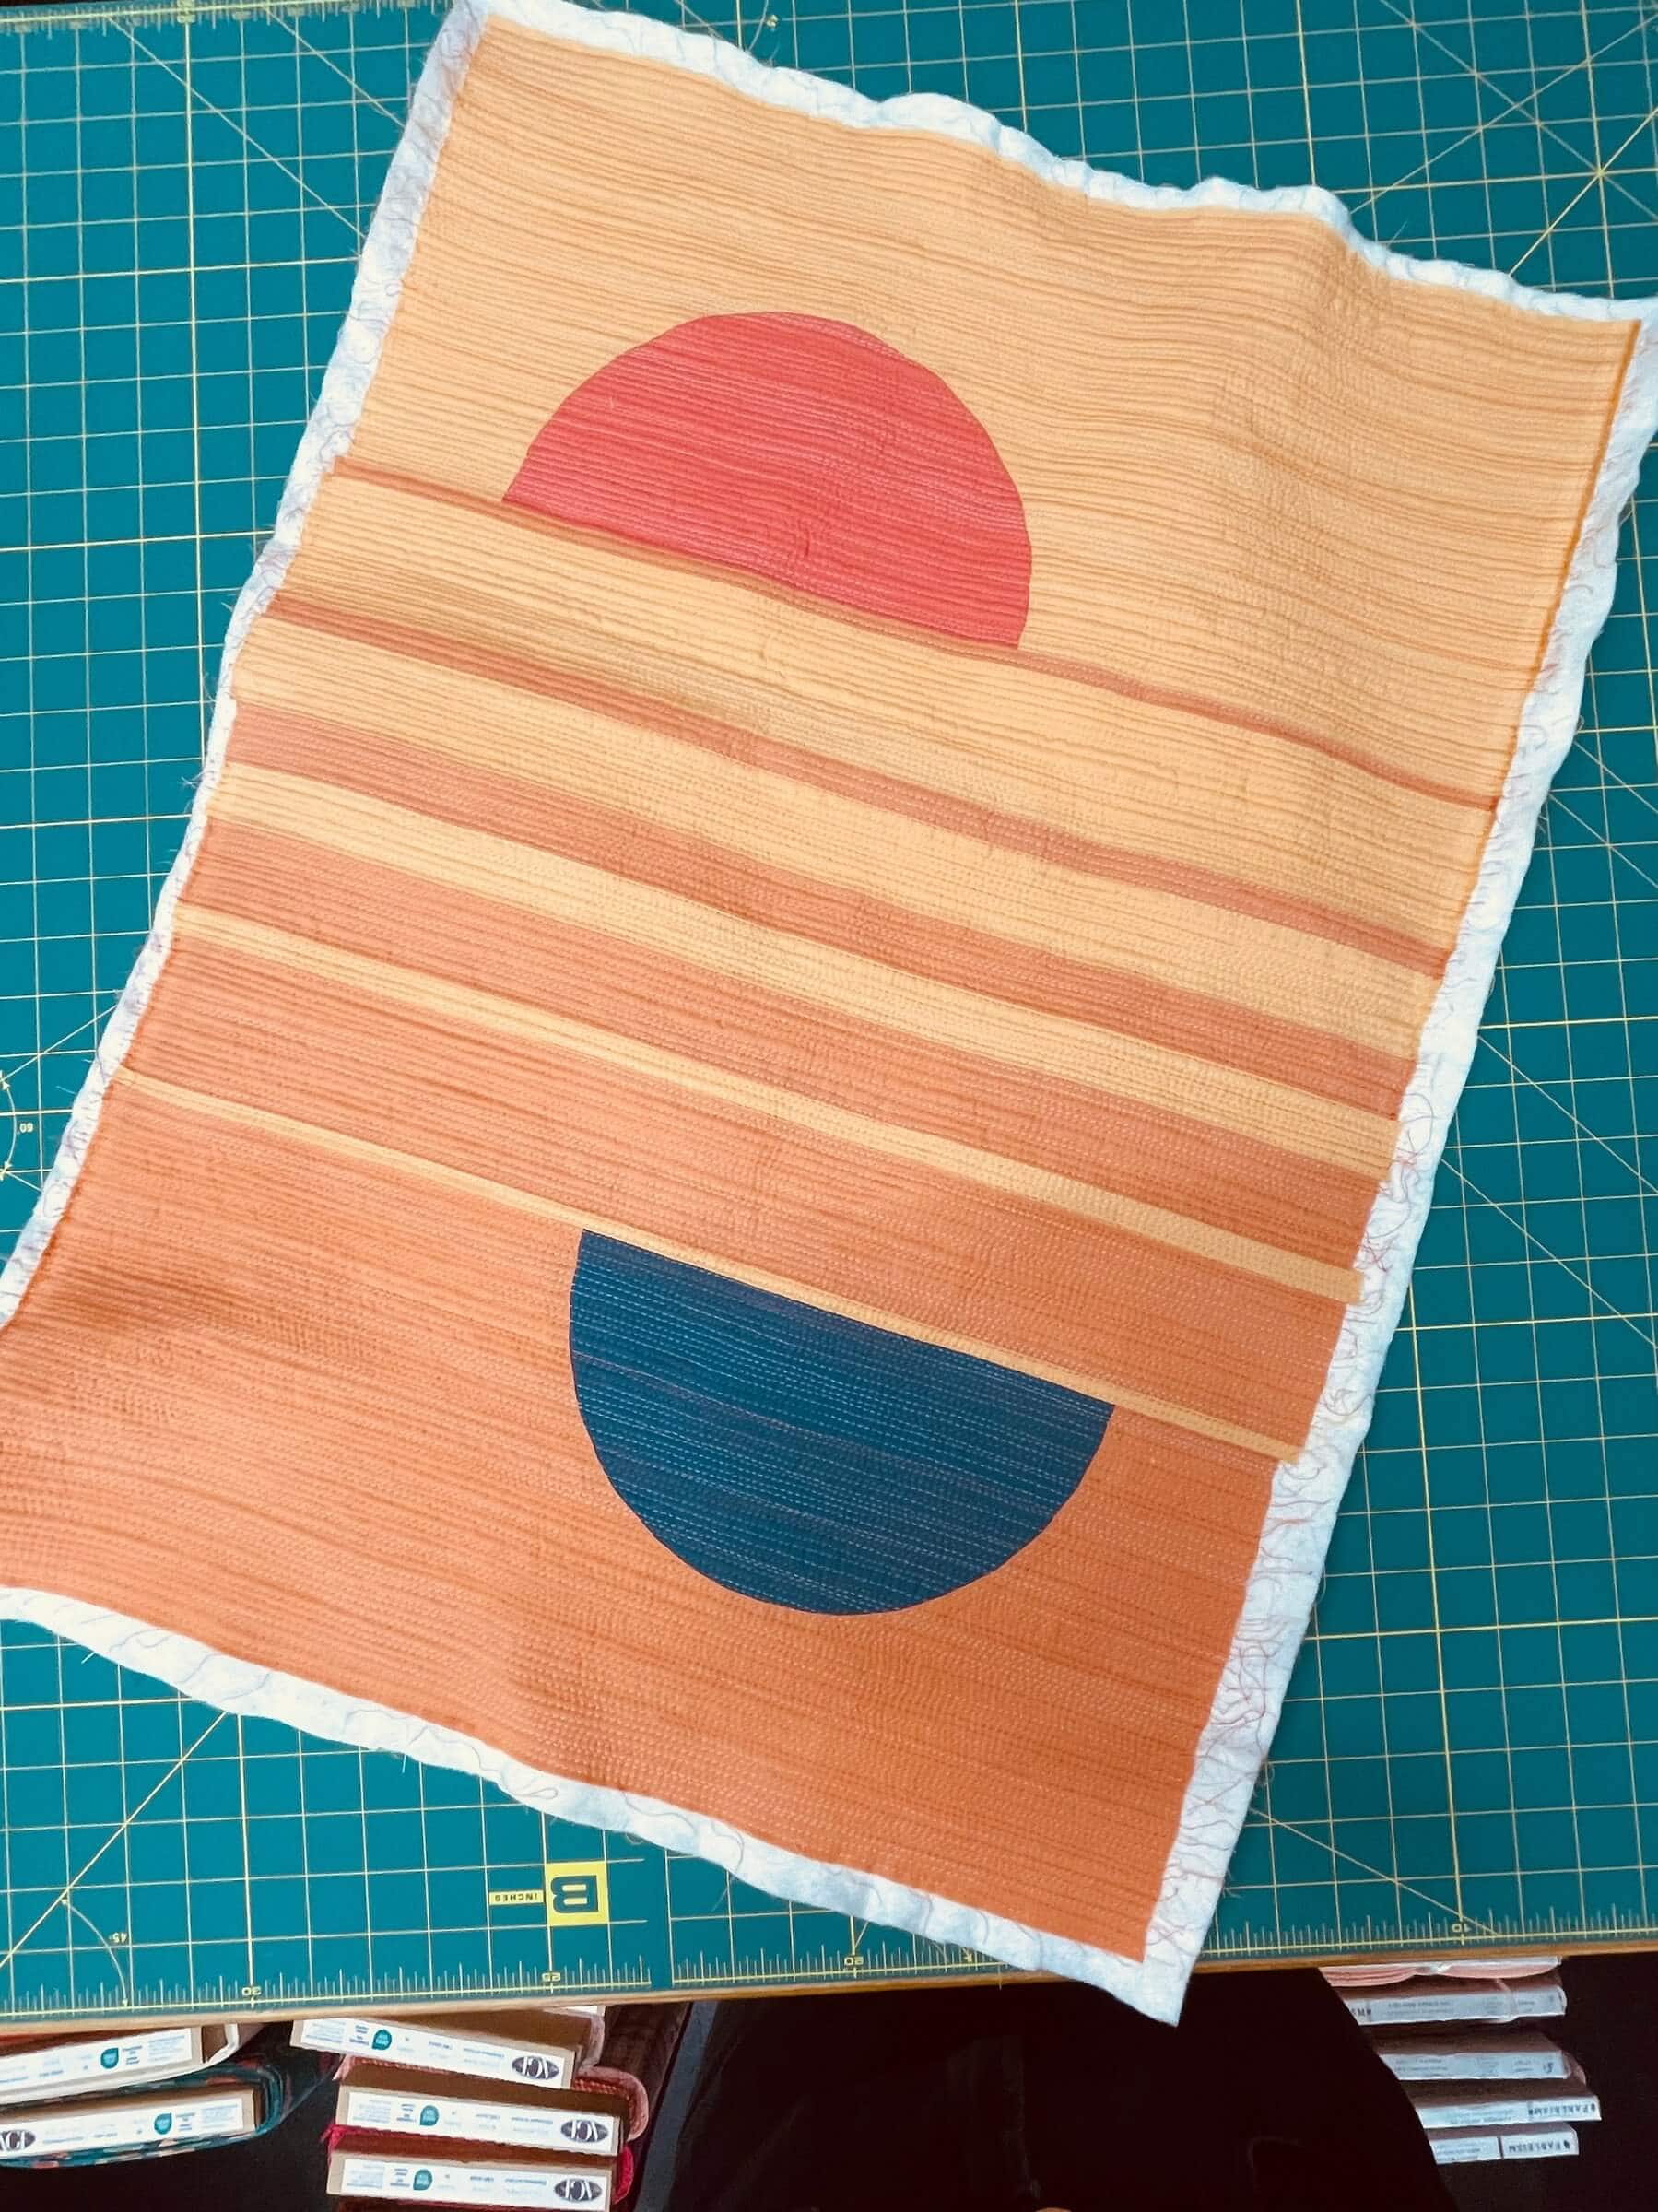
I’ve now moved on to half circles, with the making of September 2026’s Quilt of the Month – the Half Light Quilt.
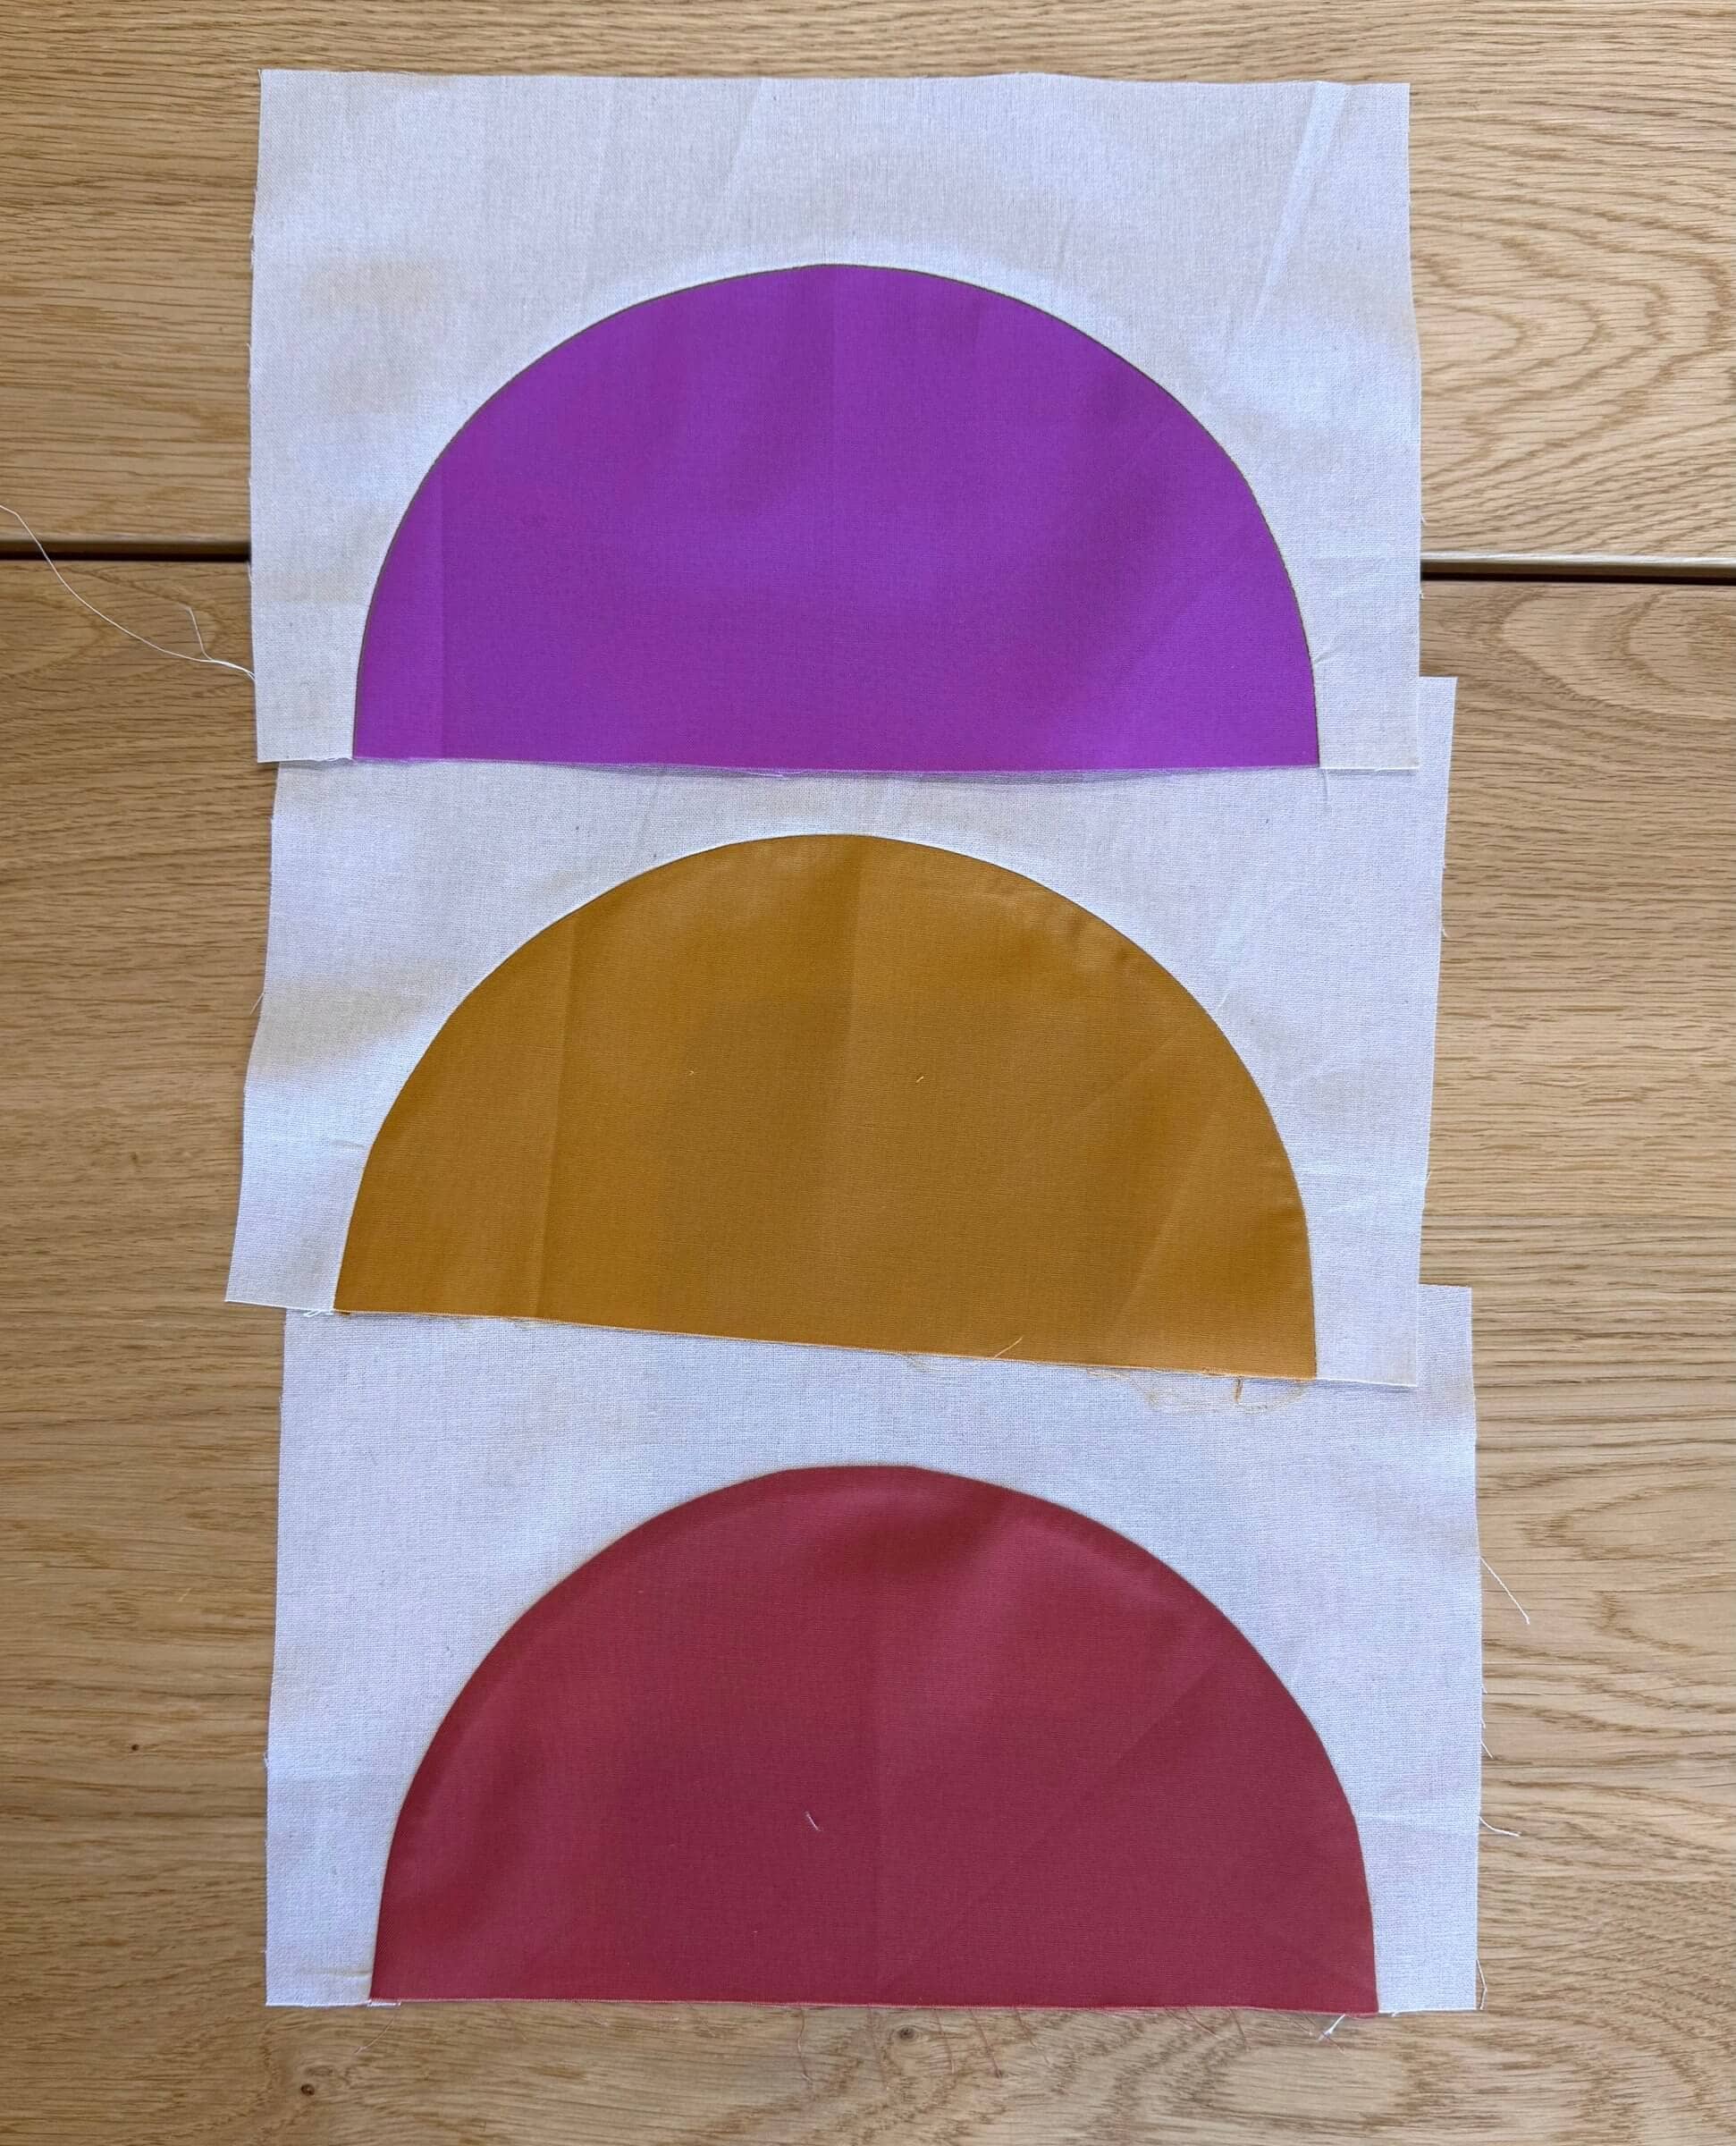
This quilt only needs TWO half circles, so you might think that isn’t enough to practice and get really good at them. But by following a few steps of good practice, these two half circles came out perfectly. So now I’ve made three more to show off the steps to you!
Templates & Cutting
Let’s talk templates. Most quilt patterns that require circle shapes to be cut will provide paper templates. There is such a thing as acrylic templates – quilting rulers that are made to provide ease of cutting circles out. But you’d need to have many sizes of them to fit all the quilt patterns, so just plan to use the paper templates provided in the pattern. Make sure that if you are printing from a pdf, you follow the quilt designer’s specifications about how to print them so you get accurately sized templates. For these examples, I am using the paper templates from Taralee Quiltery & Ponderosa Creative's Half Light Quilt pattern.
You’ll have an outer circle template and an inner circle template. Carefully cut them out. You’re accuracy on cutting them out will affect the size of the fabric pieces and the more accurate you are now, the easier it will be to accurately sew them together.
How will you use the template? Two options:
Lay it on the fabric and cut around it, either with a rotary cutter or fabric scissors:
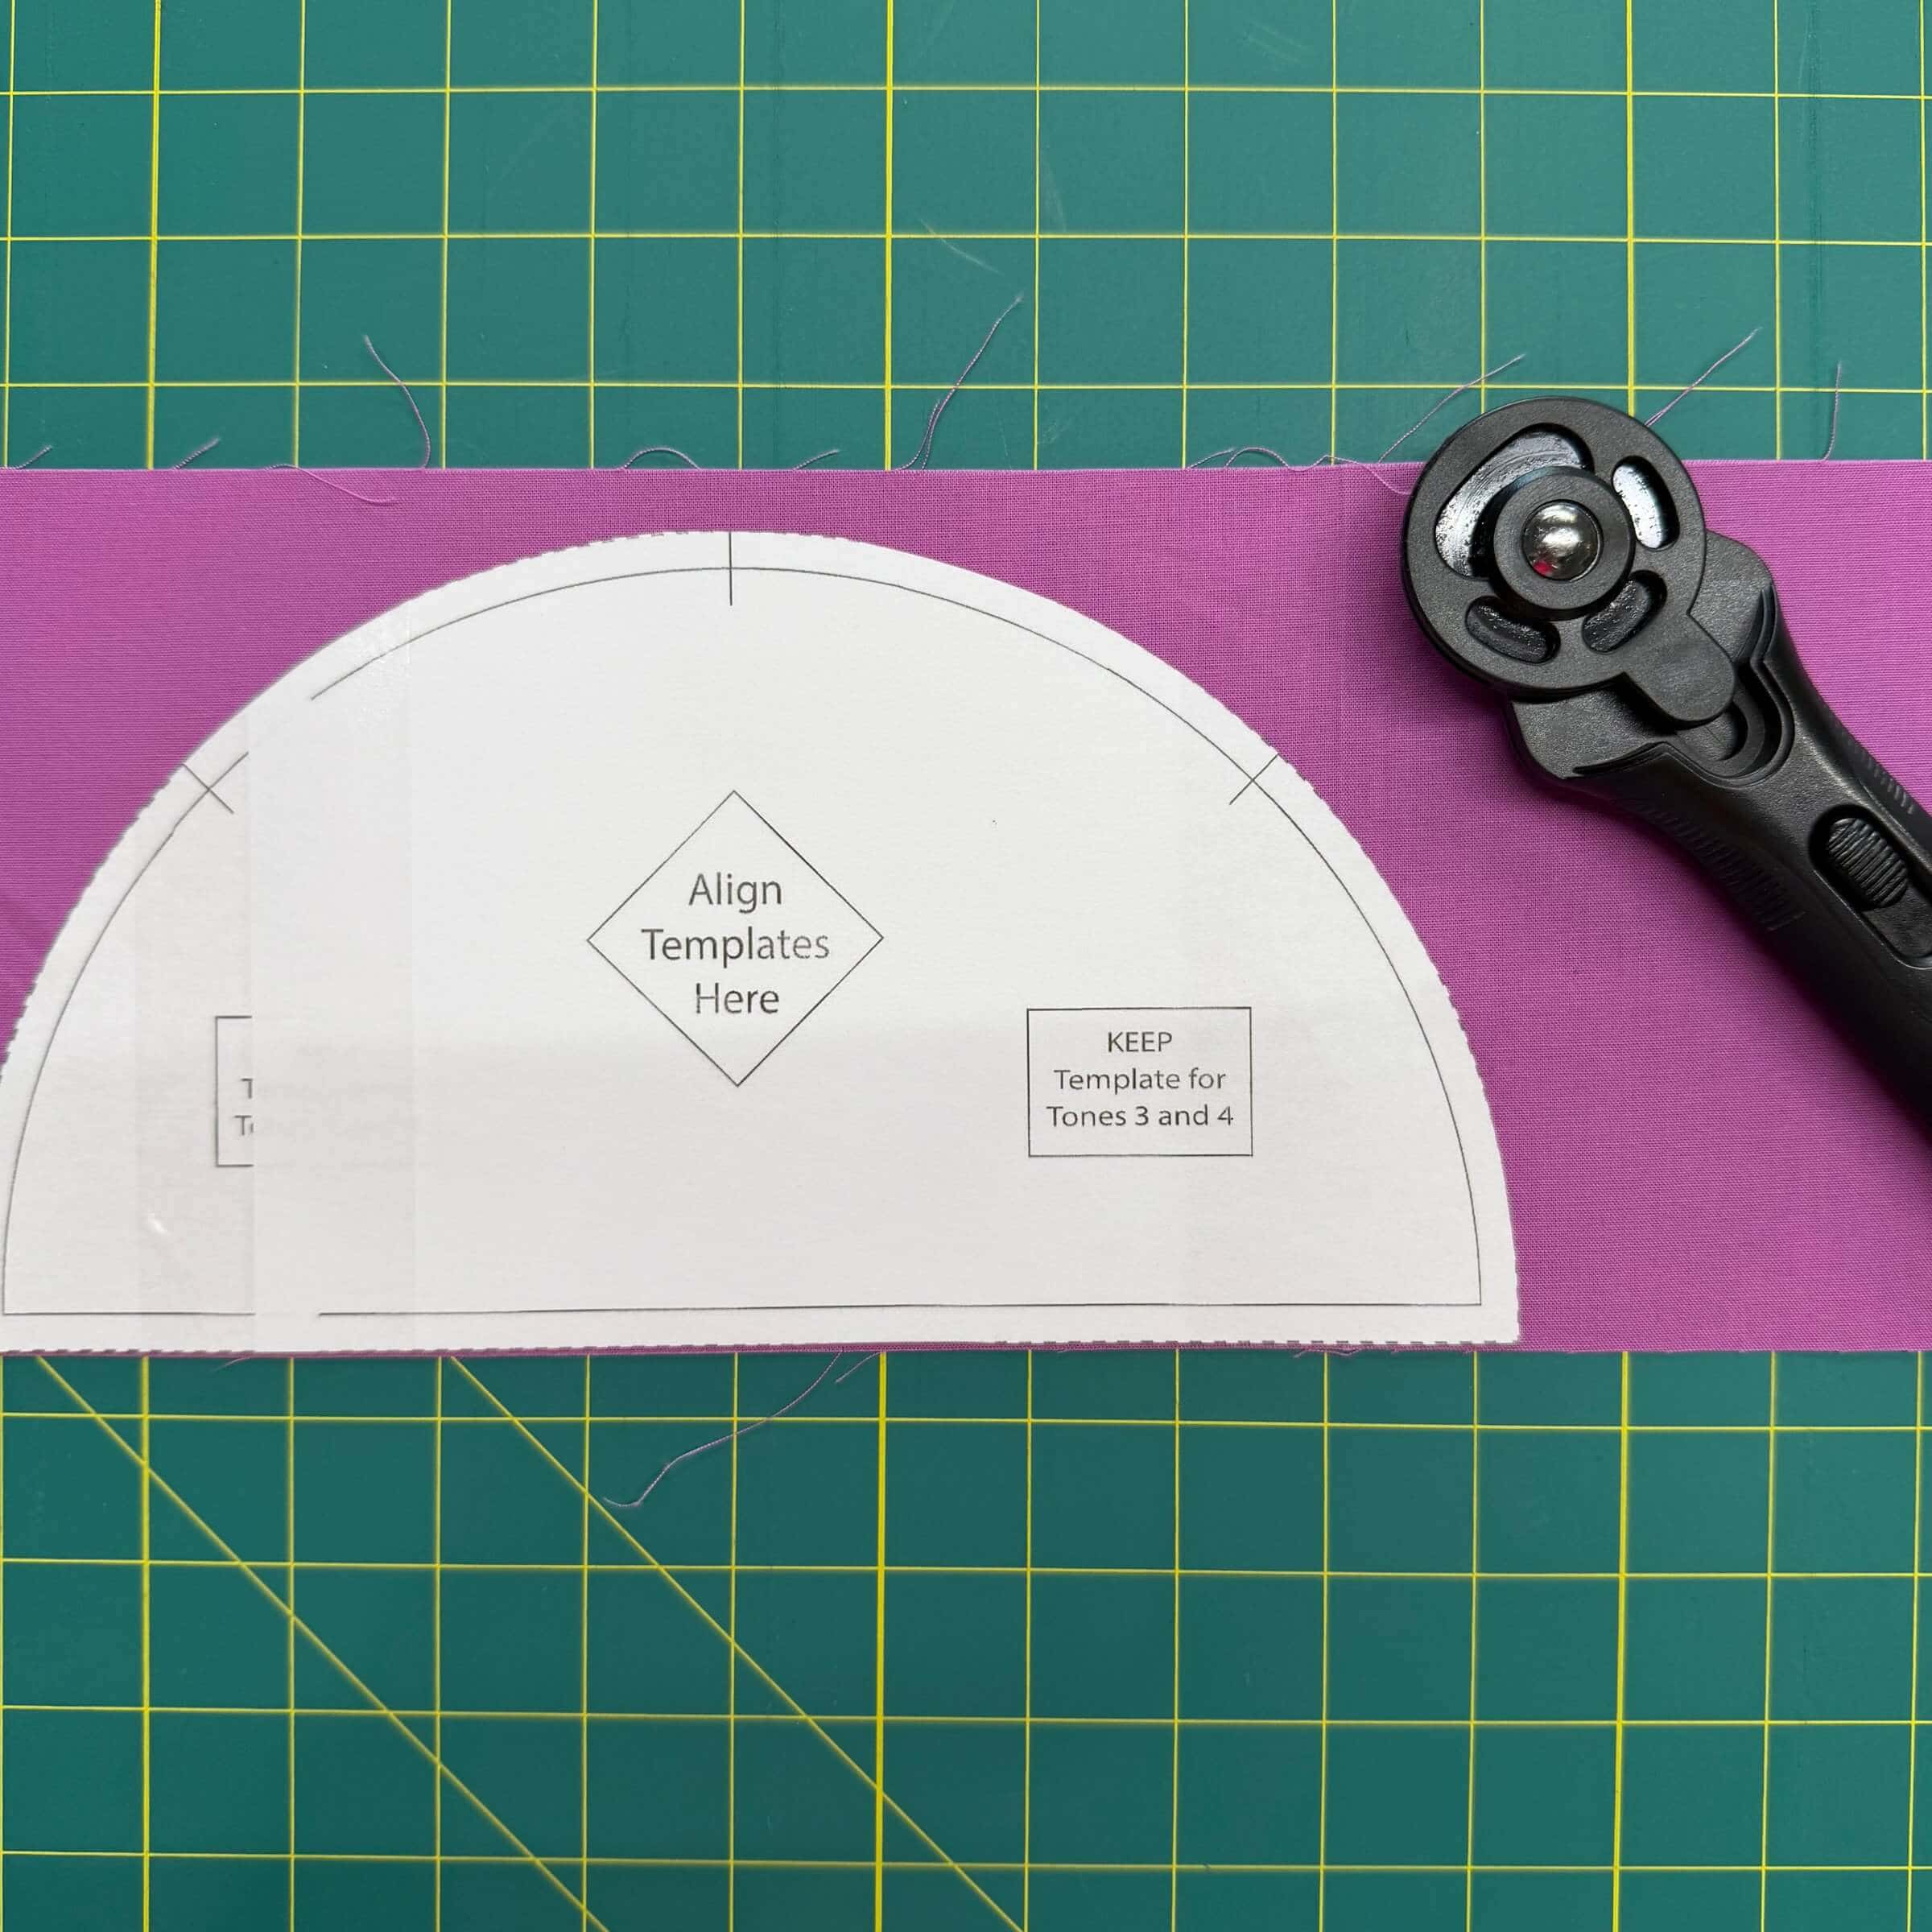
Or trace the template on the fabric and then cut it out:
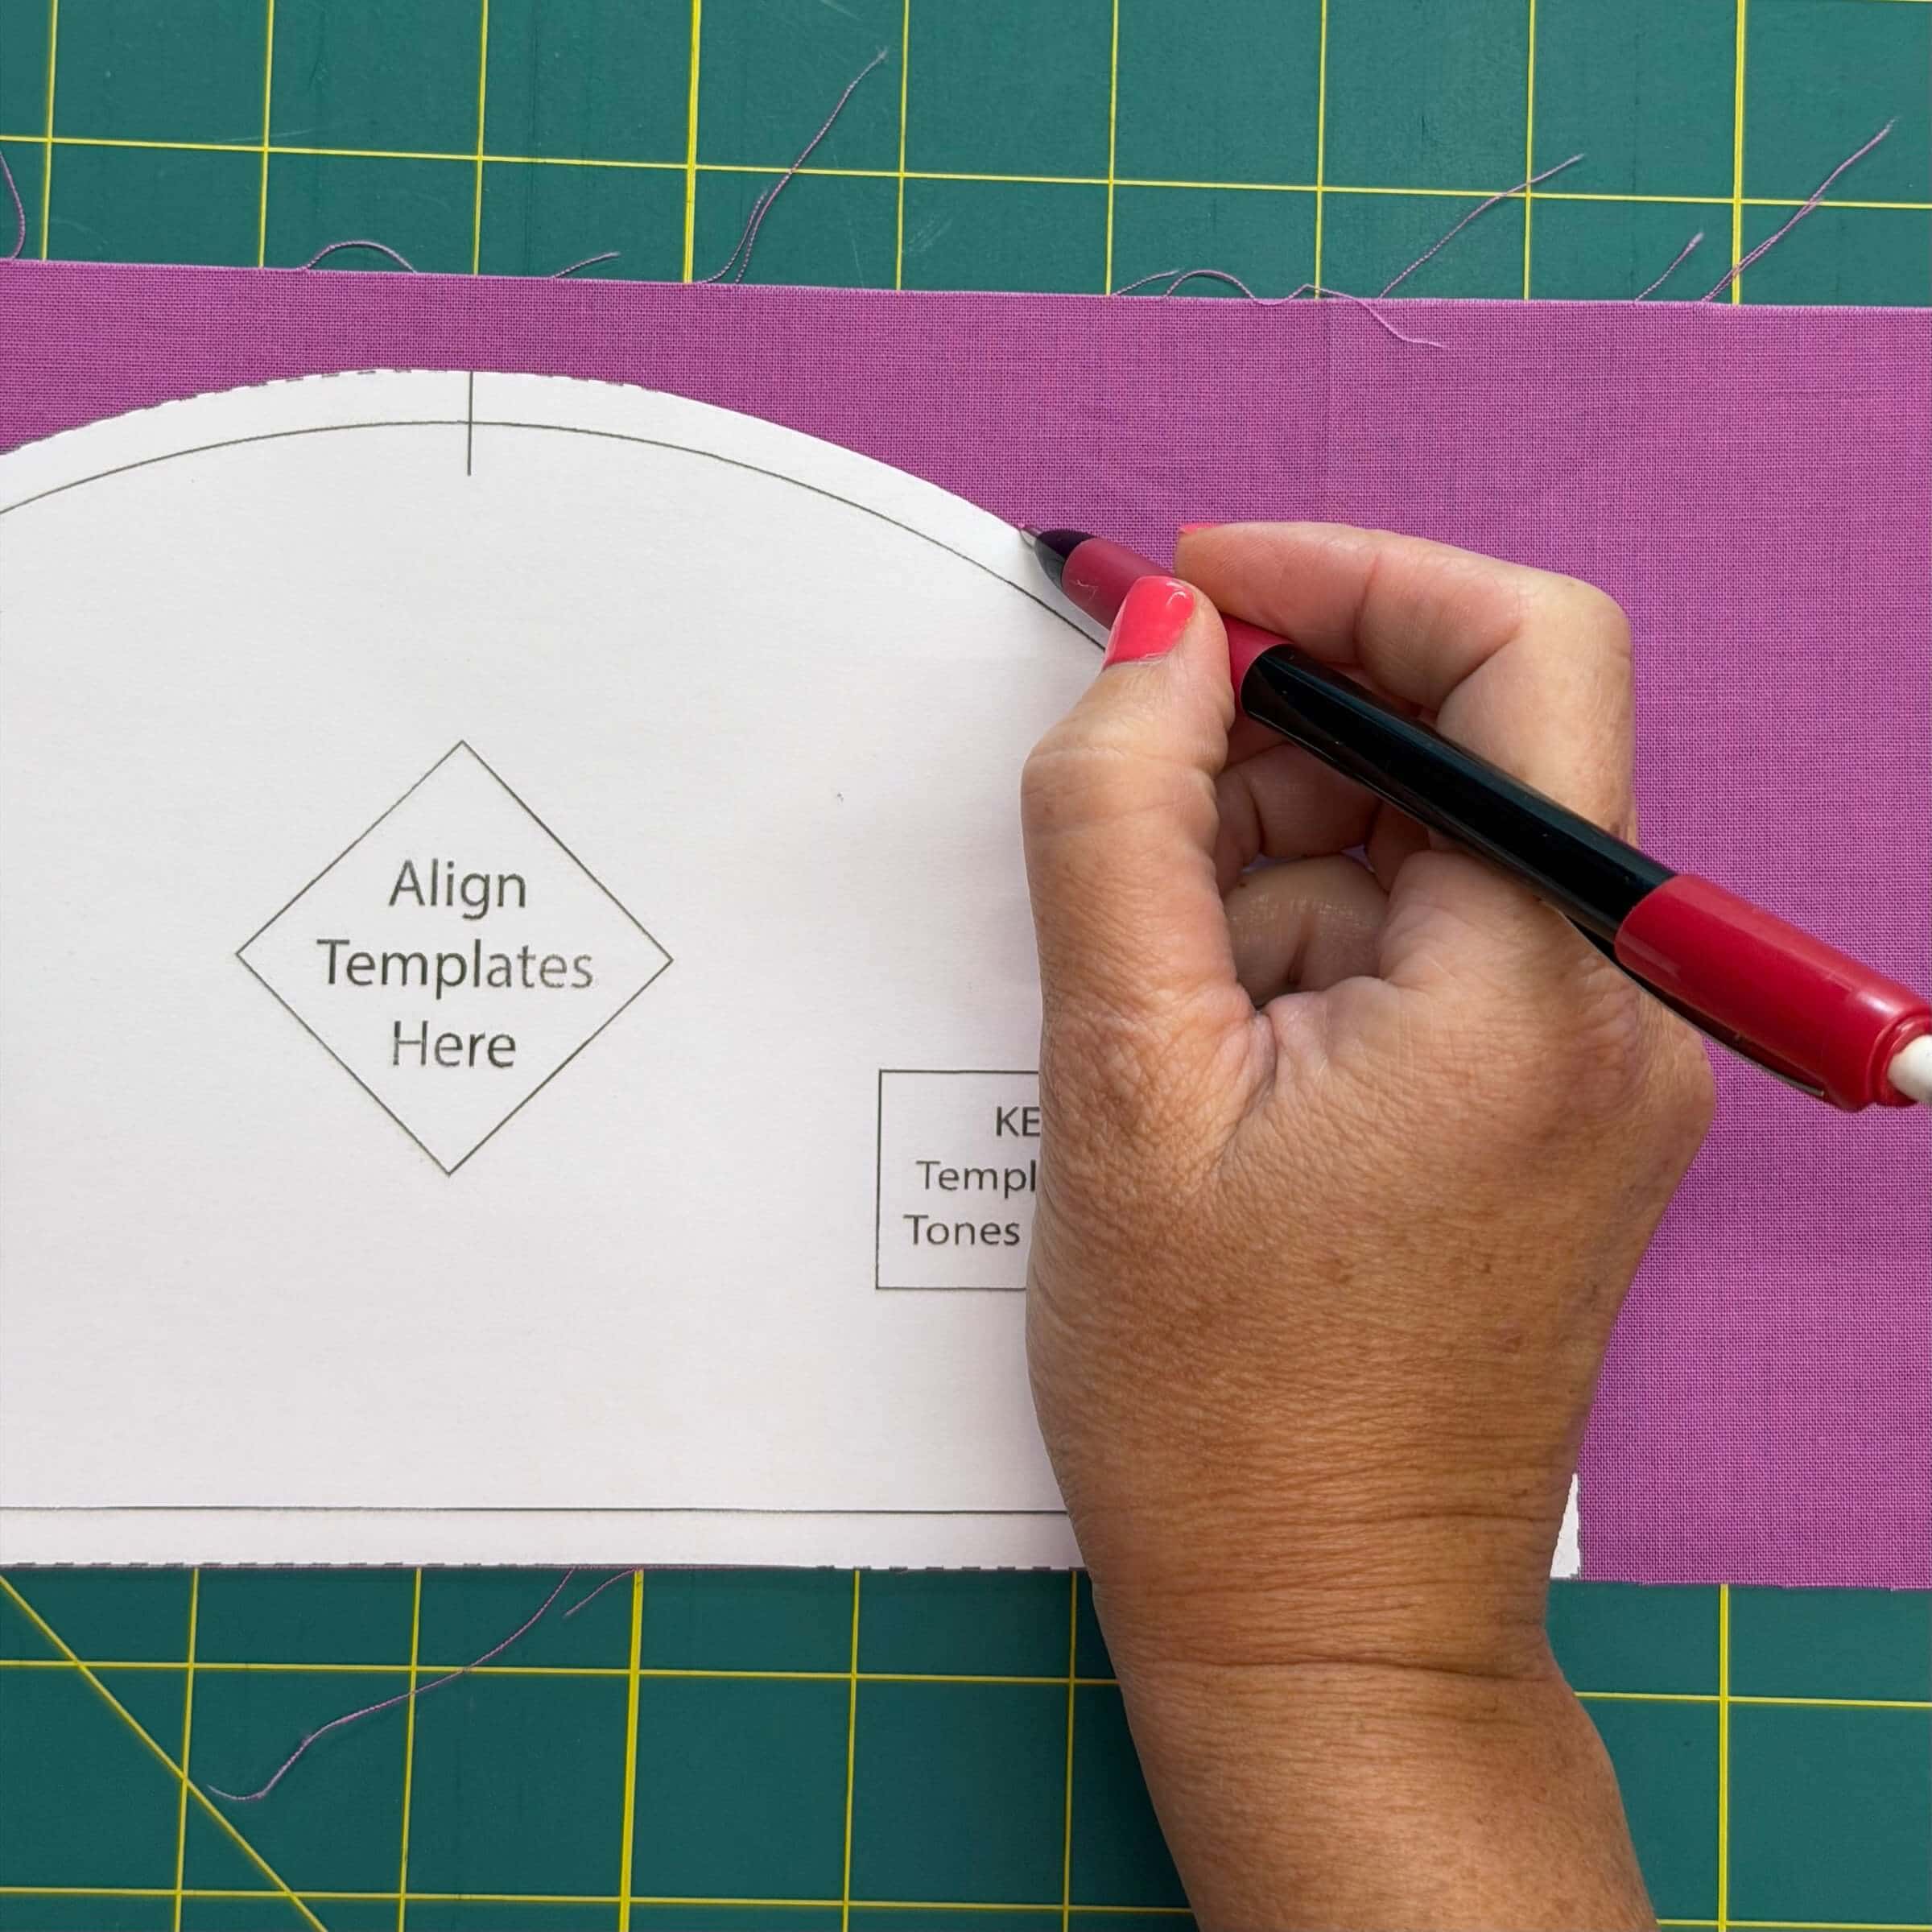
The second is my preferred option. There are too many times that I have cut around a paper template only to slip with my rotary cutter and shave off a bit of the paper template. Then I must guess where the edge of the template was for future pieces, and that is not very accurate! So, now I trace. This is the inner circle:
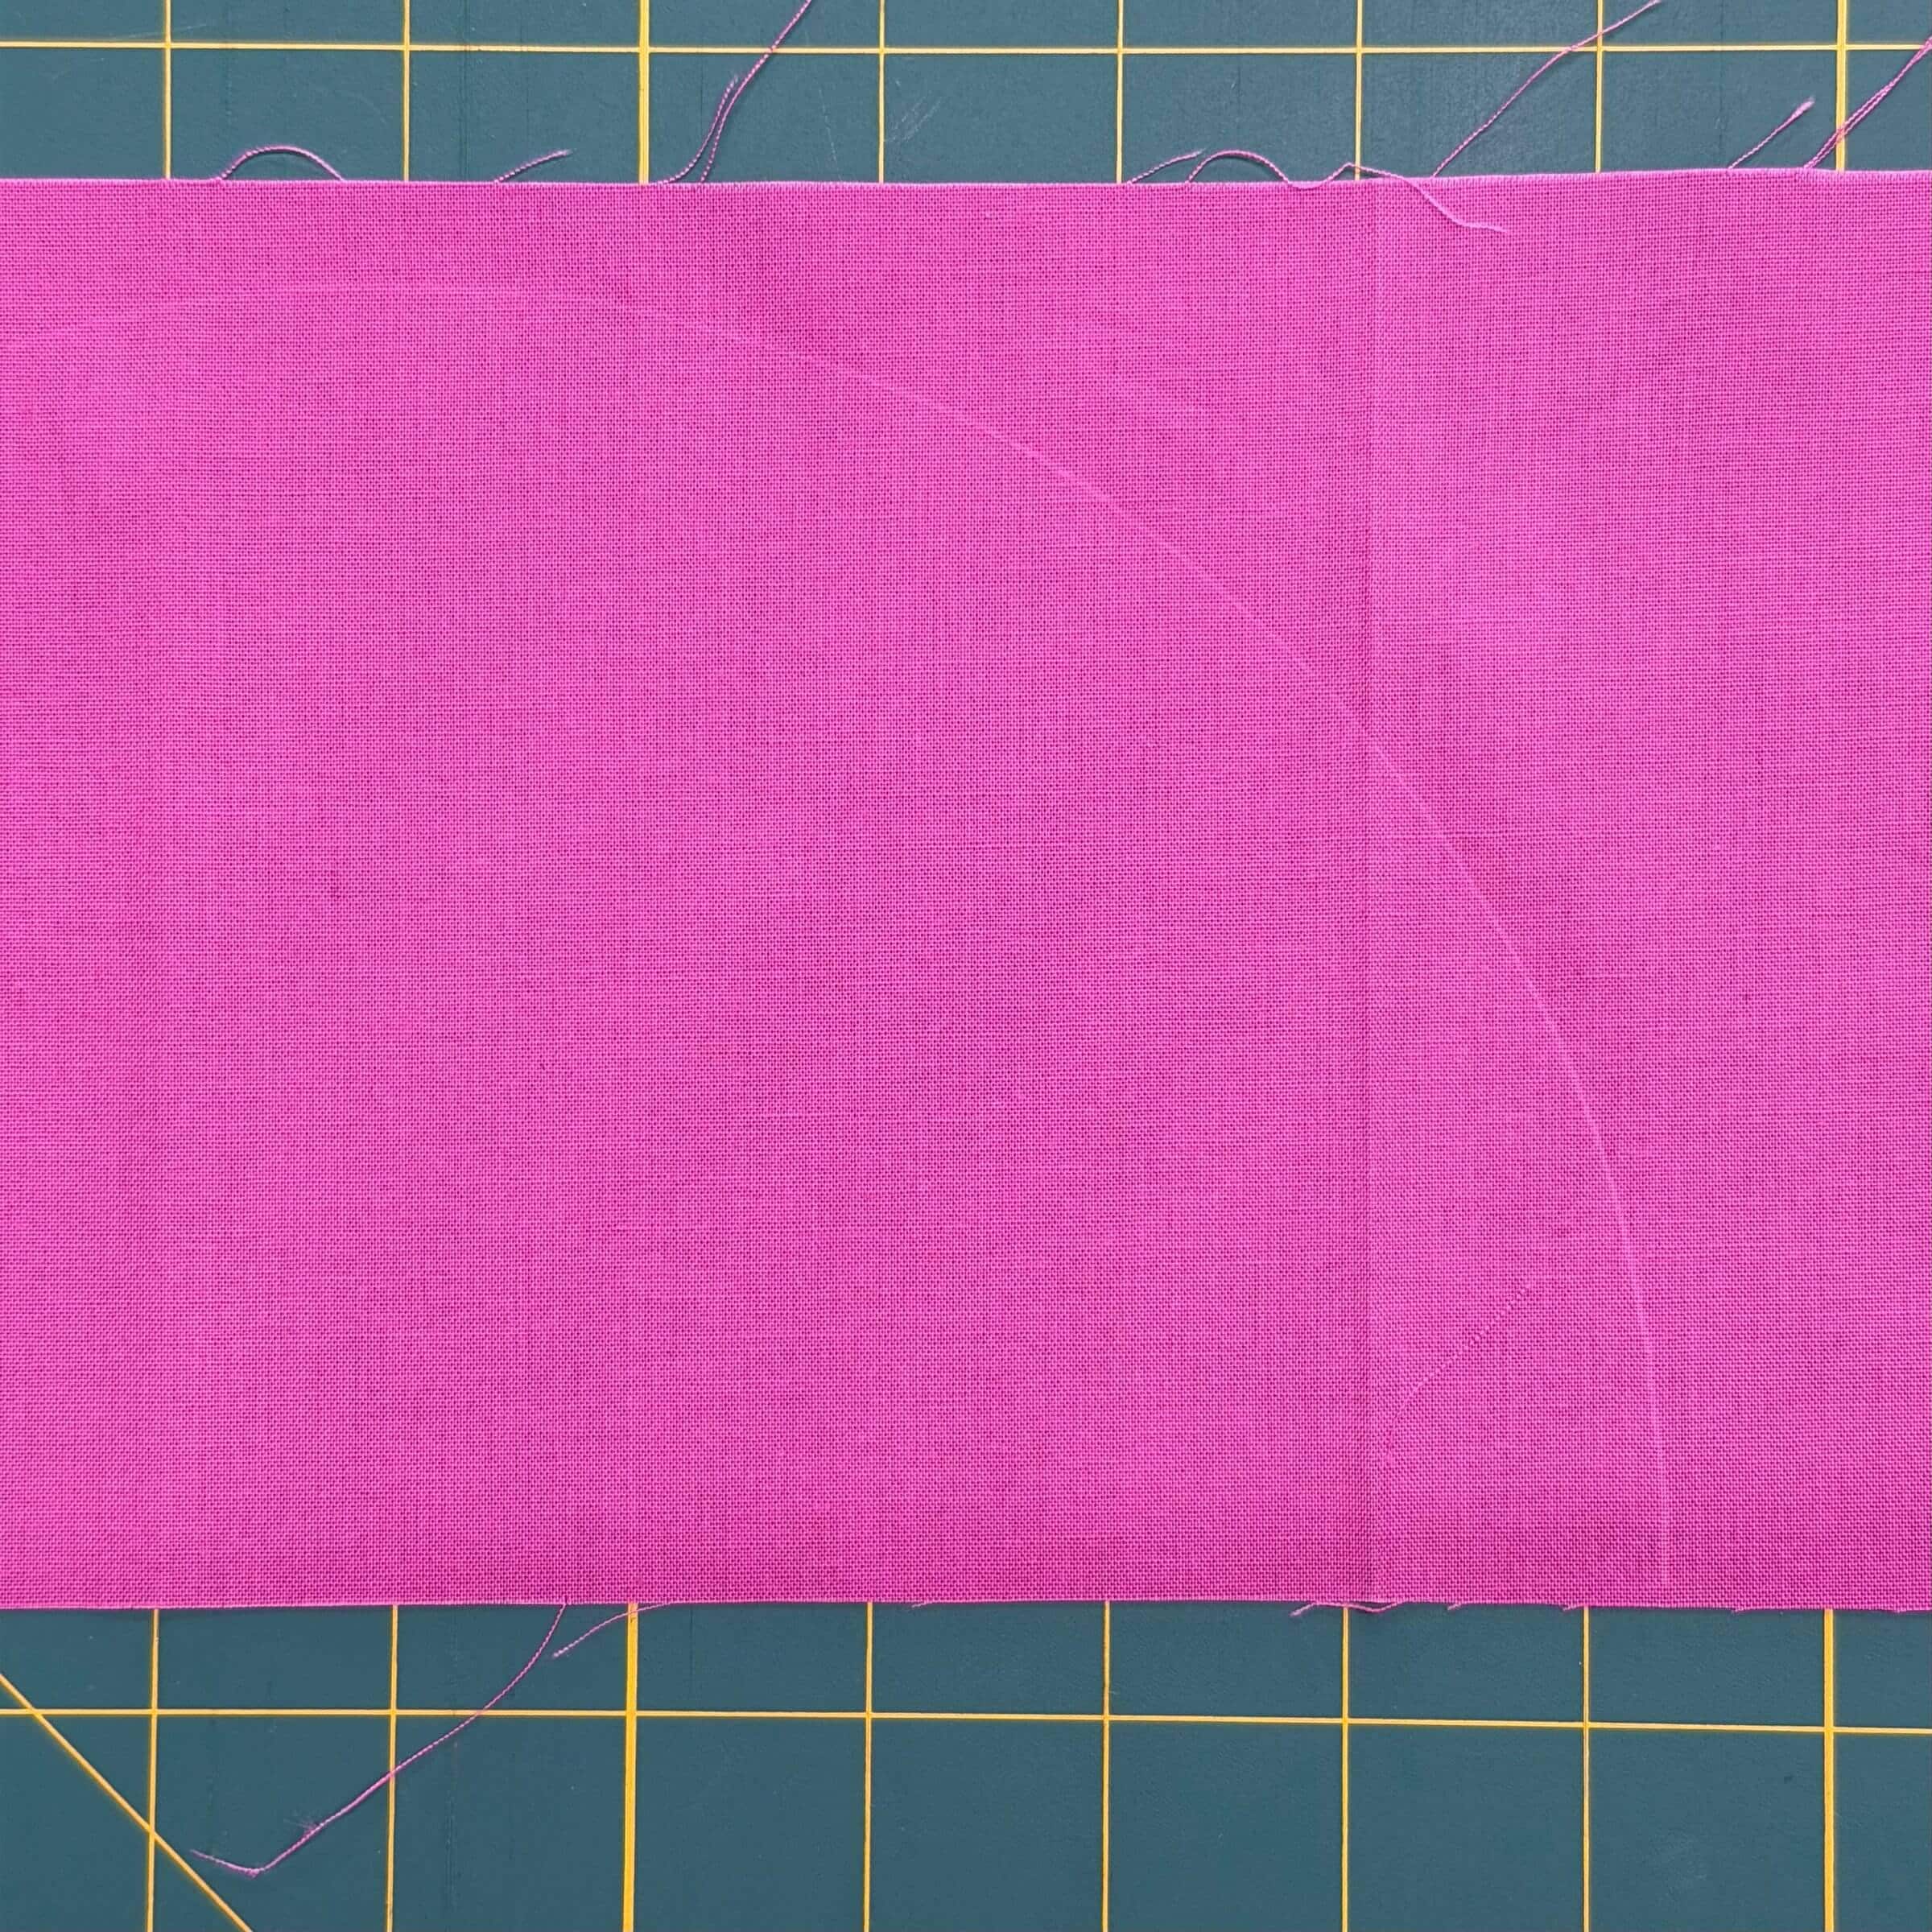
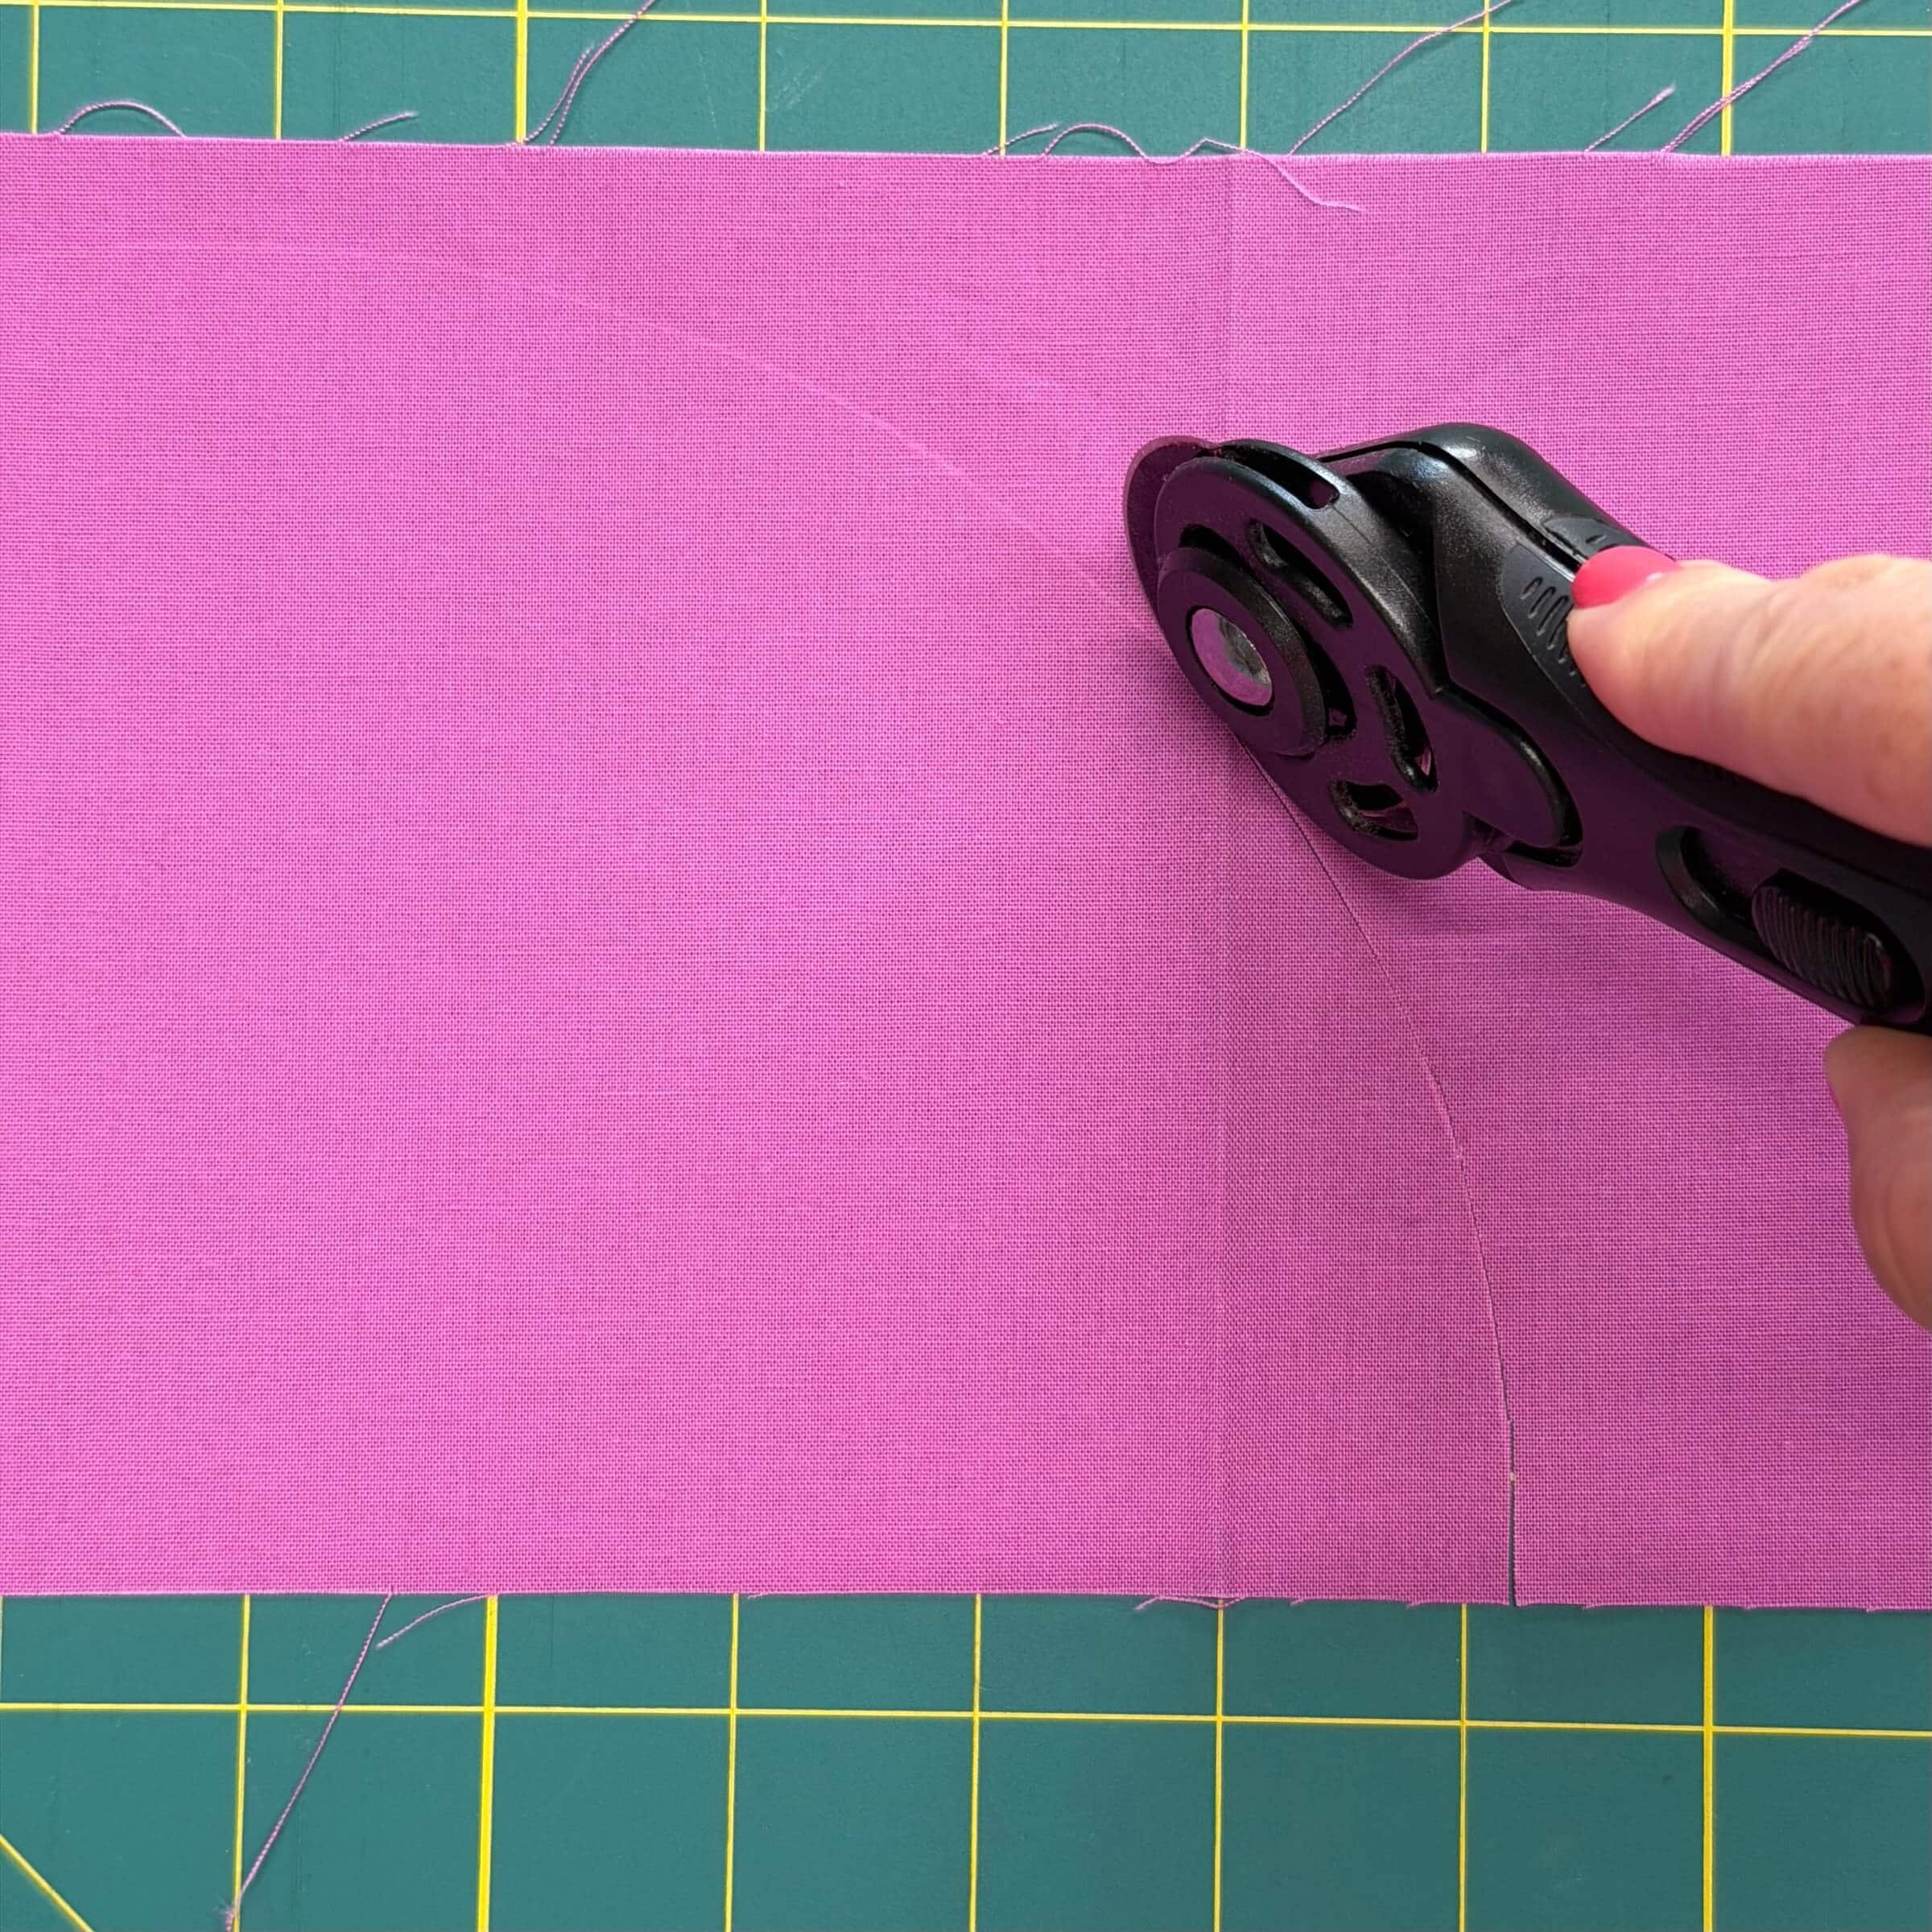
I use a chalk pencil, but since this line will end up completely in the seam, feel free to use whatever writing tool you have handy – I also like using a regular sharp pencil. The pink chalk doesn’t show up well on this purple fabric, but well enough for me to follow along with my rotary cutter.
And now the outer circle, the background of the half circle. Laying the template on top of the fabric, I trace around the inner curve.
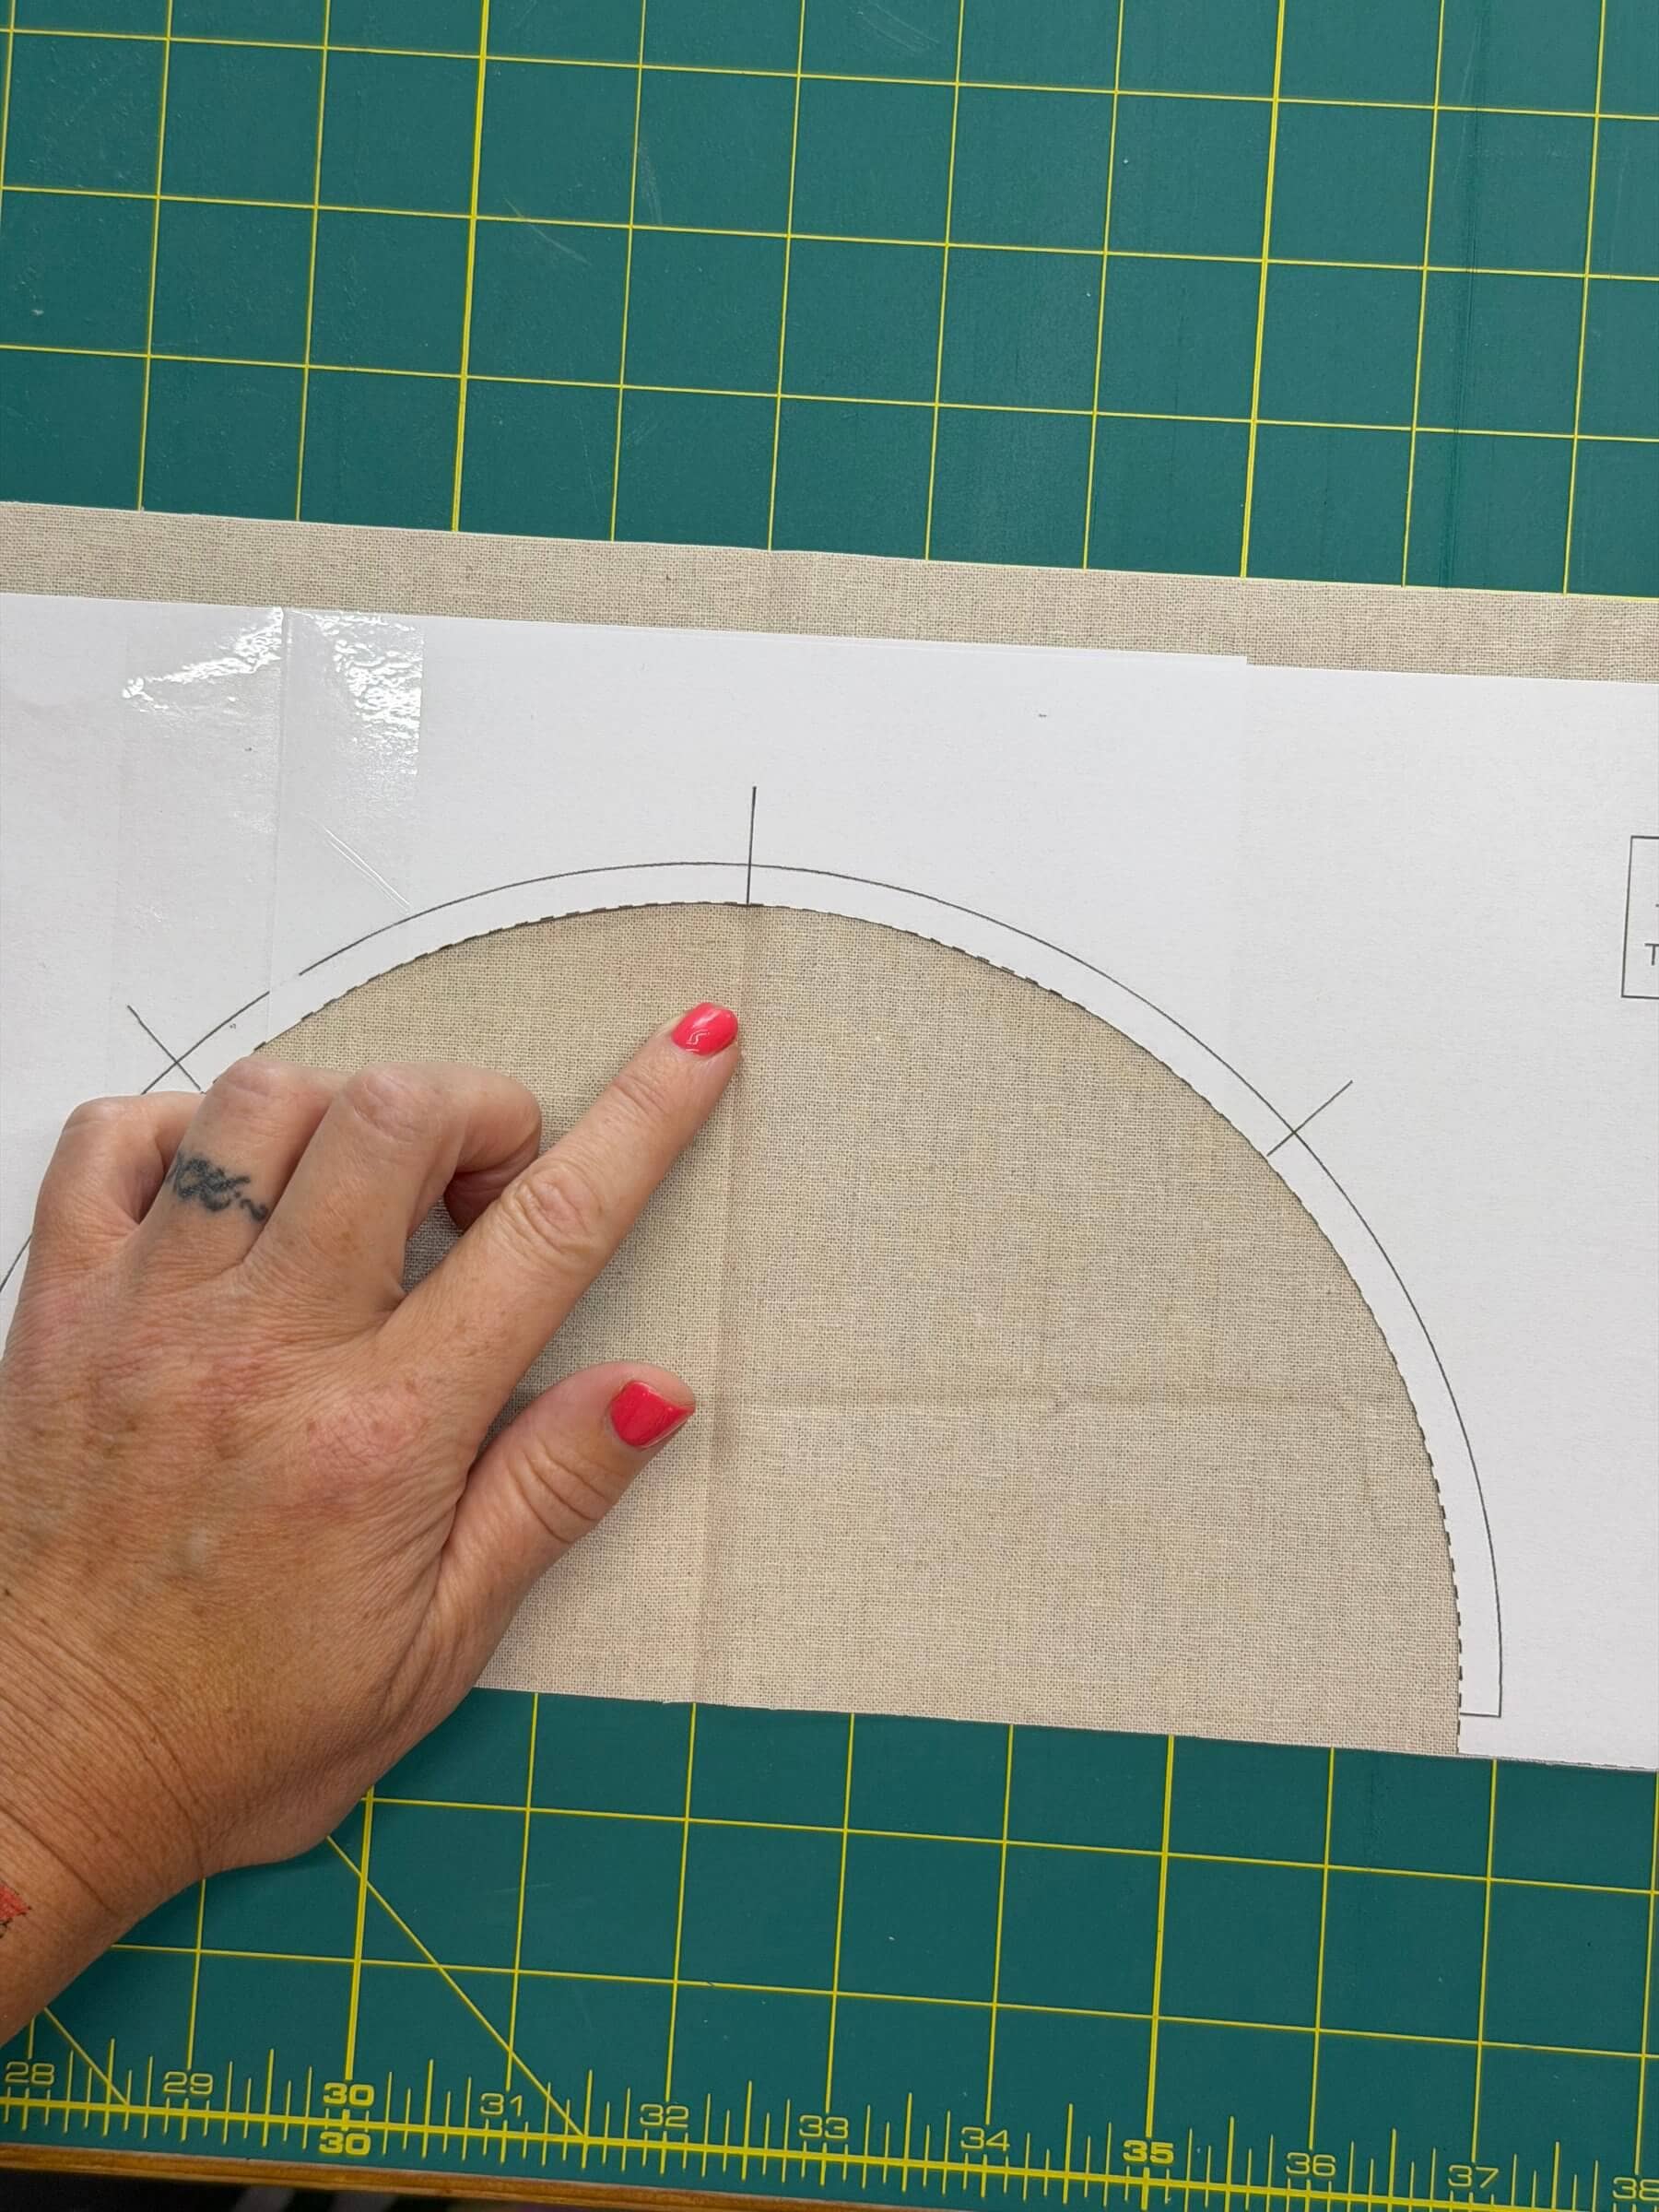
Oh, and something I forgot to do when I was cutting out the inner circle – see the lines on the template at the half point and quarter points? You want those transferred onto the fabric. They will help you match the inner circle to the outer circle when you sew them together.
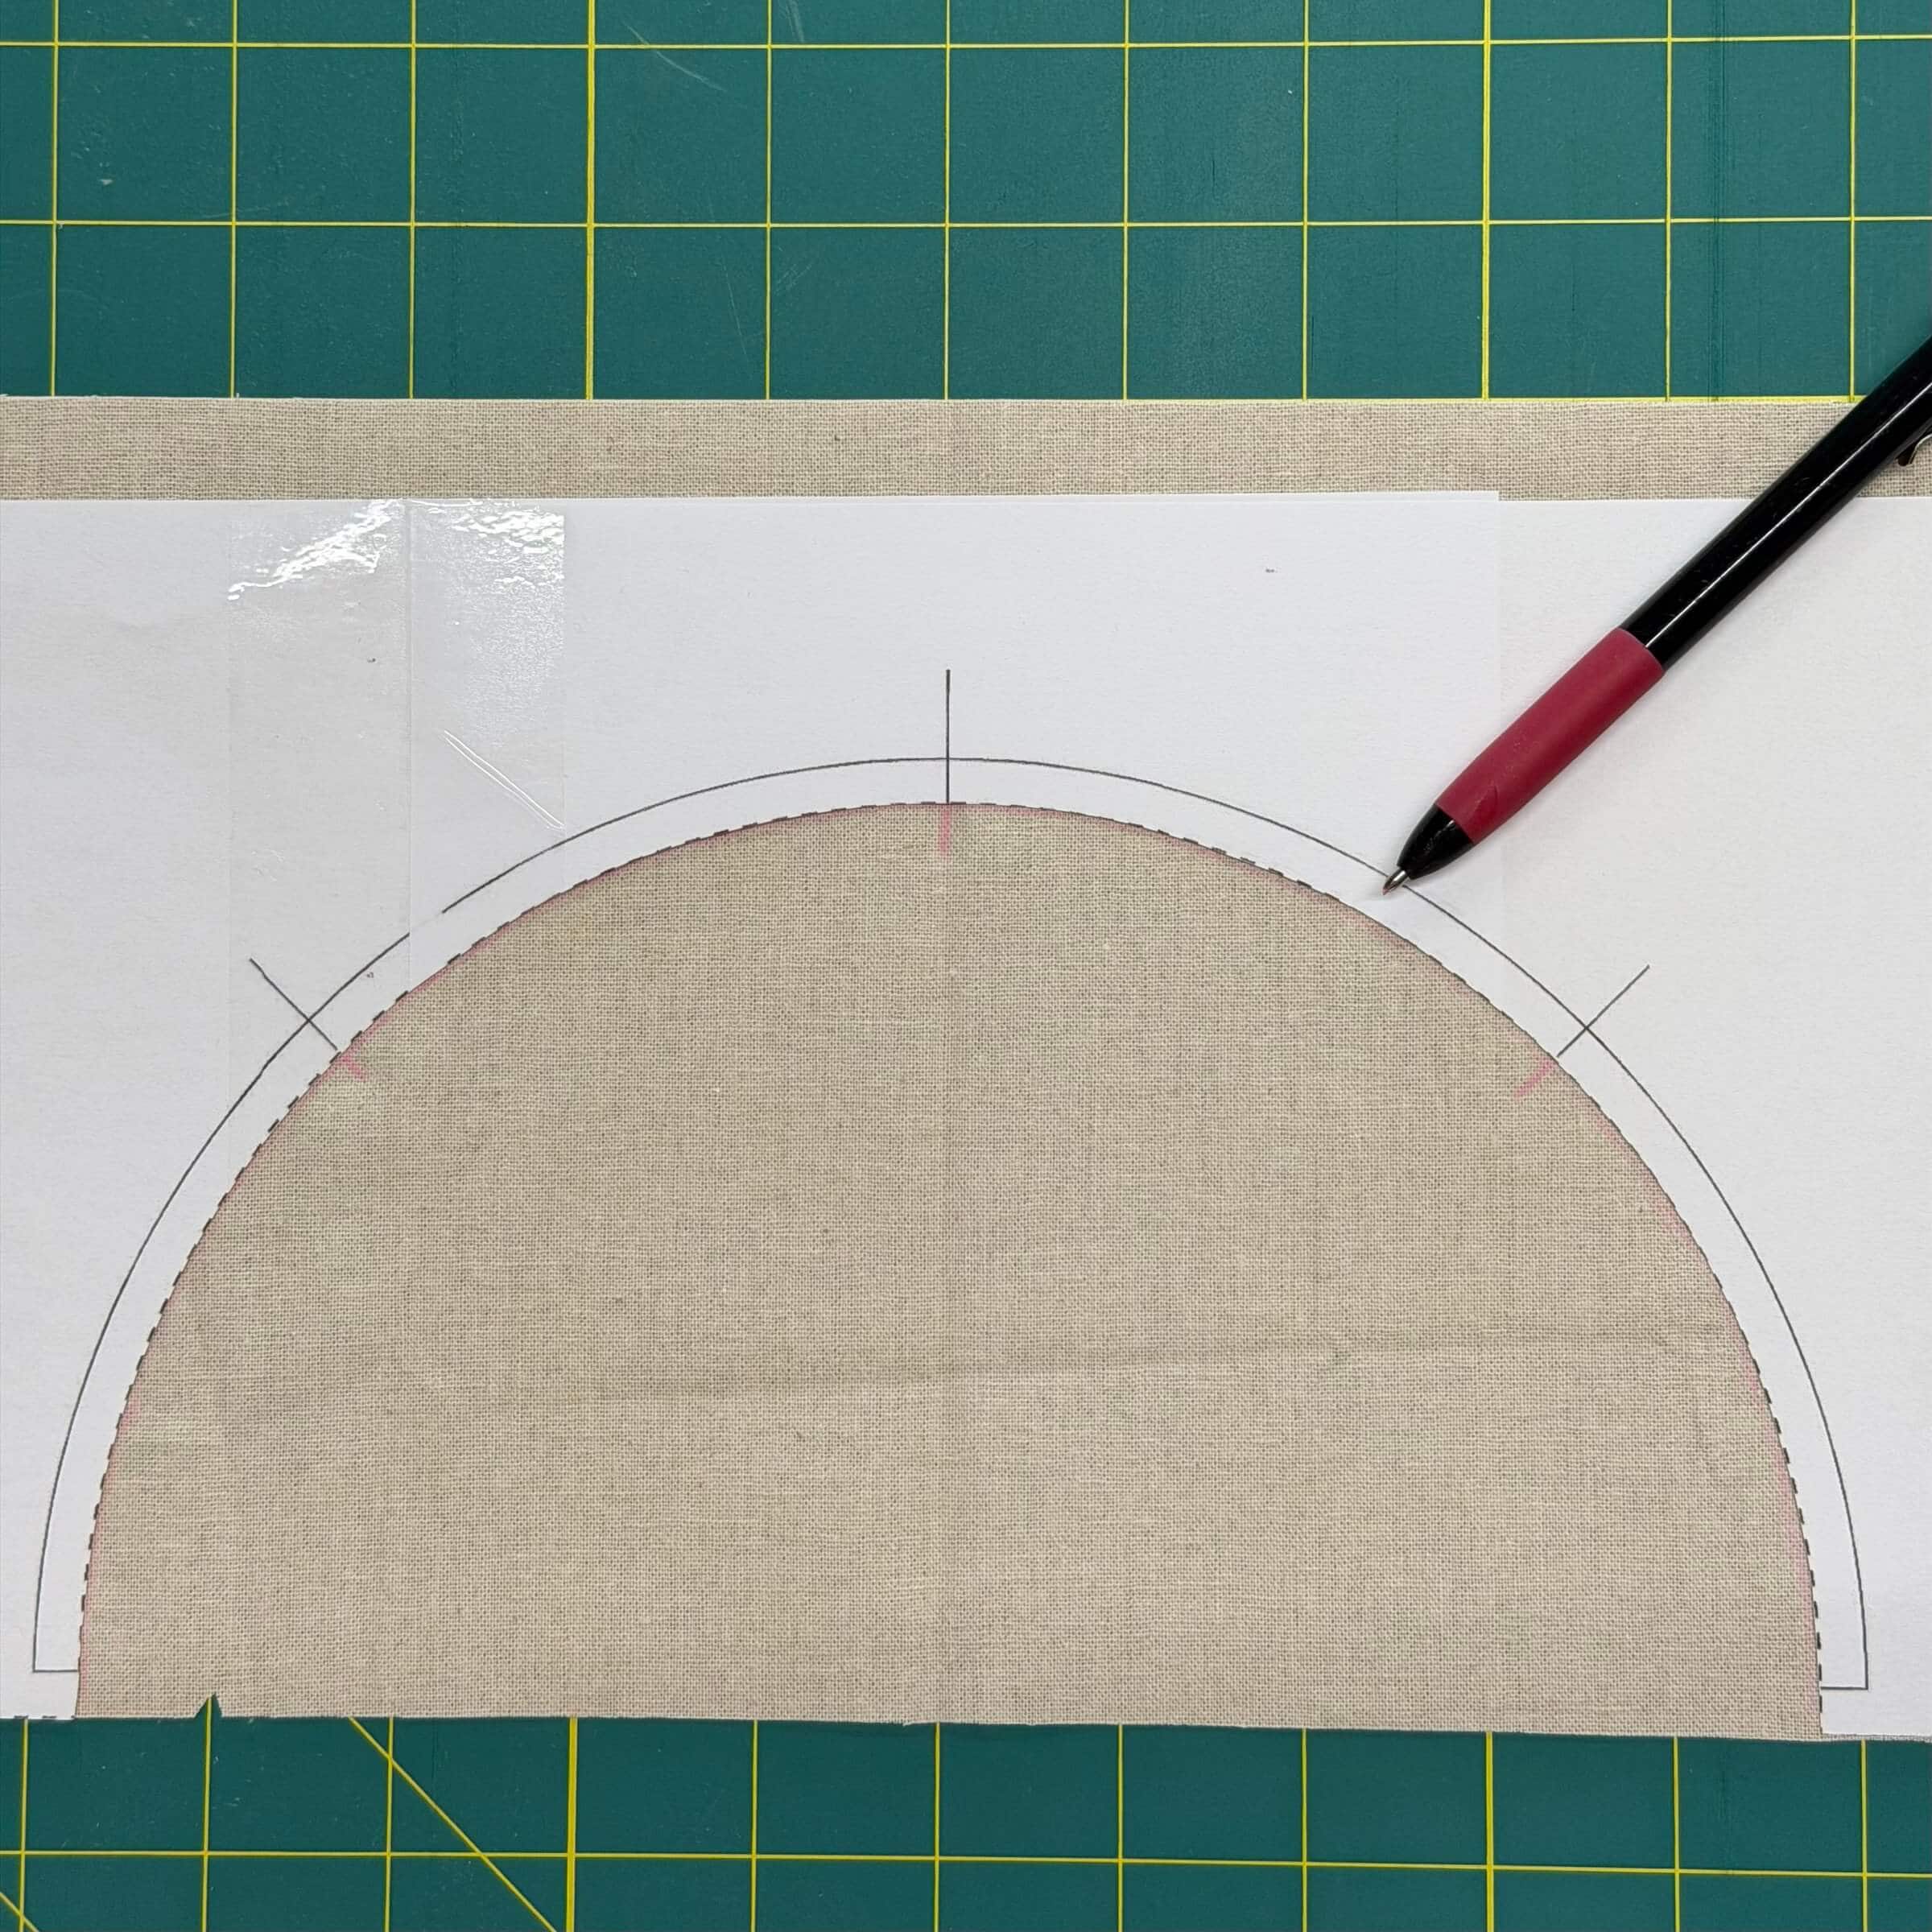
With the template on the fabric, I extend the lines with my chalk pencil onto the piece that will be cut out. Then, removing the template:
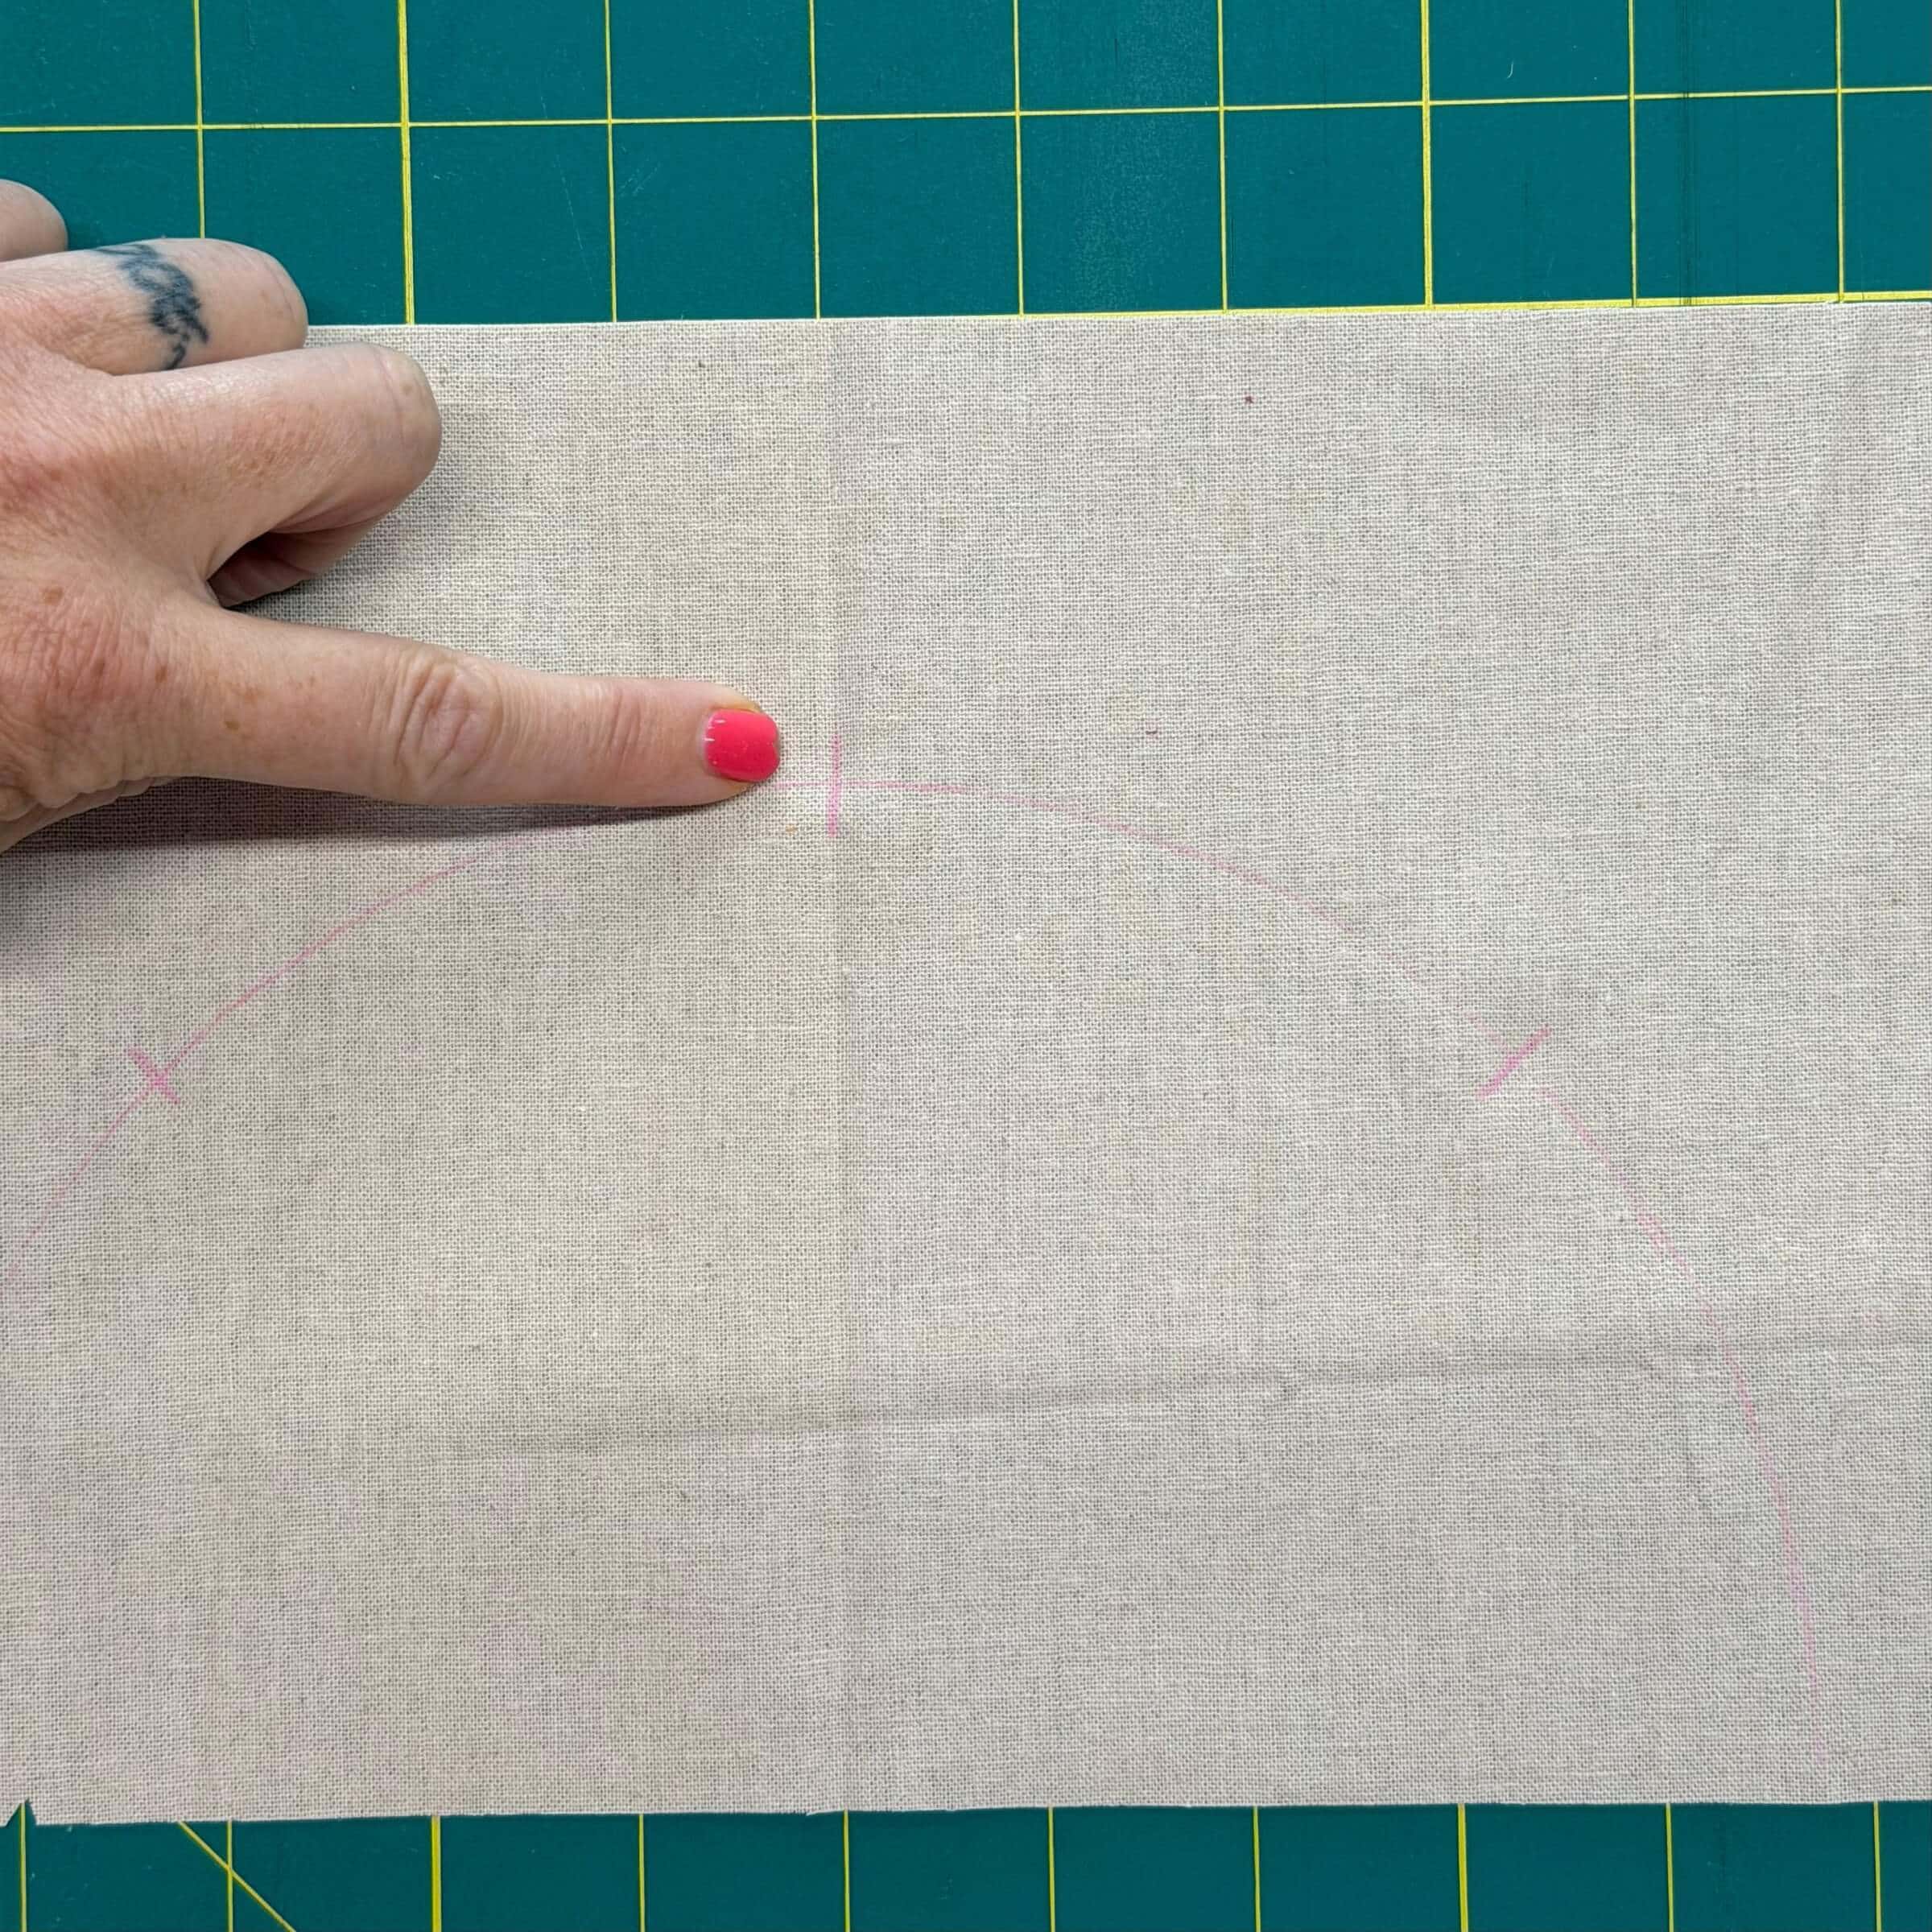
I extend those lines back onto the background piece and cut it out.
Let’s backtrack a bit. Since I forgot to transfer the lines from the inner circle template onto the fabric, I’ll use another way to mark the fabric. This is handy when your template doesn’t come with these markings and you need to make them yourself.
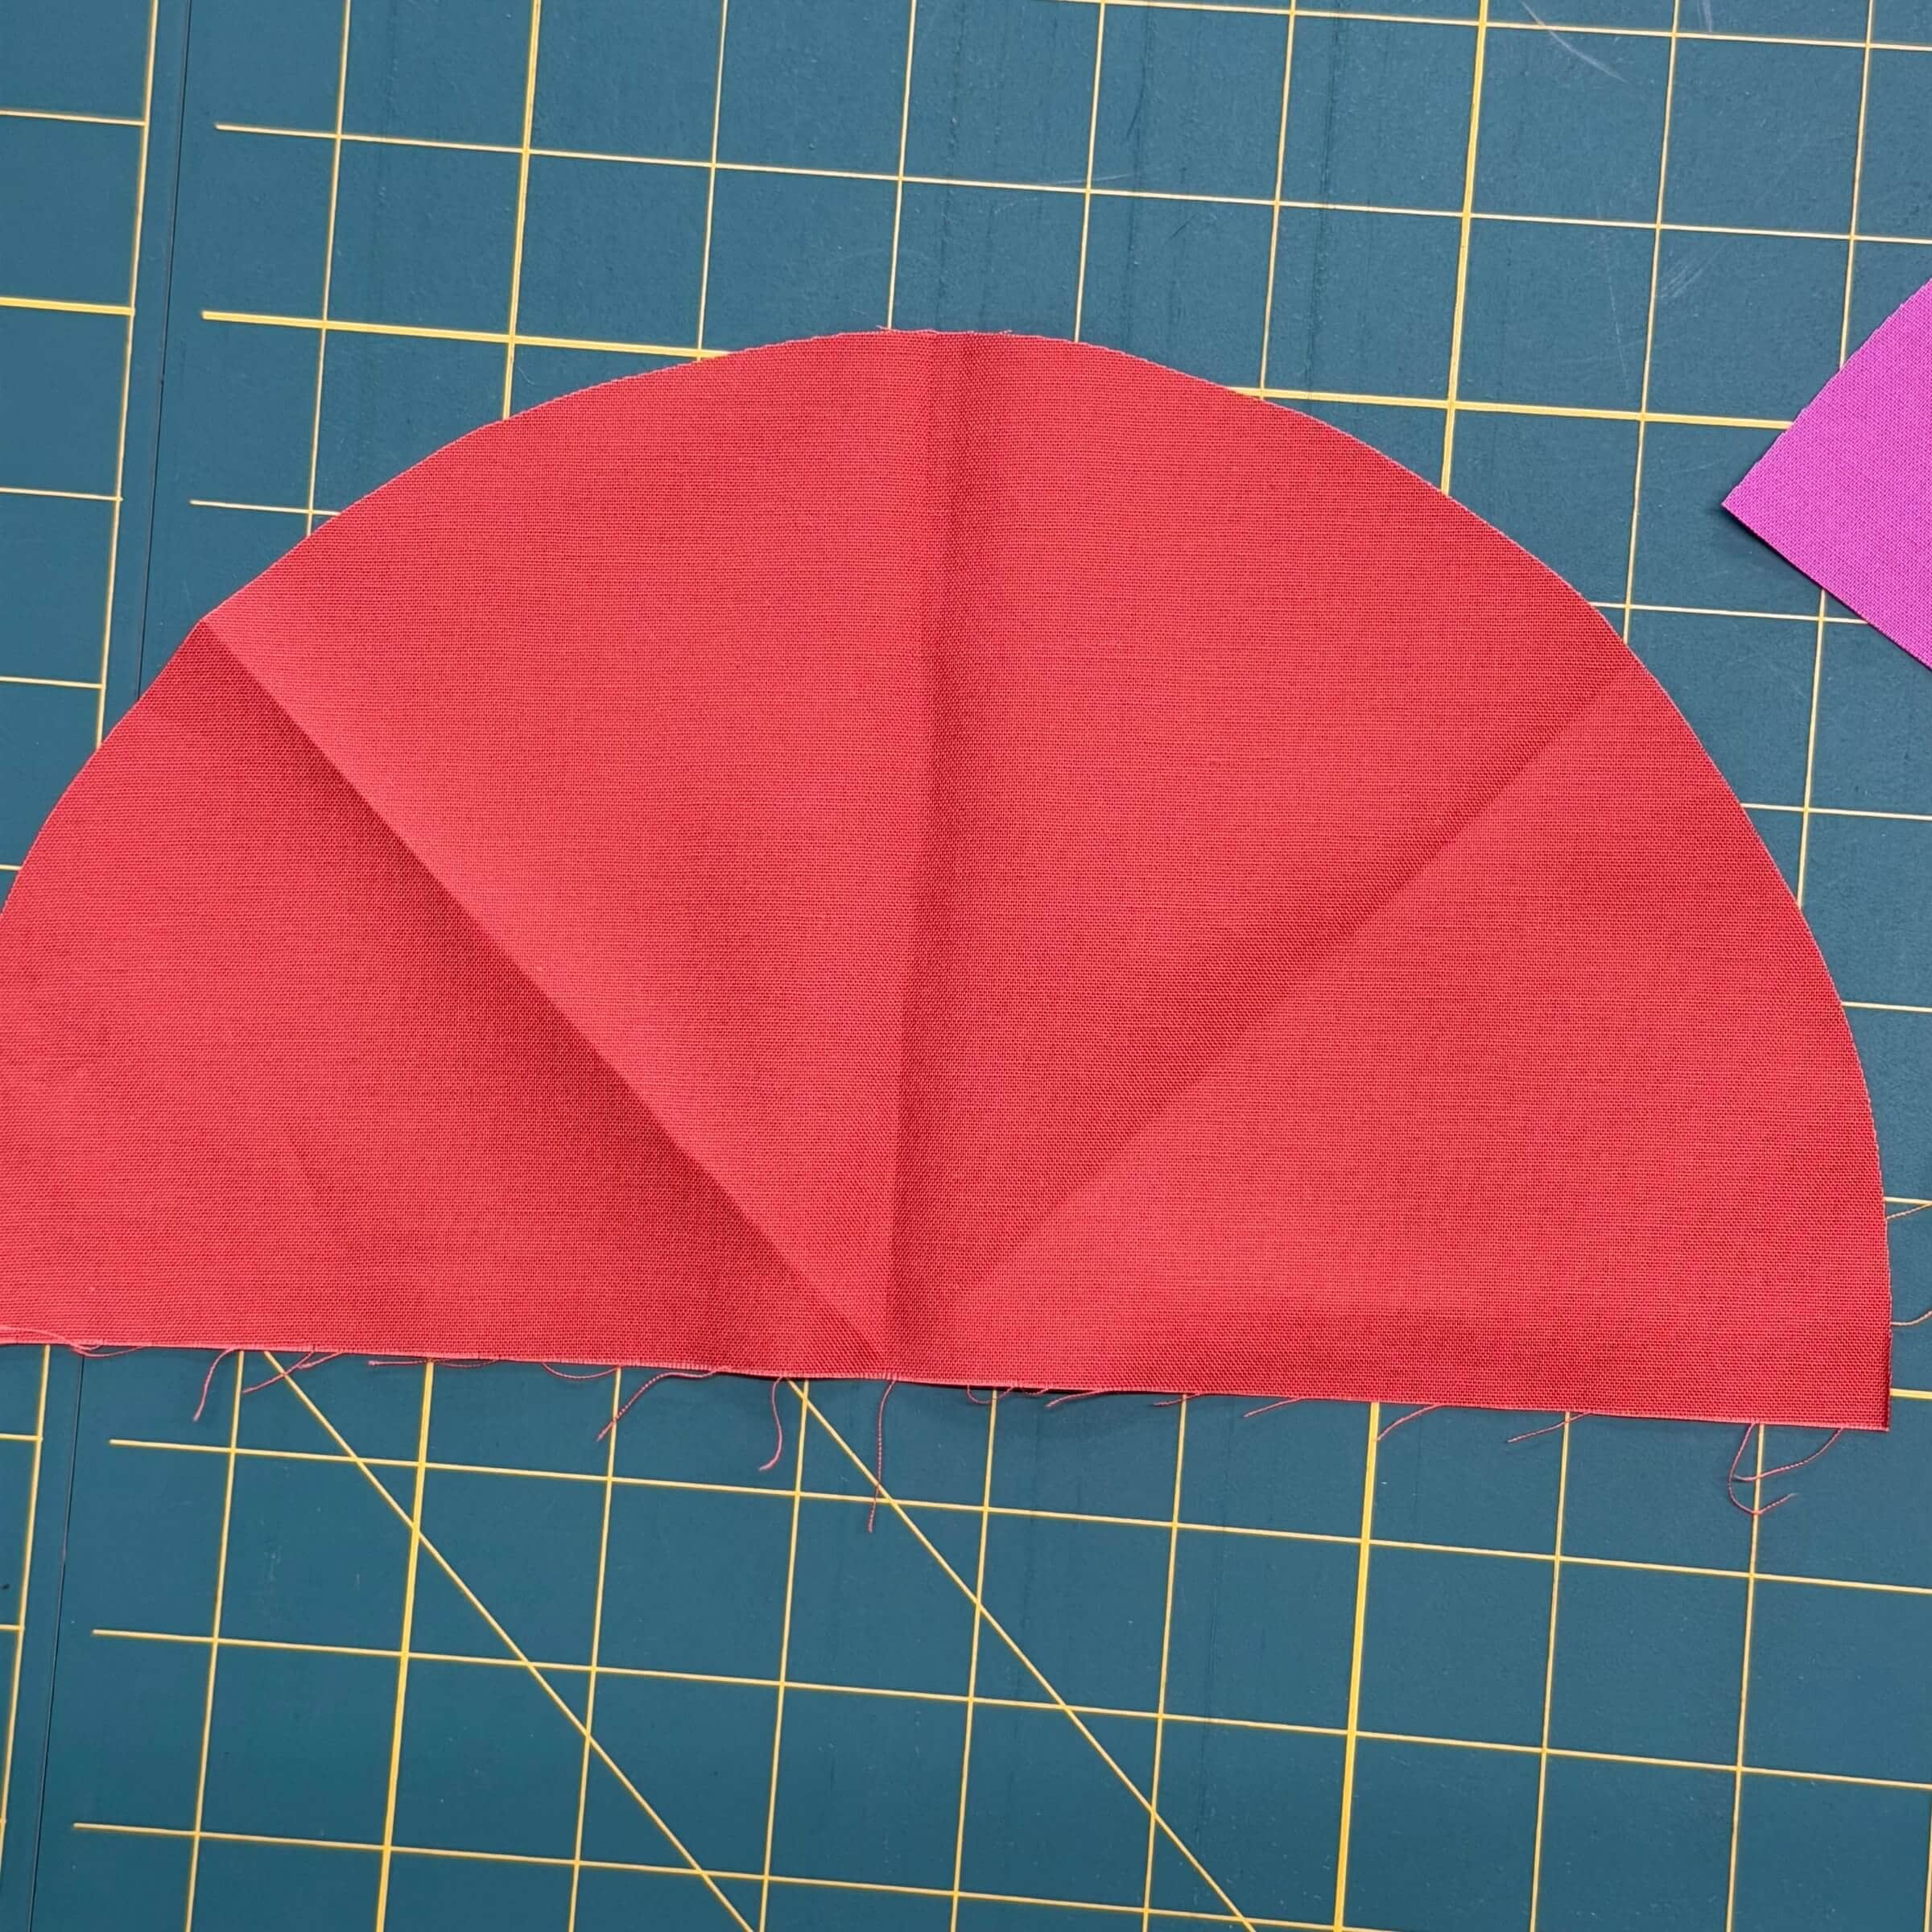
Take your inner circle piece and fold it in half. Crease the fold by firmly pressing with your finger.
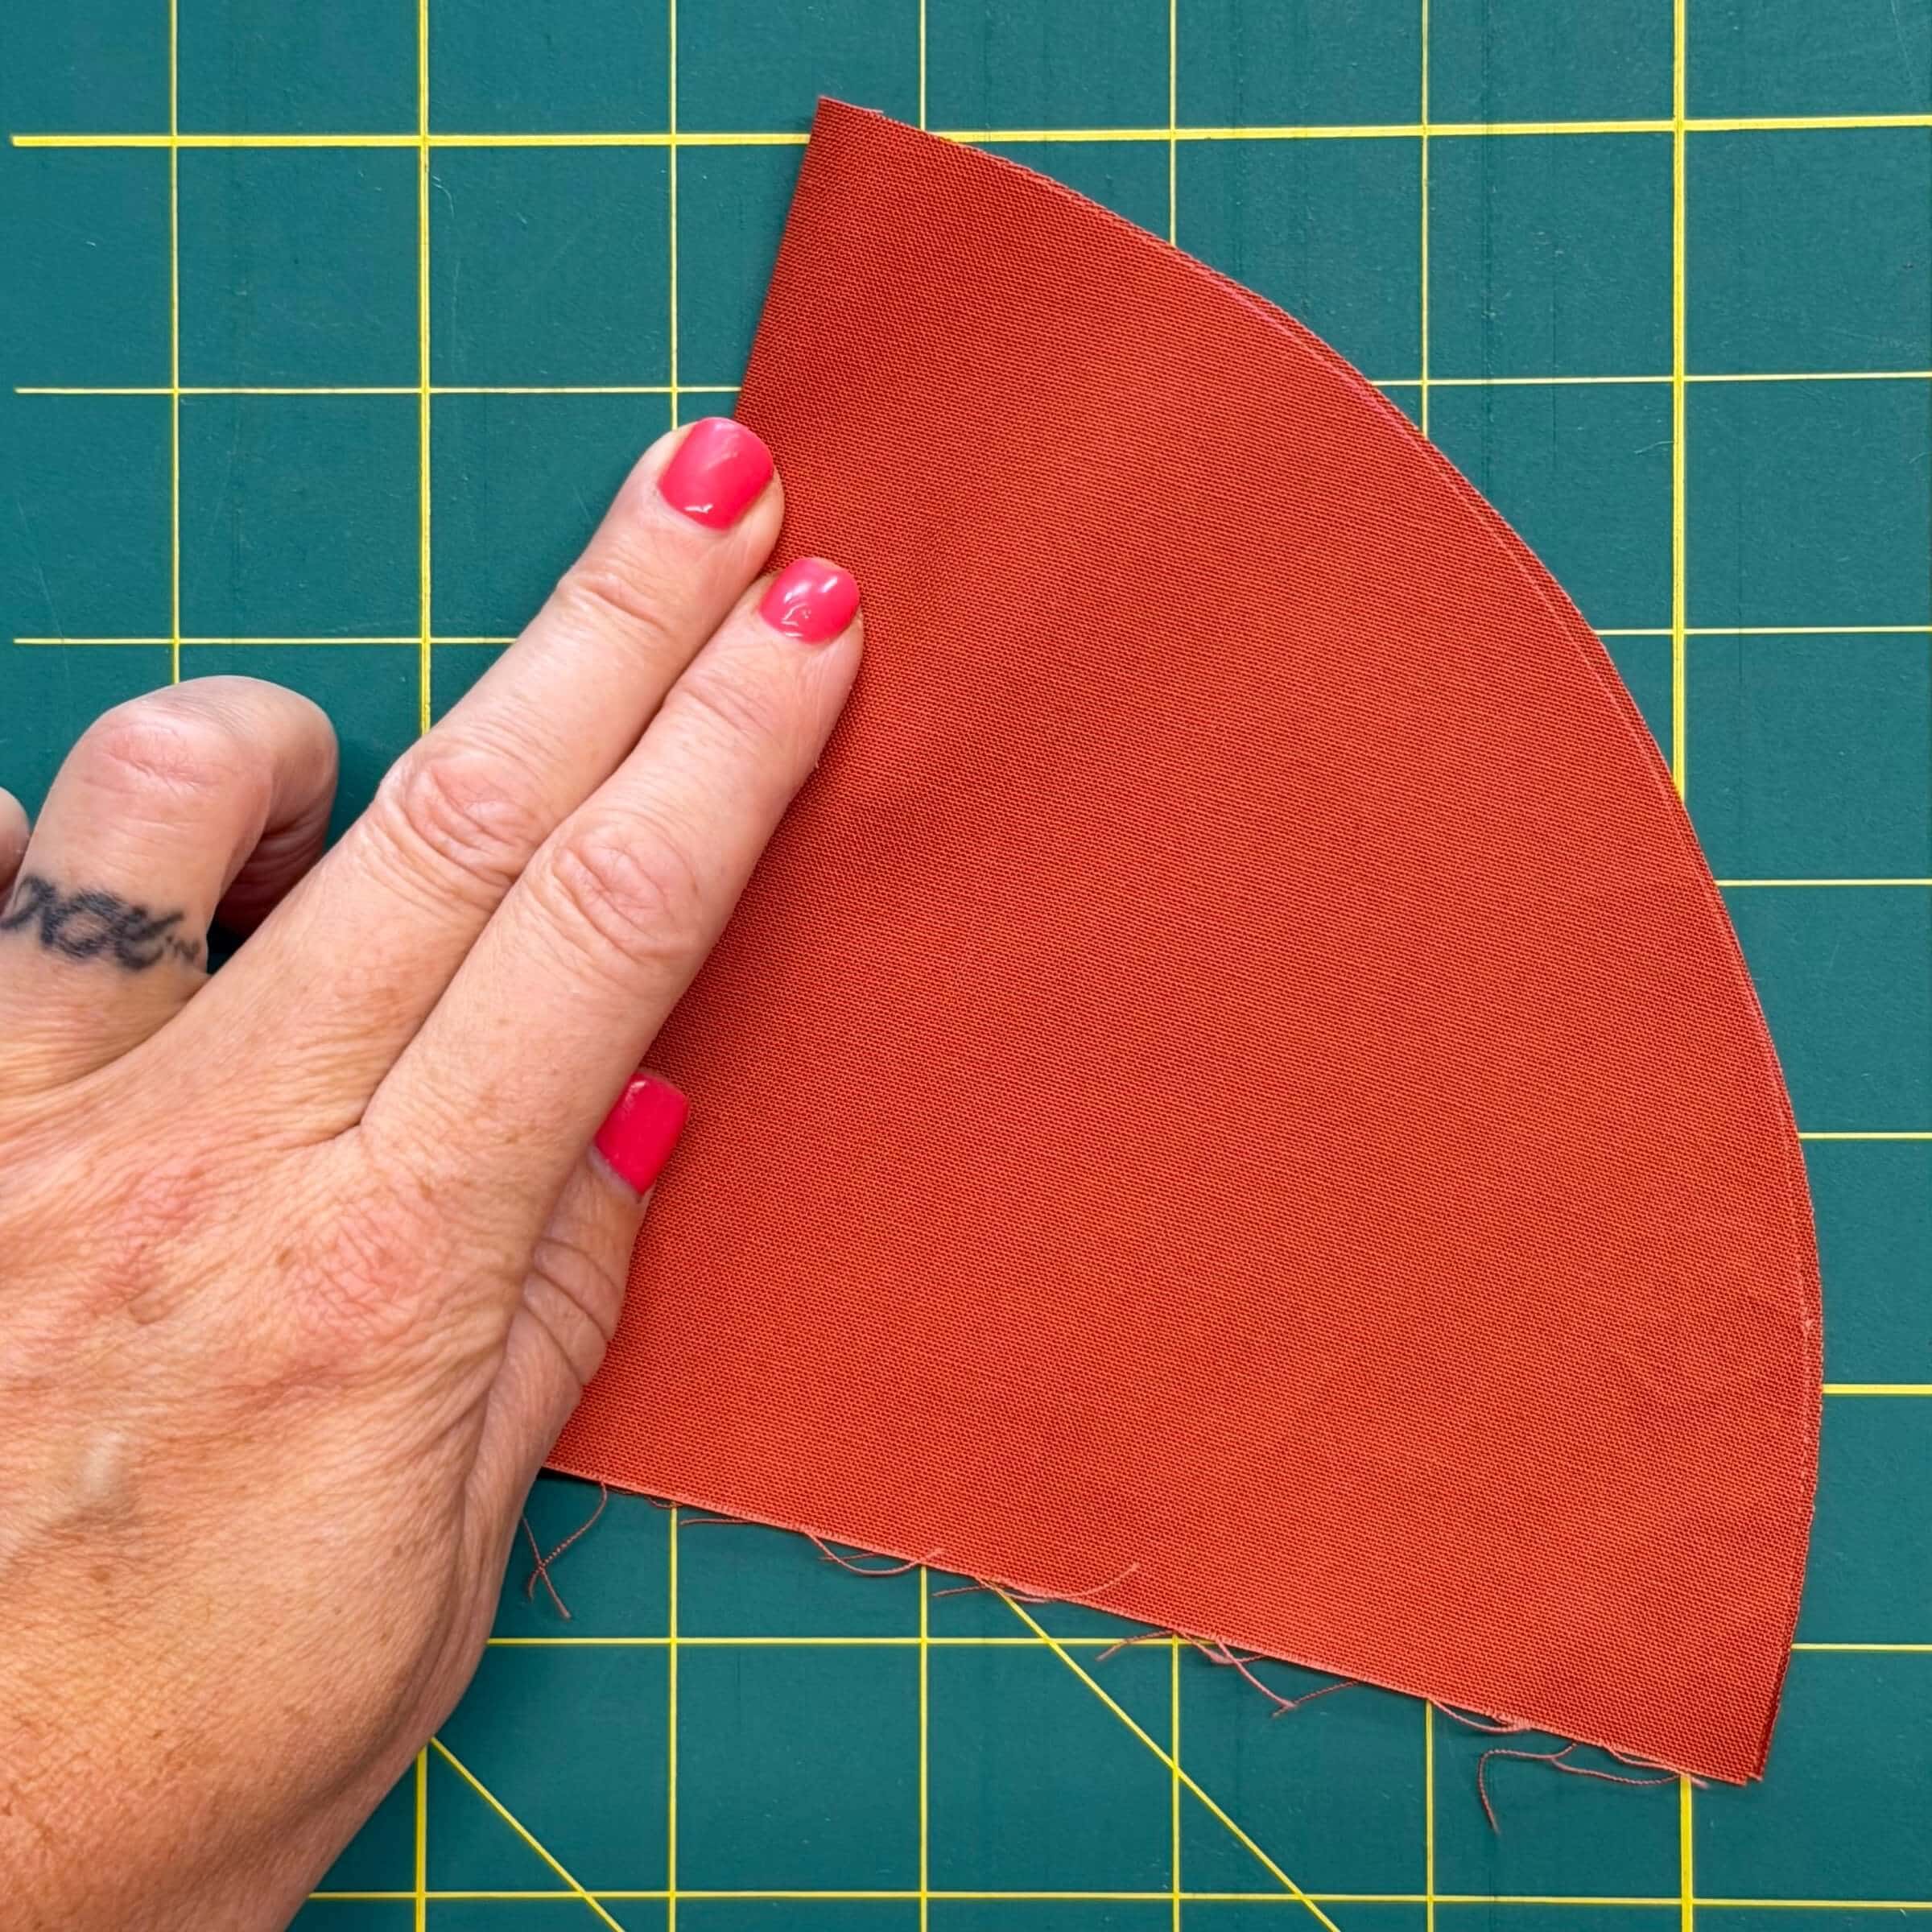
Fold the half in half, and crease along that fold line.
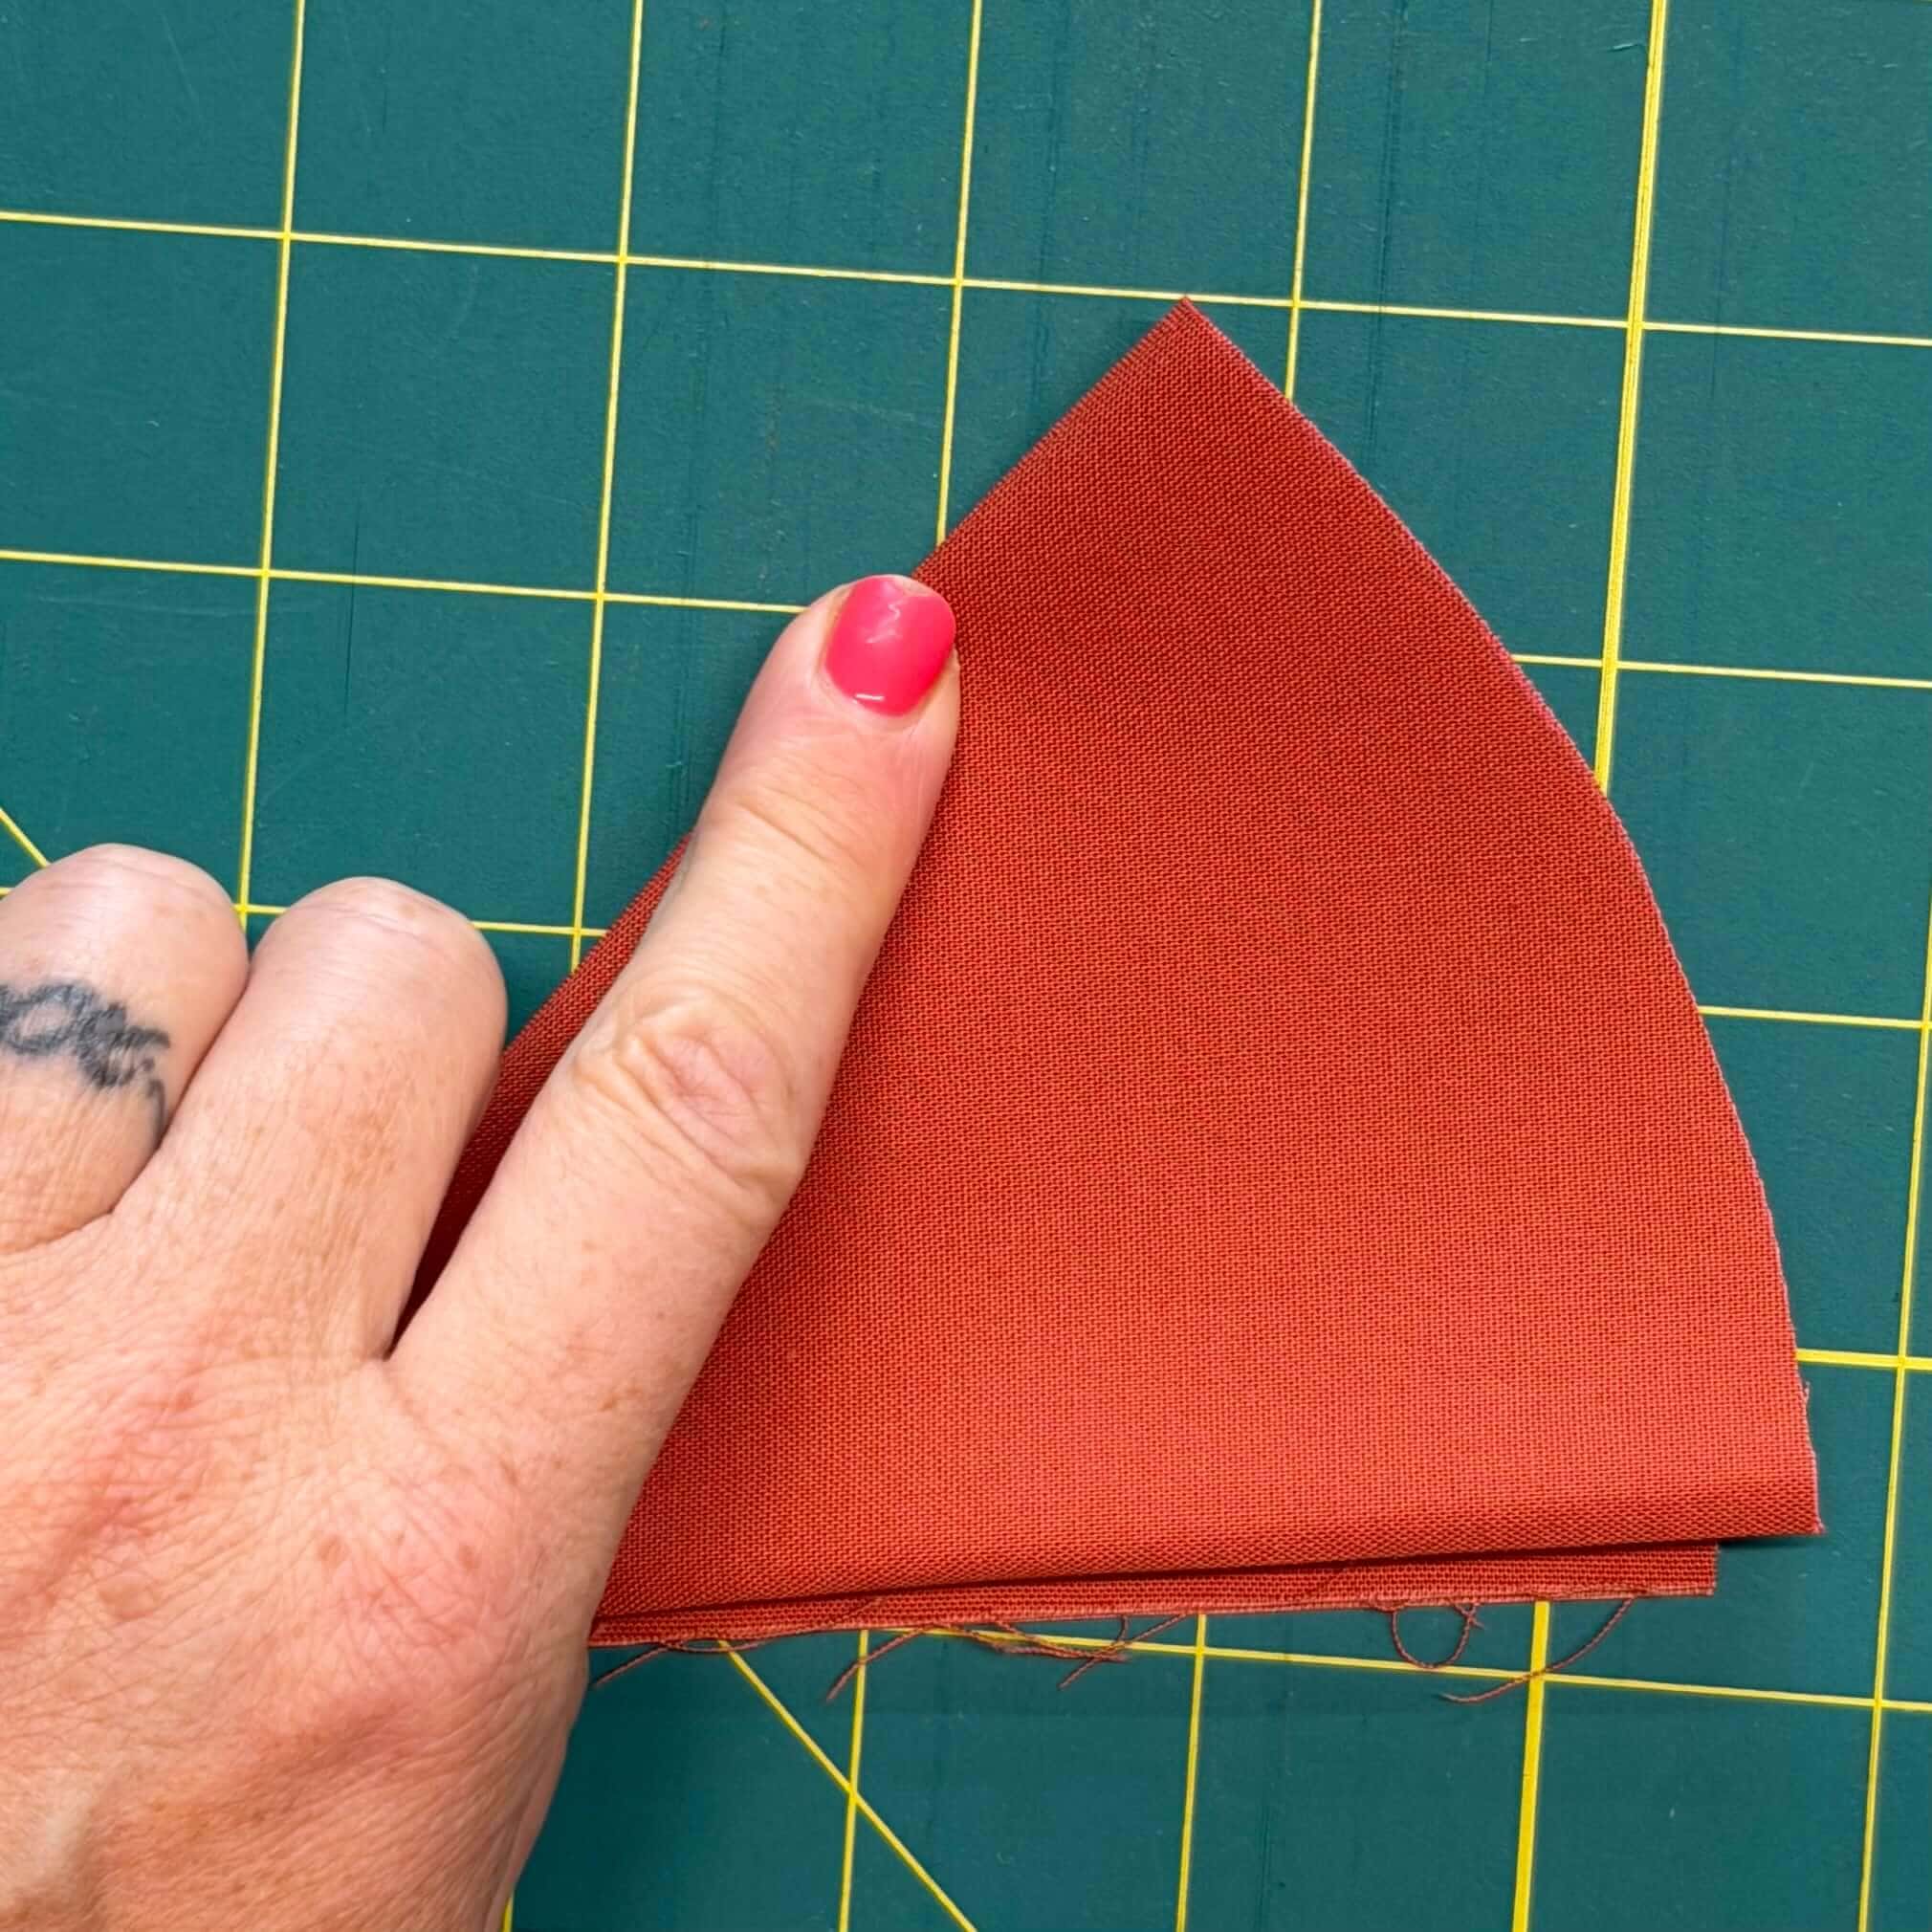
Unfold, and tada! Half and quarter lines marked!
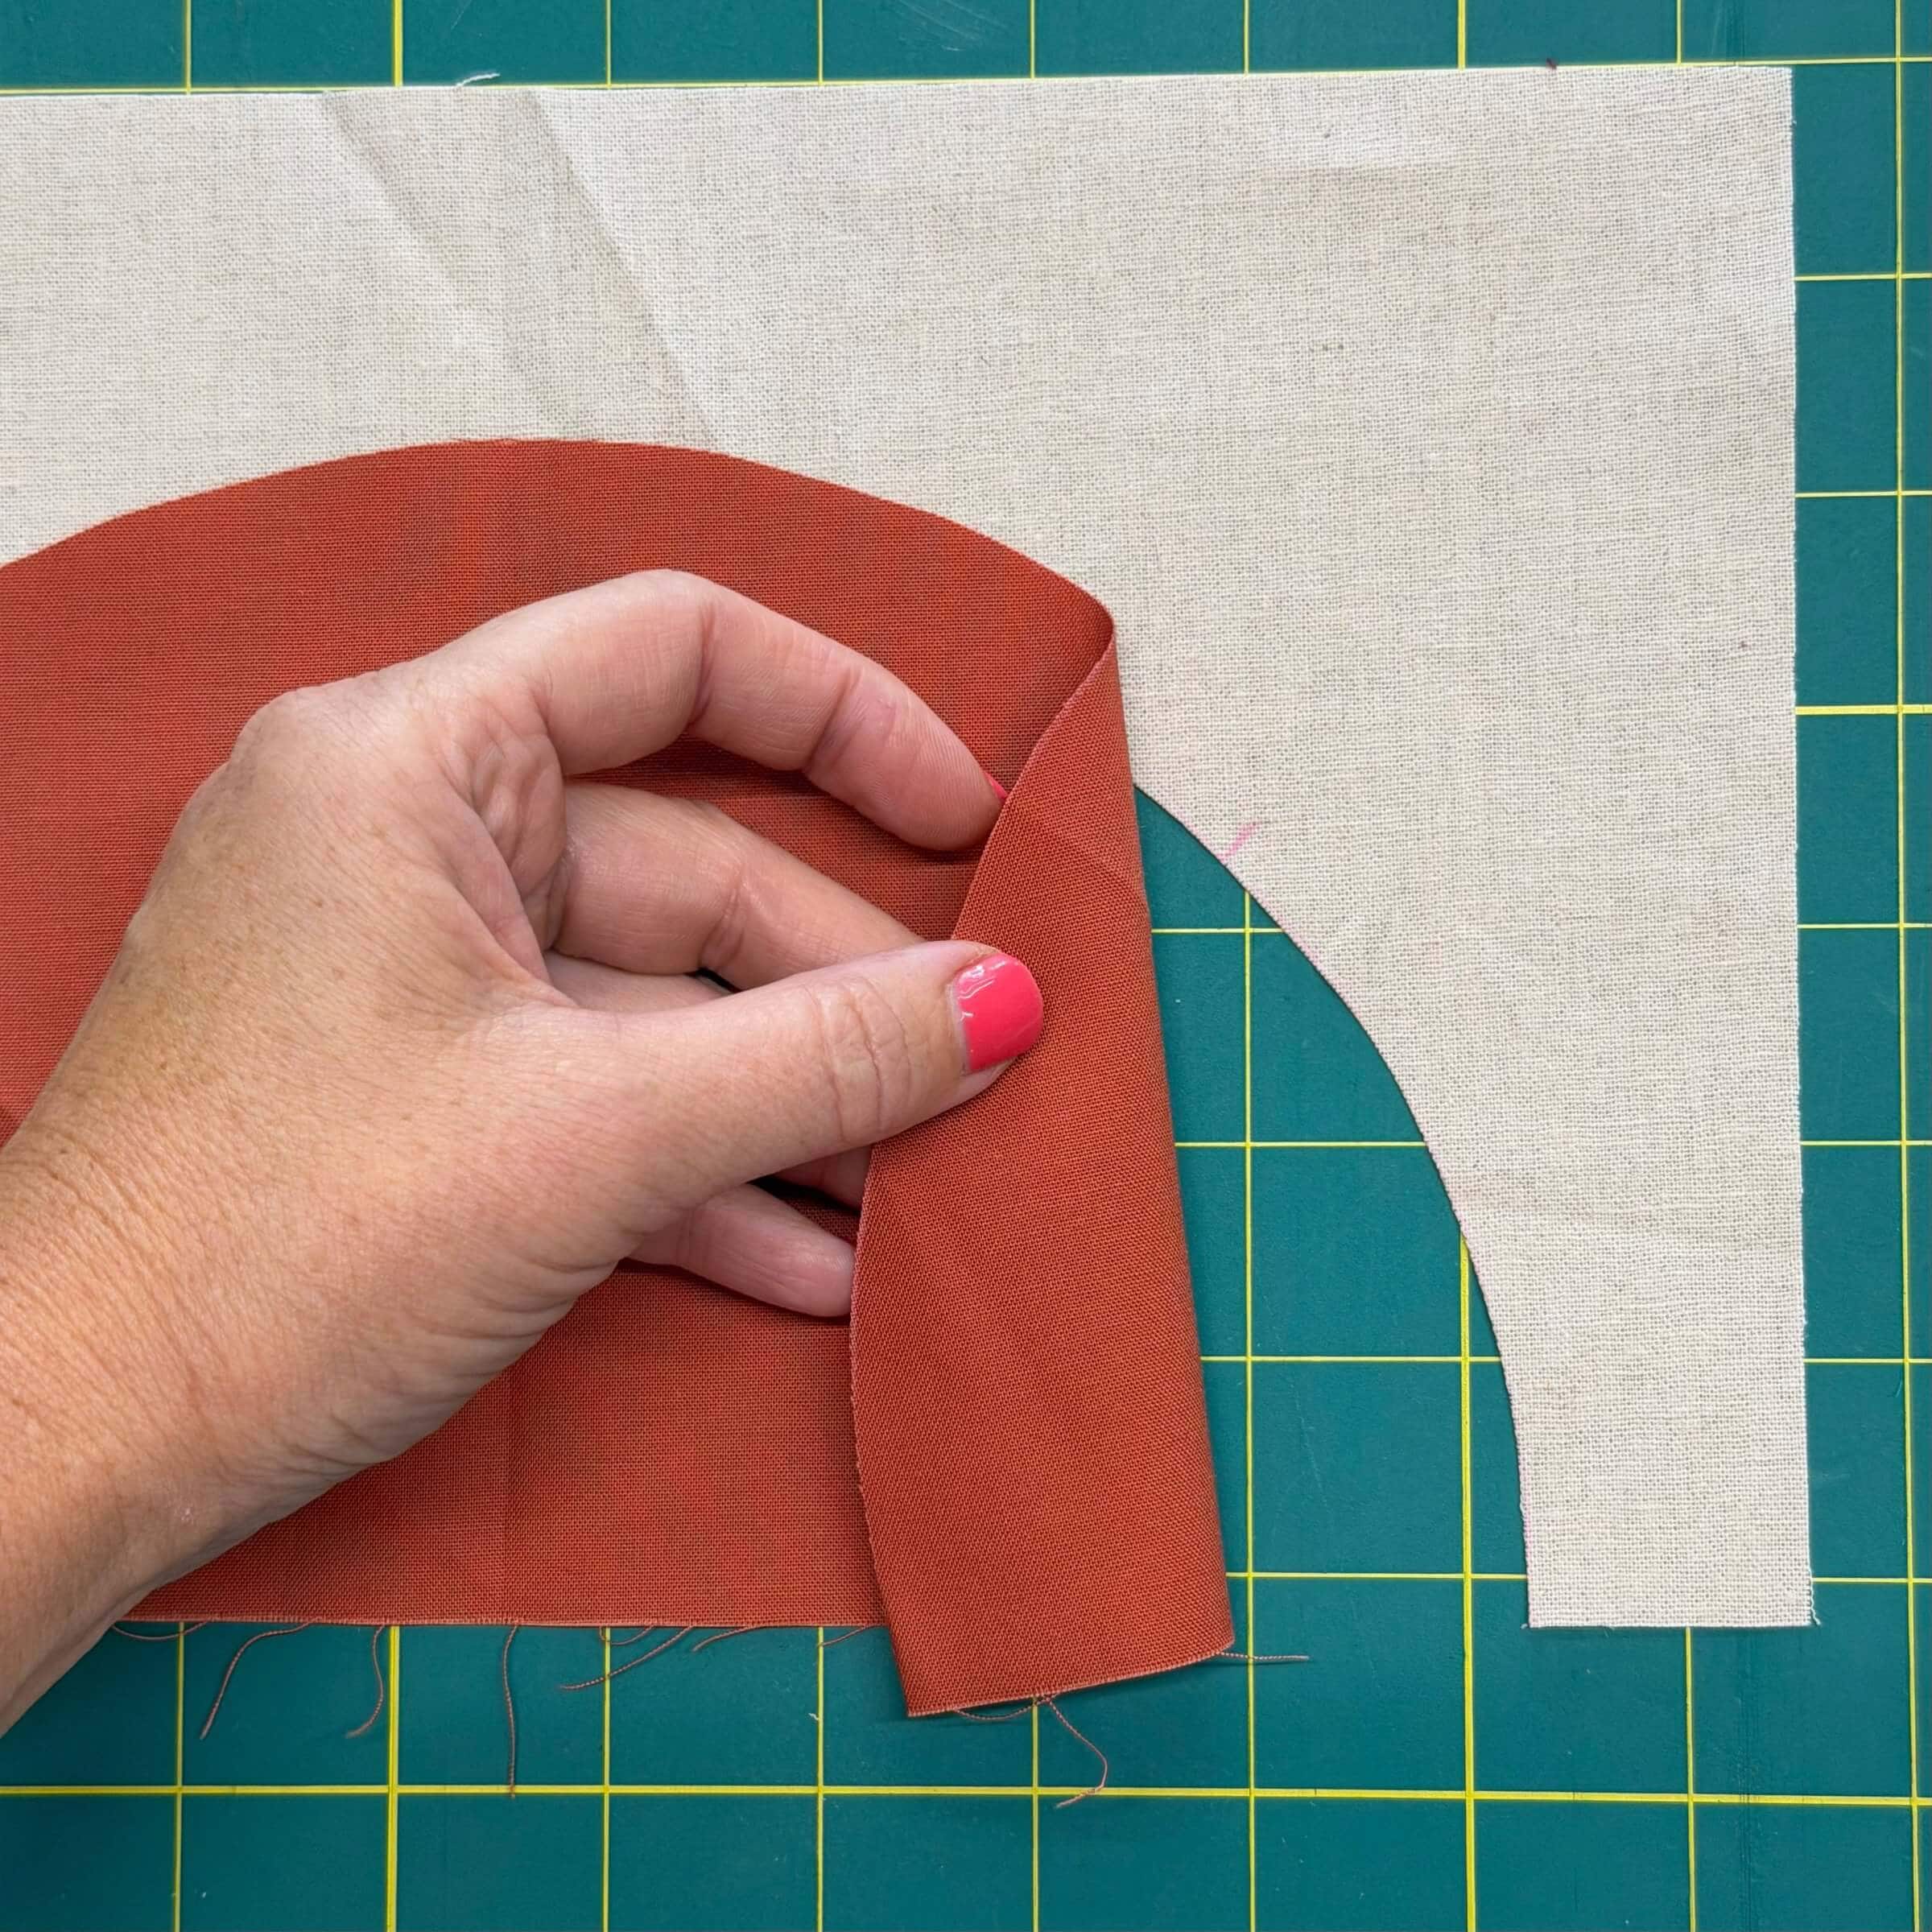
Now, you have two pieces. An outer circle and an inner circle. If you lay them on top of each other, you should see that there is about a half inch of overlapping, this will get “used up” in the seam allowances.
Sewing the Circles Together
My rule of perfect half circles is pin, pin, pin, pin, pin! Yep, five pins. I start off with the centre pin, marking the halfway point.
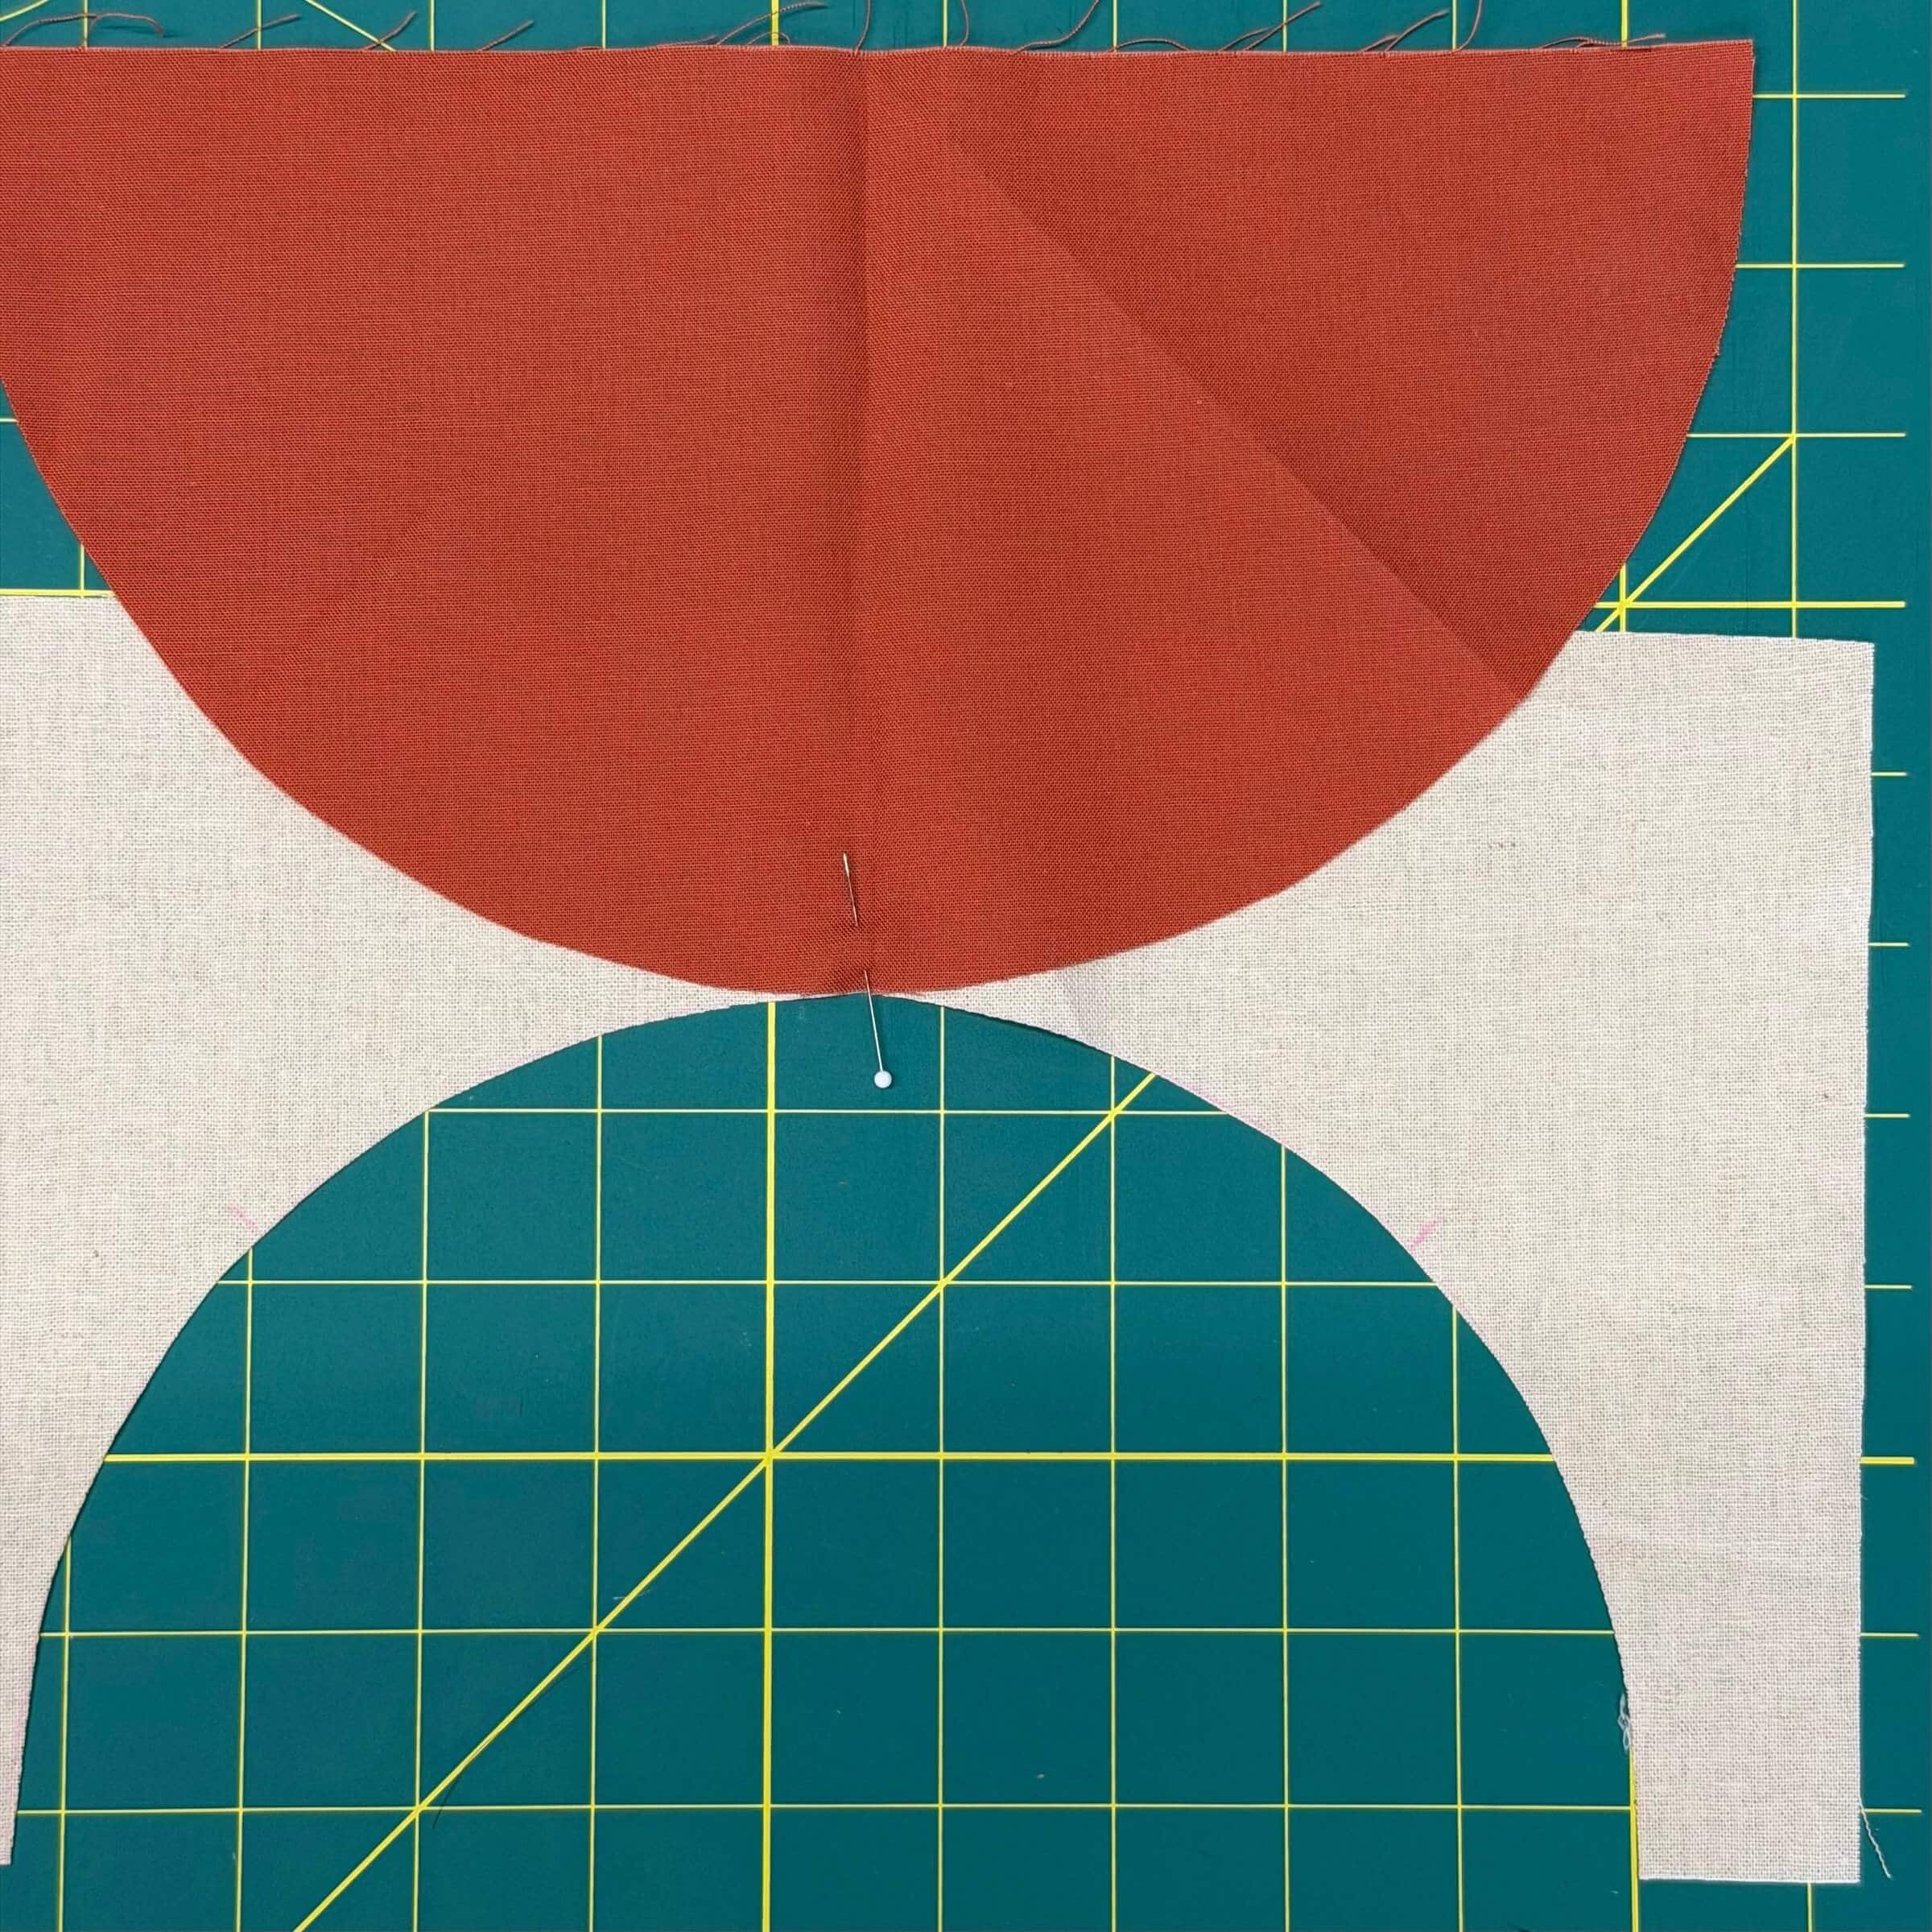
Then I add the pins on either side of the half circle, making sure that the “corners” of the half circle on each fabric line up perfectly.
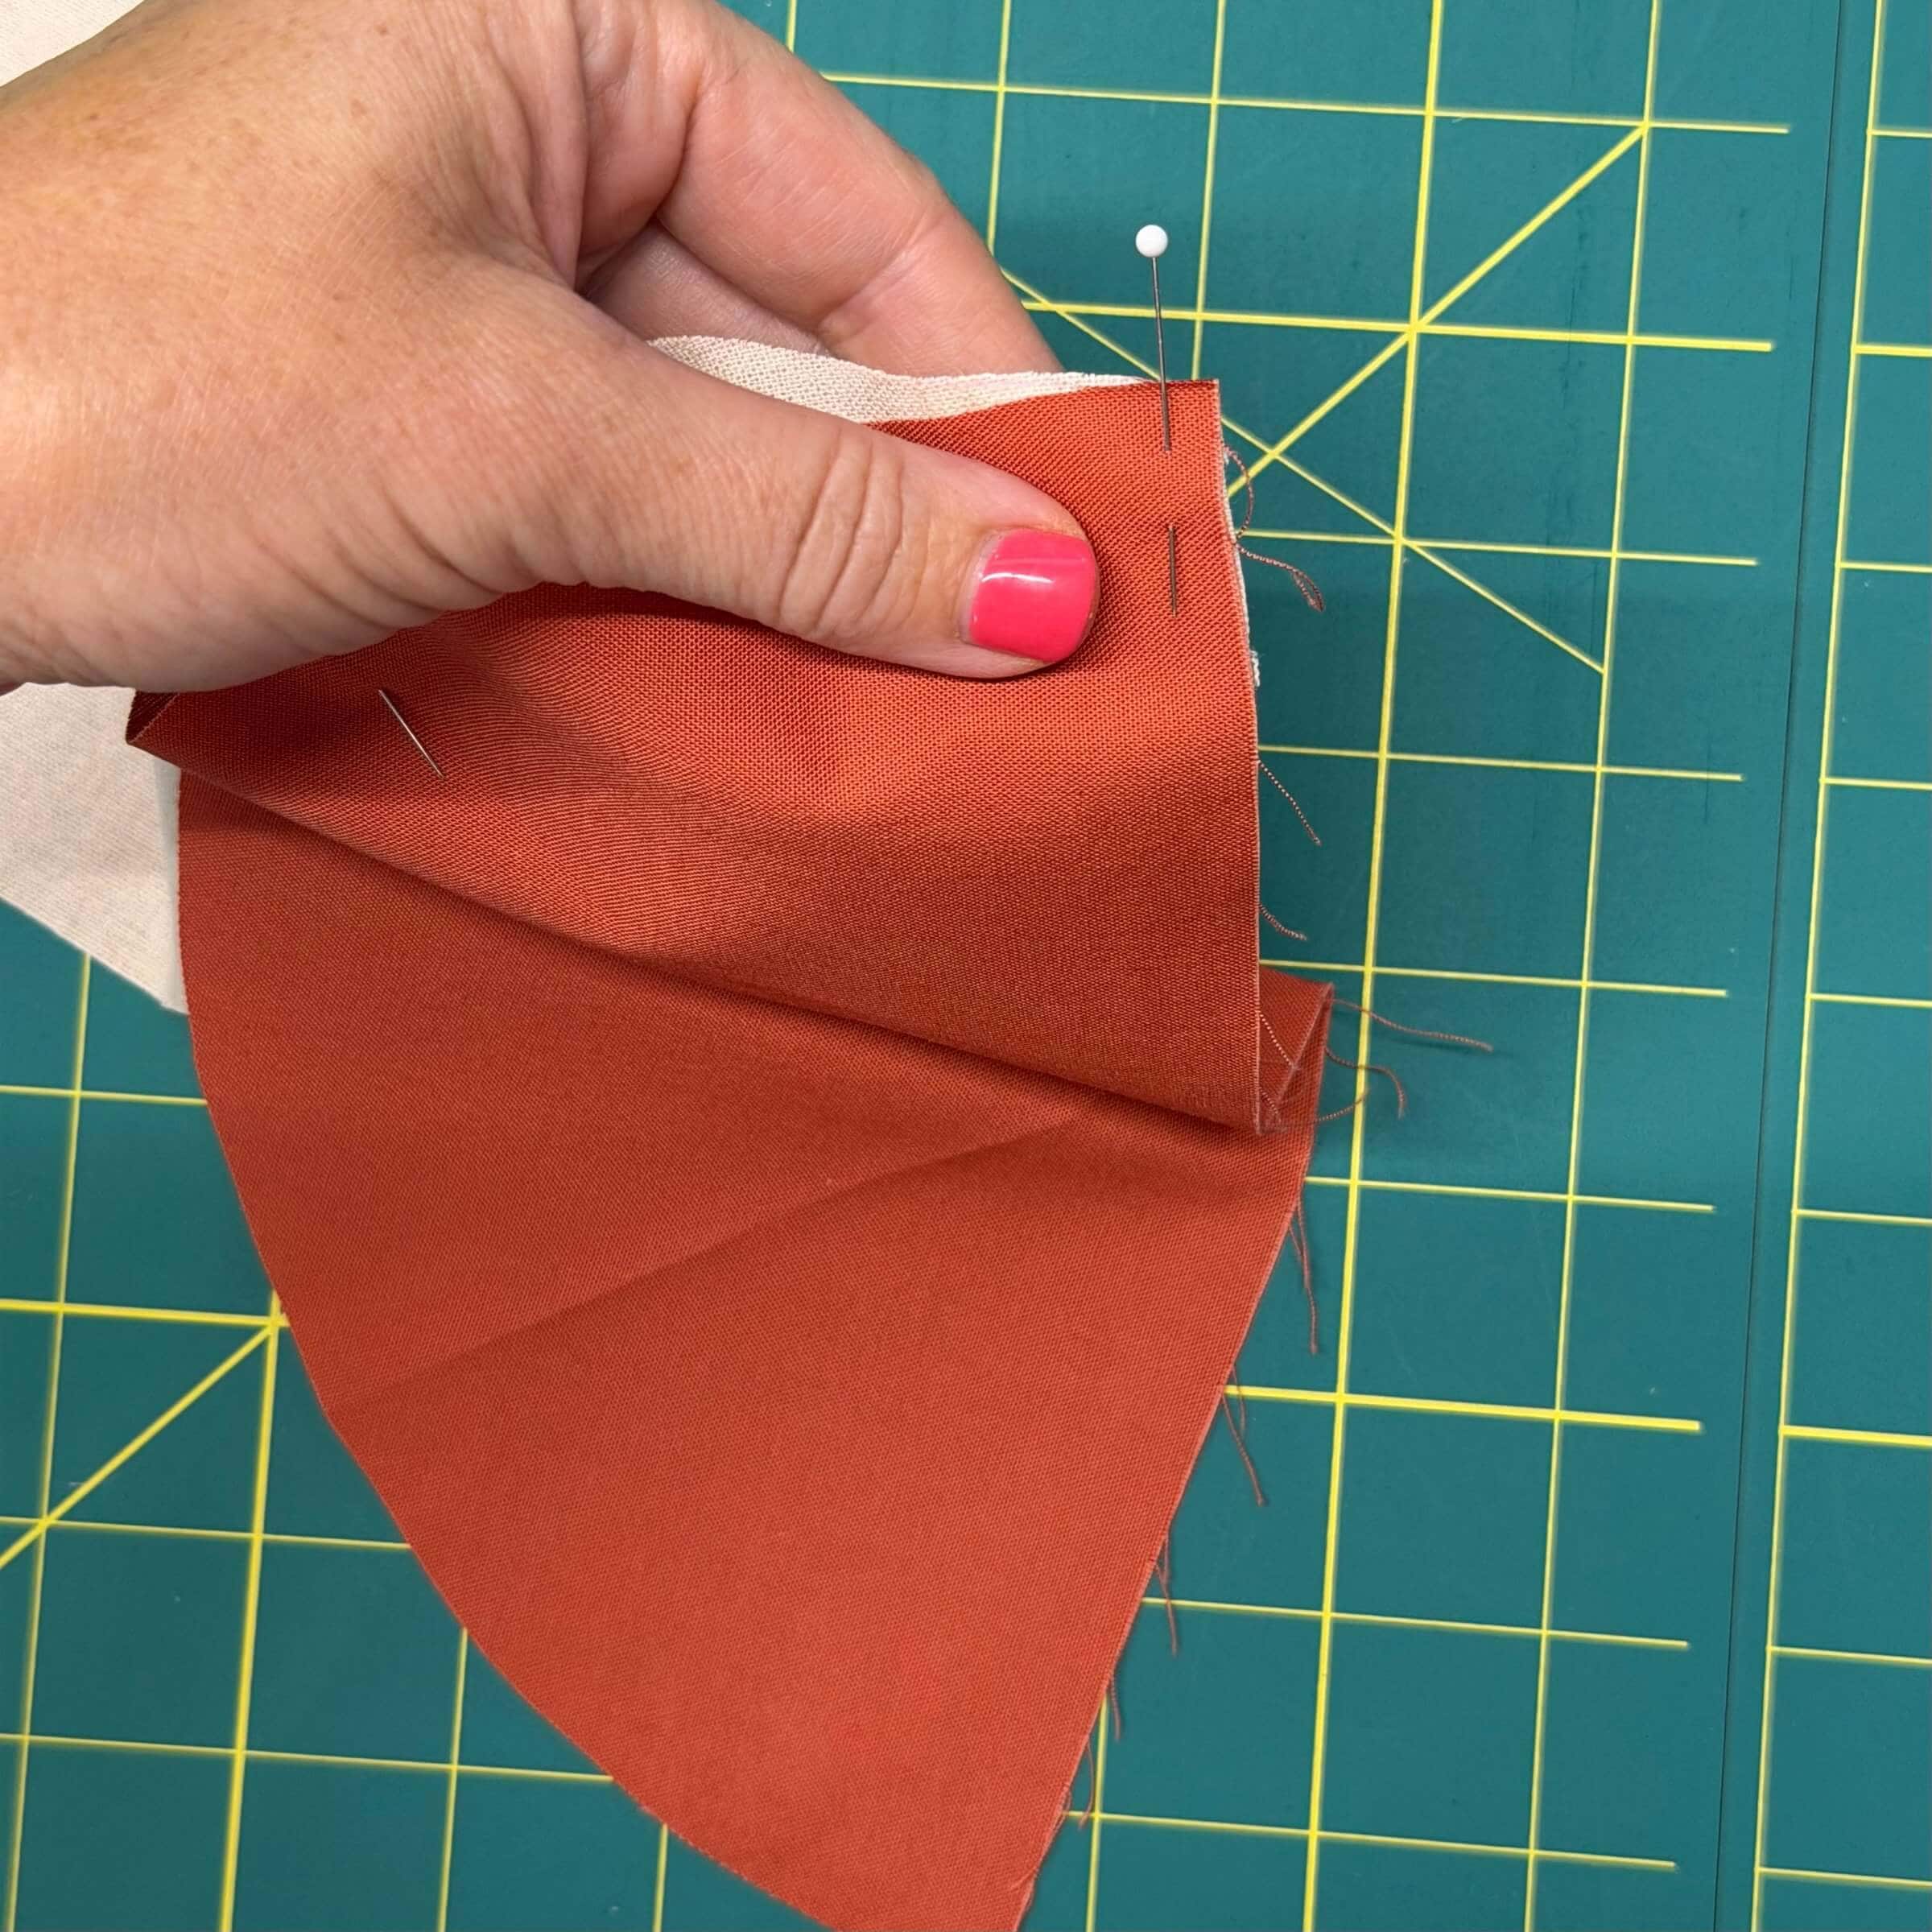
And finally, I add the quarter position pins.
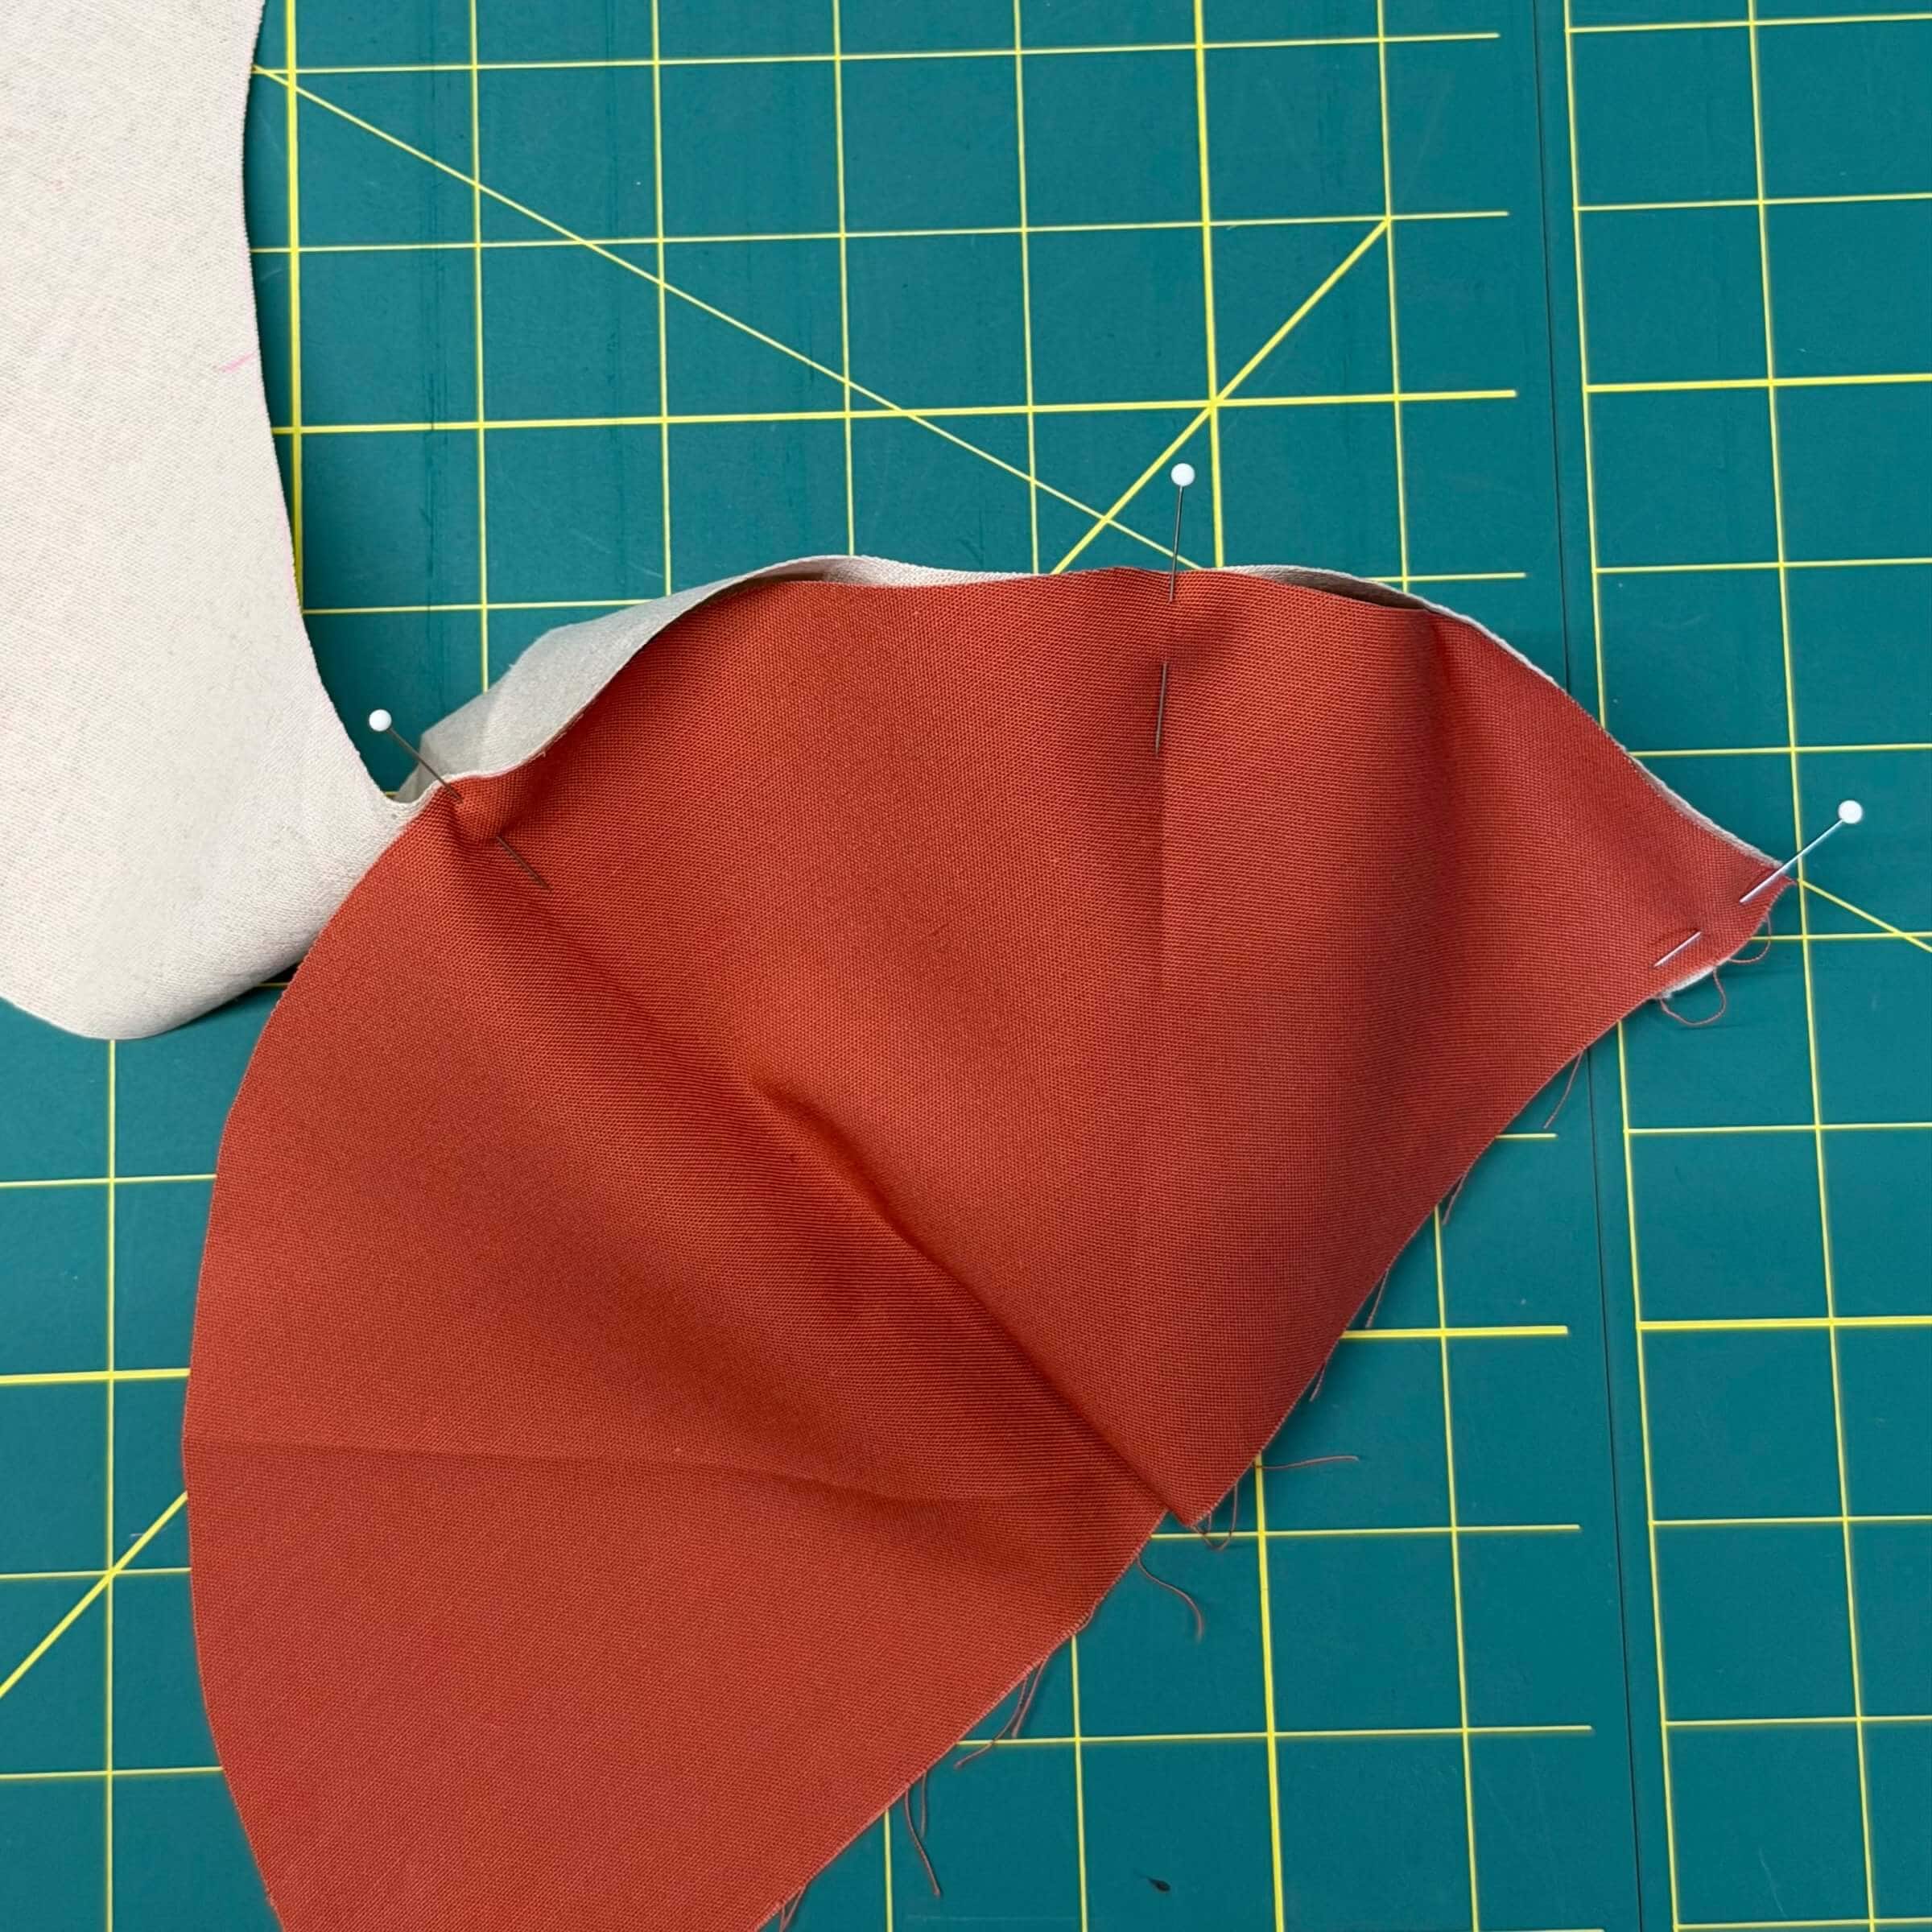
This number of pins works well for keeping your circle aligned as you sew. But if you are feeling nervous about keeping the edges aligned, you could definitely also do this:
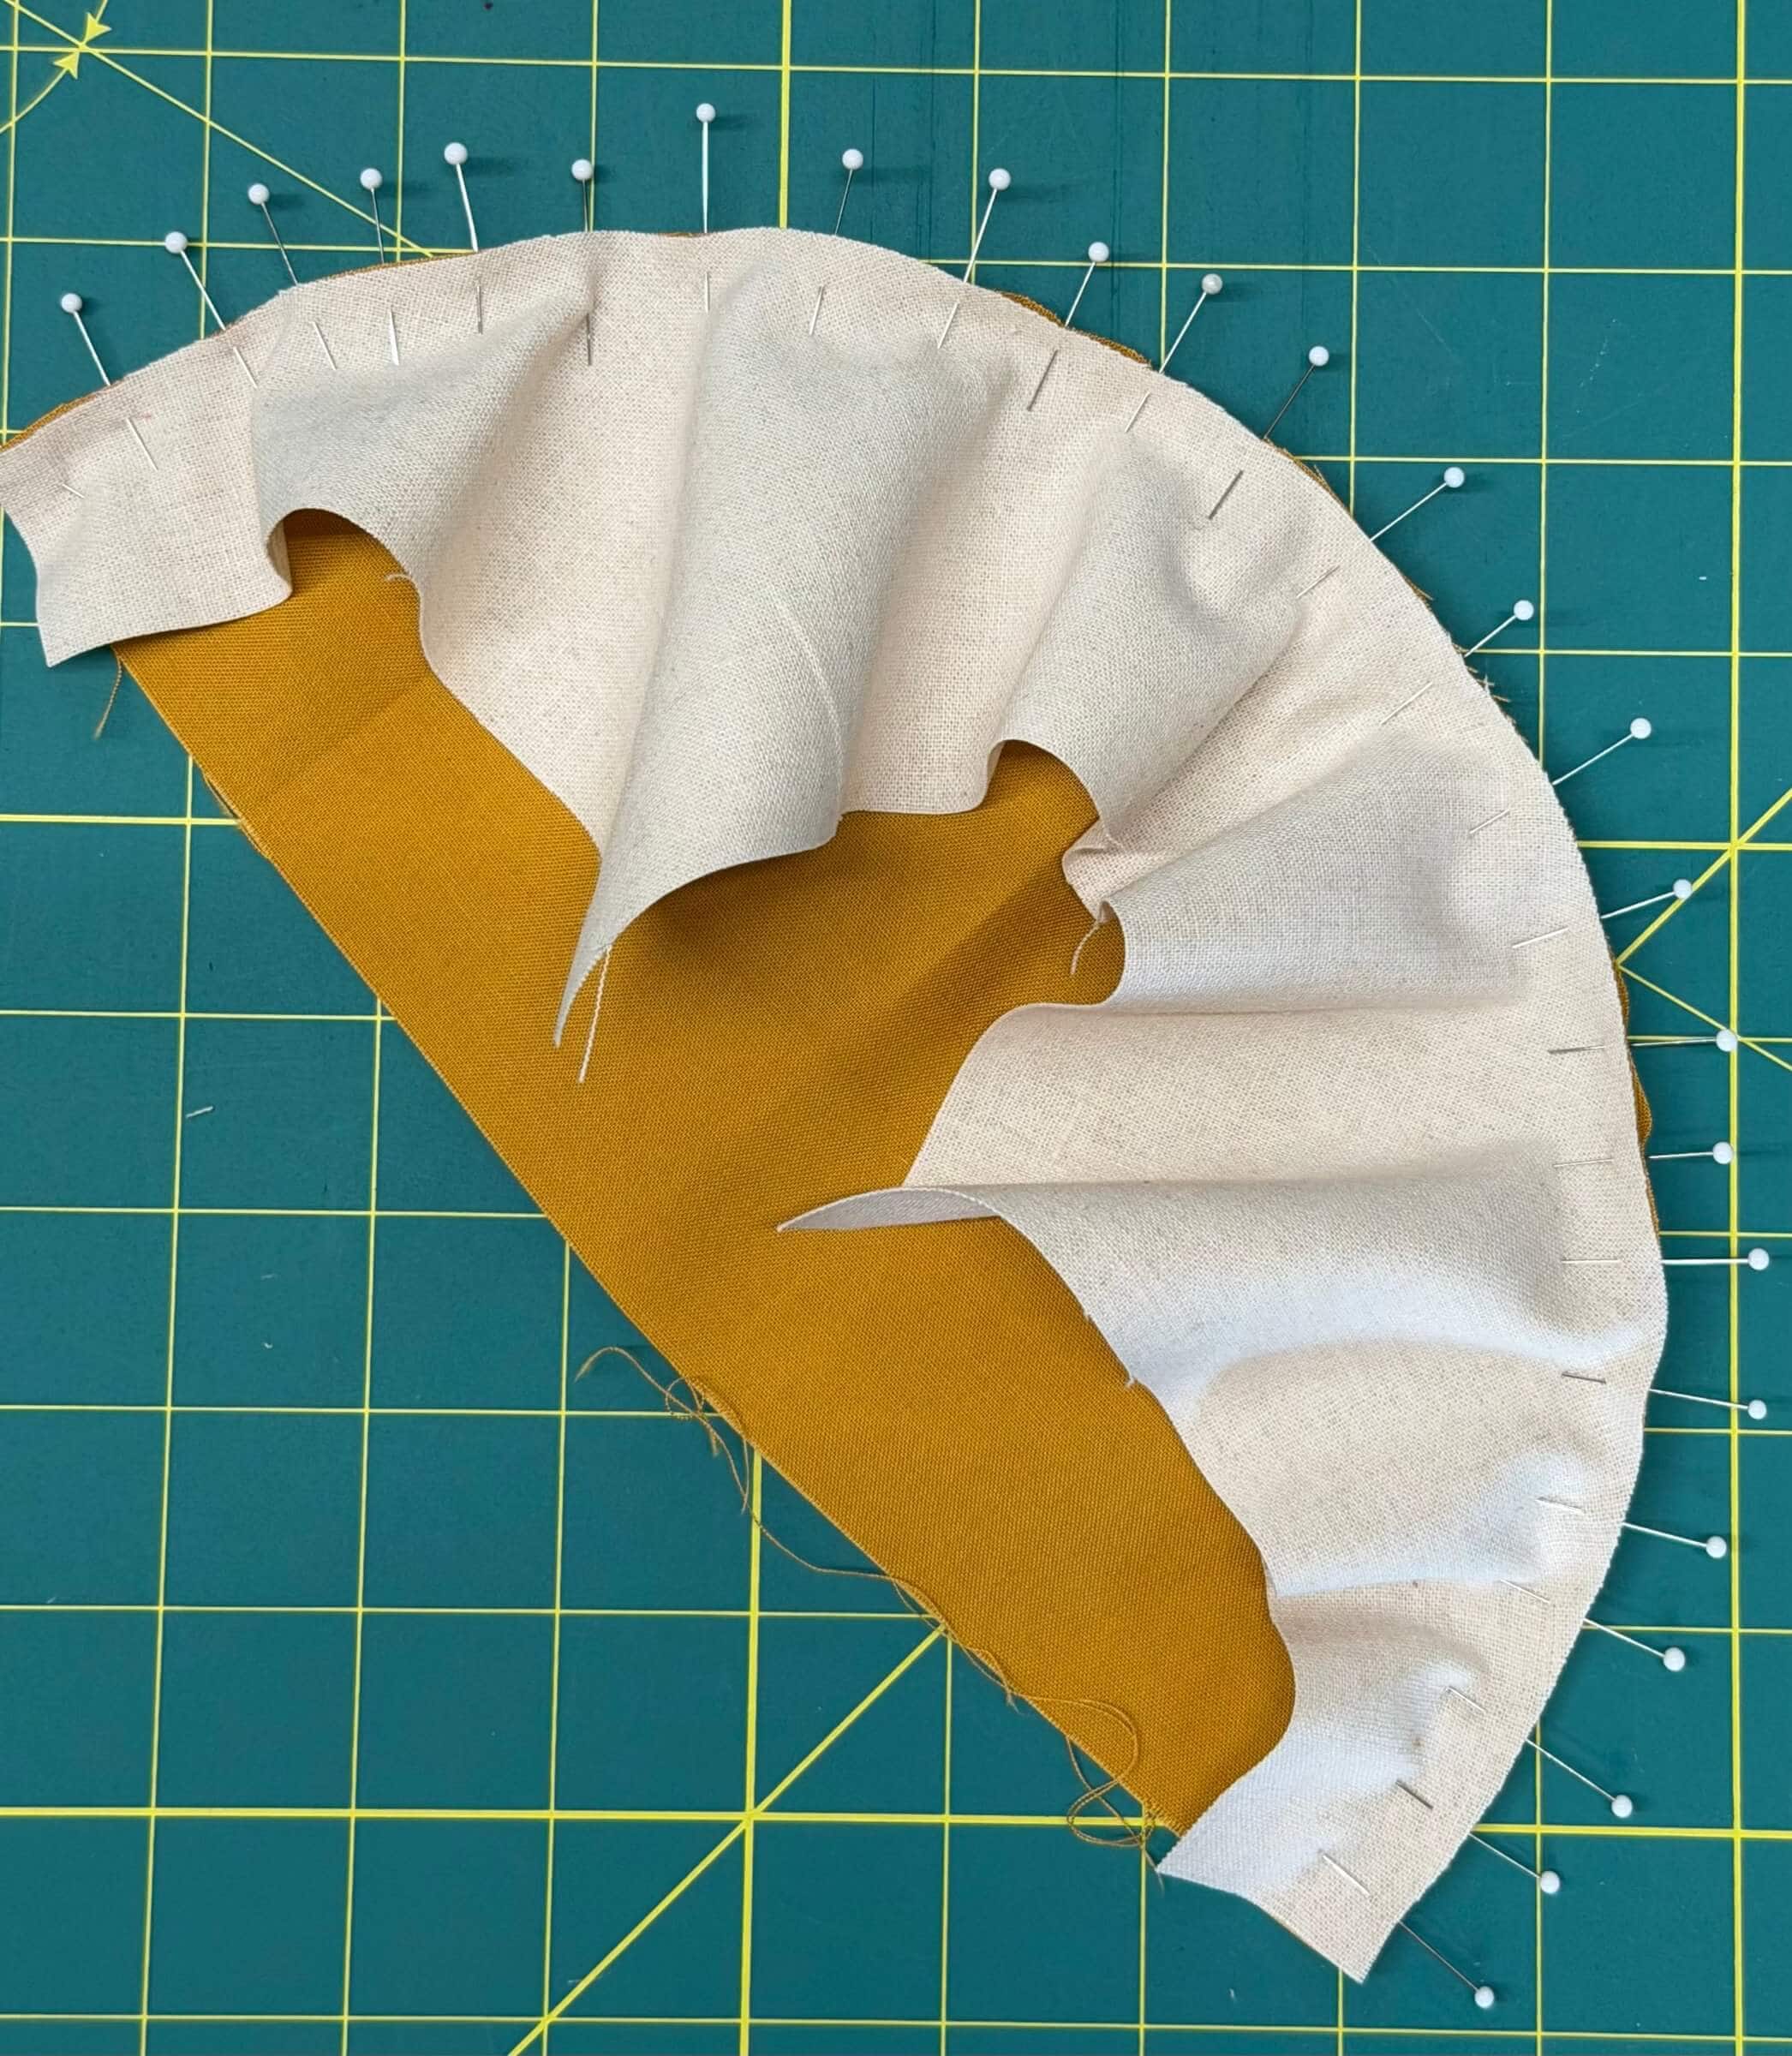
This makes sewing around the circle a breeze, but takes a long time to pin when you are working with many half circles. Perhaps you can try it both ways and decide which you prefer. Let’s head over to the sewing machine.
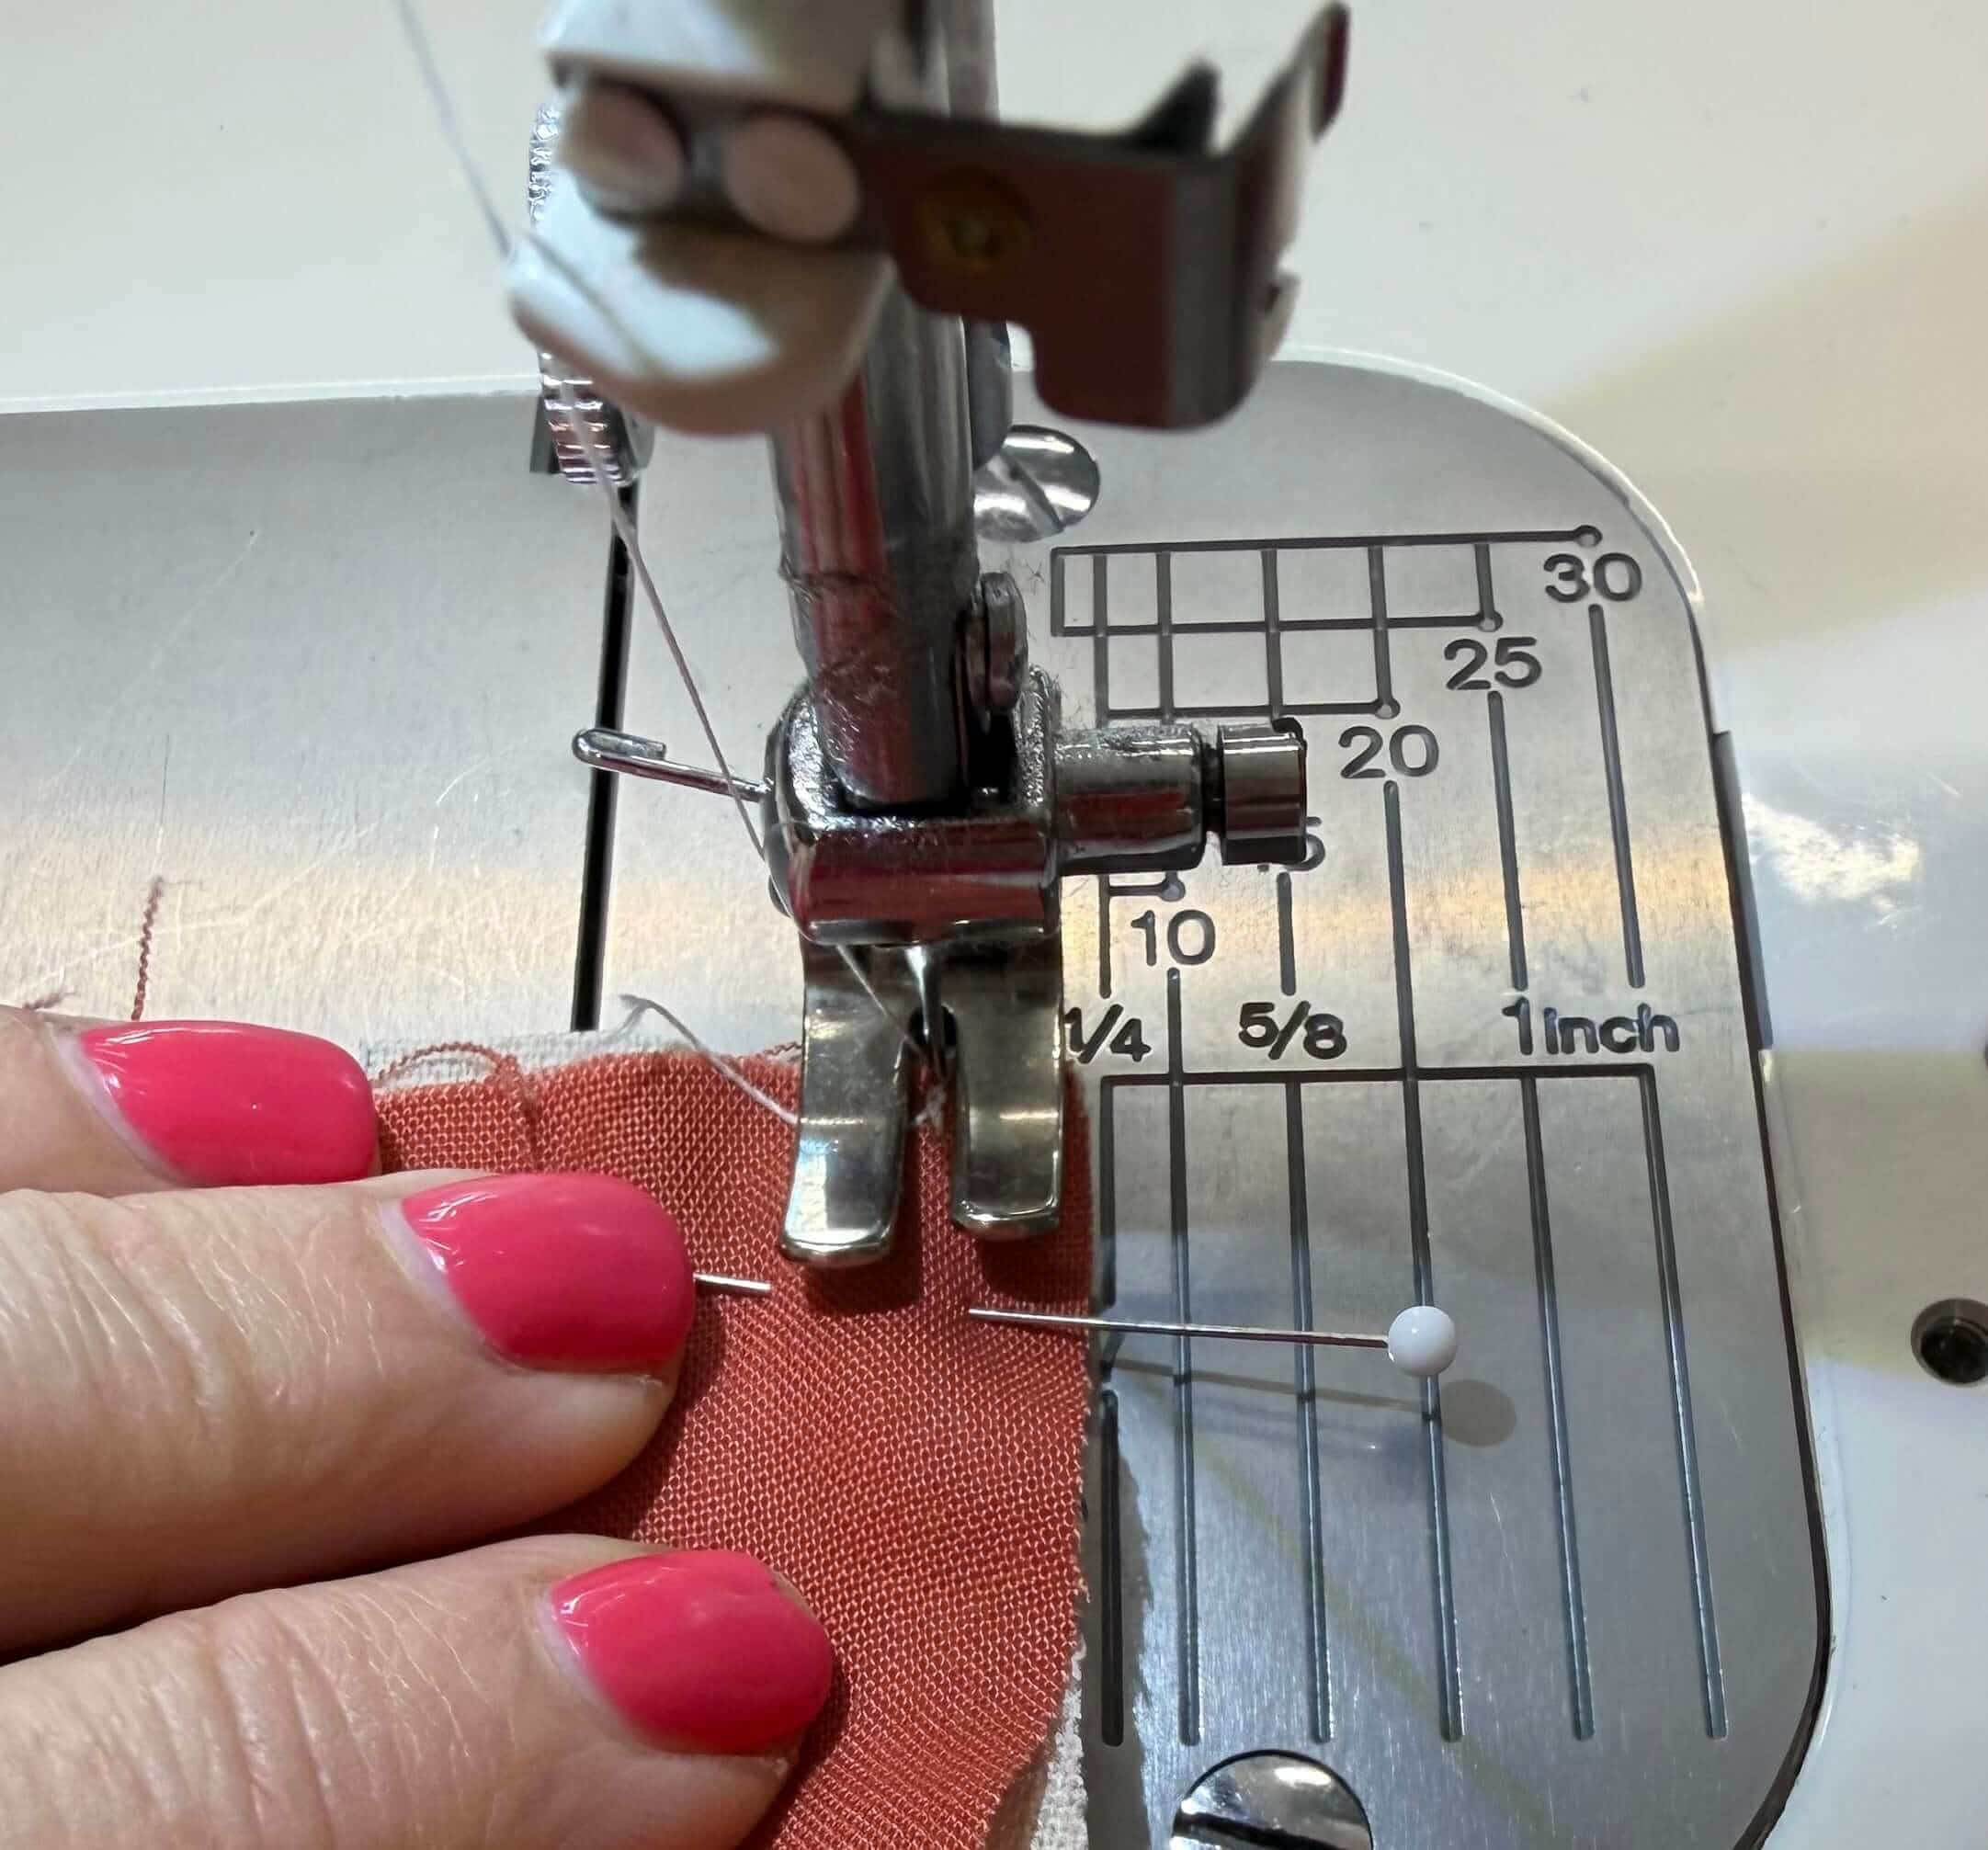
Making sure that the edges of both fabrics stay aligned, start sewing into the edge of the half circle with a ¼” seam allowance, towards your first pin (don’t sew over the pin! But you can sew right up to it before removing it). My ¼” seam allowance marking on my sewing machine is a very generous ¼”, so I sew just to the inside of it. I prefer to have the inner circle on top, it seems to make it easier to ease the fabric pieces together.
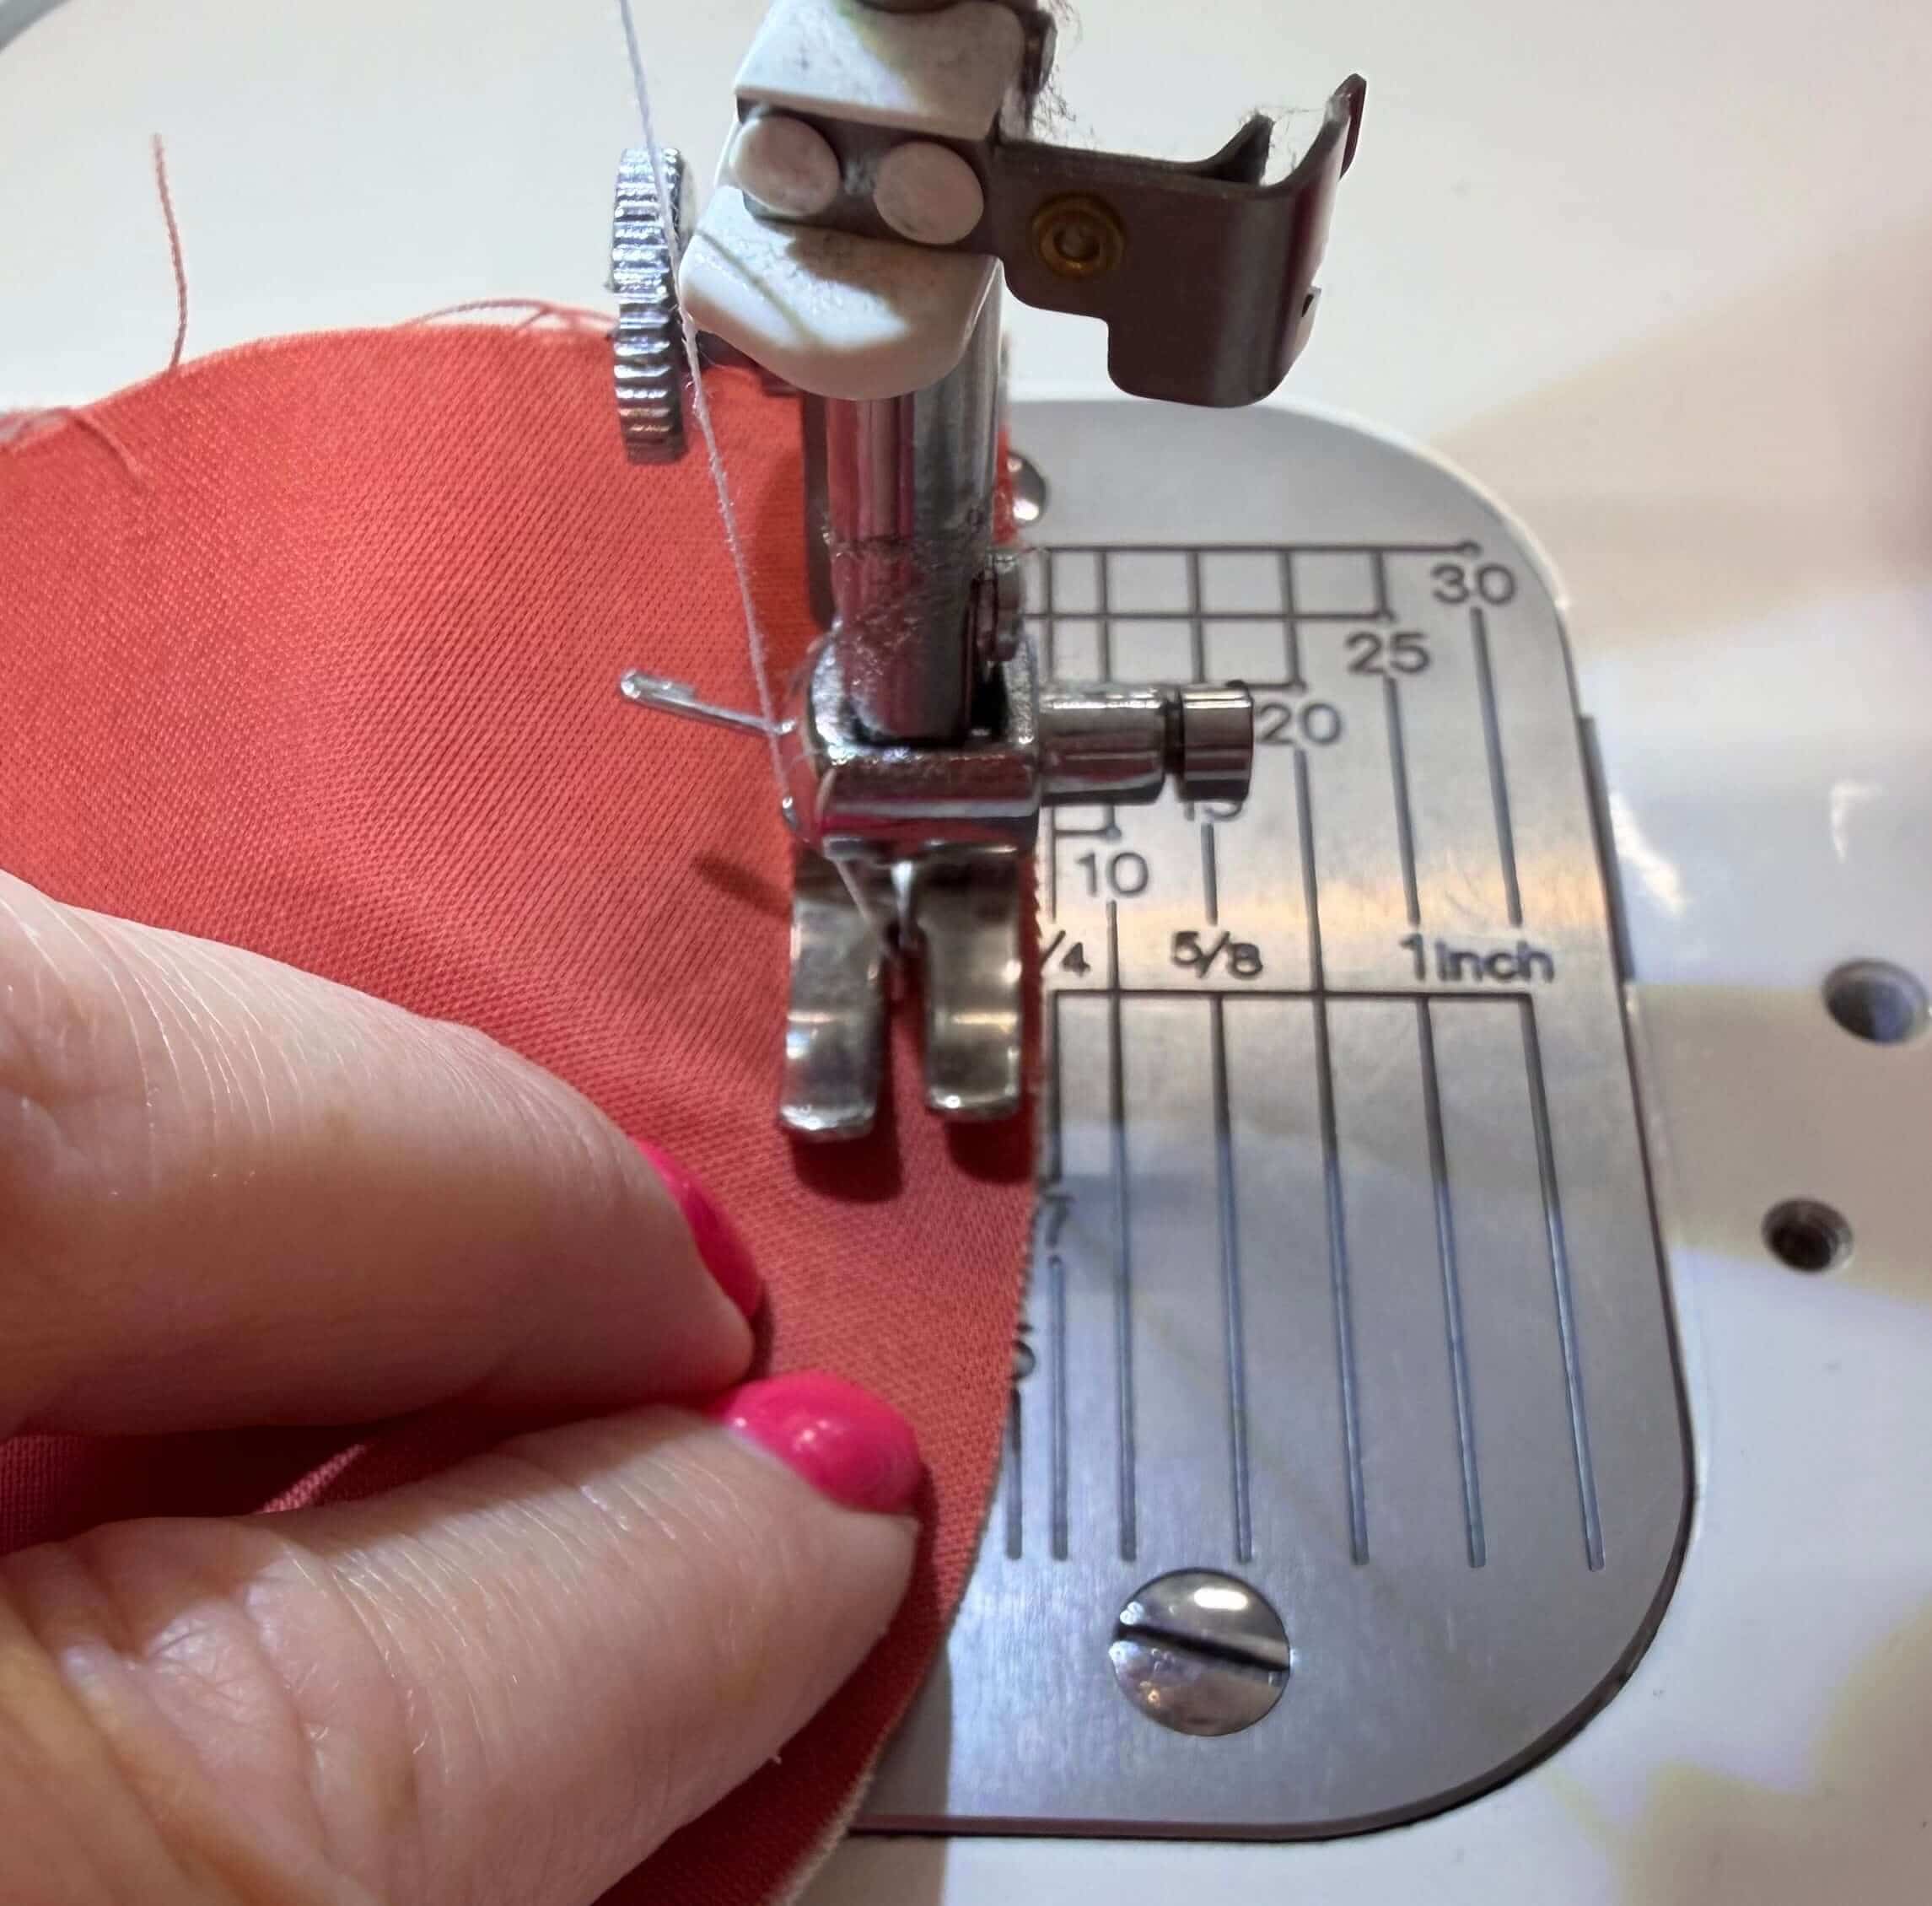
Then, start stitching around the circle, making sure that the edges continue to align. I do this quite slowly, take a stitch or two, align the fabric, another stitch or two, pause, align the fabric, and on. You should find that even though it doesn’t feel like this will work at first, by the time you make it to the quarter position pin, the fabric in both top and bottom pieces has fit together and you don’t have excess causing a bubble.
If you do have a small amount of excess fabric, that could be because one of the fabrics has been stretched more than the other. Since we cut a circle of fabric, there are bias edges and it is easy to misshape the fabric as it is sewn. Be careful not to pull, but if you end up with a little bit of excess, I give you permission to pull just a little bit, to “use up” the extra fabric. I’ve done this, and as long as it is just a small amount of fabric that needs to be eased in, it presses out nicely when it is time for pressing.
Carry on around the edge, and you’re done sewing your first half circle!
Pressing
And now we press.
Those of you who know me well, know that I much prefer pressing my seams open. I don’t want to fight about it, you’re allowed to think differently, but you might be wrong (haha!). But! I don’t usually press half circle seams open. I prefer to press them both towards the circle, or both away from the circle. I’ve done it three different ways to show you the difference here.
Pressing in.
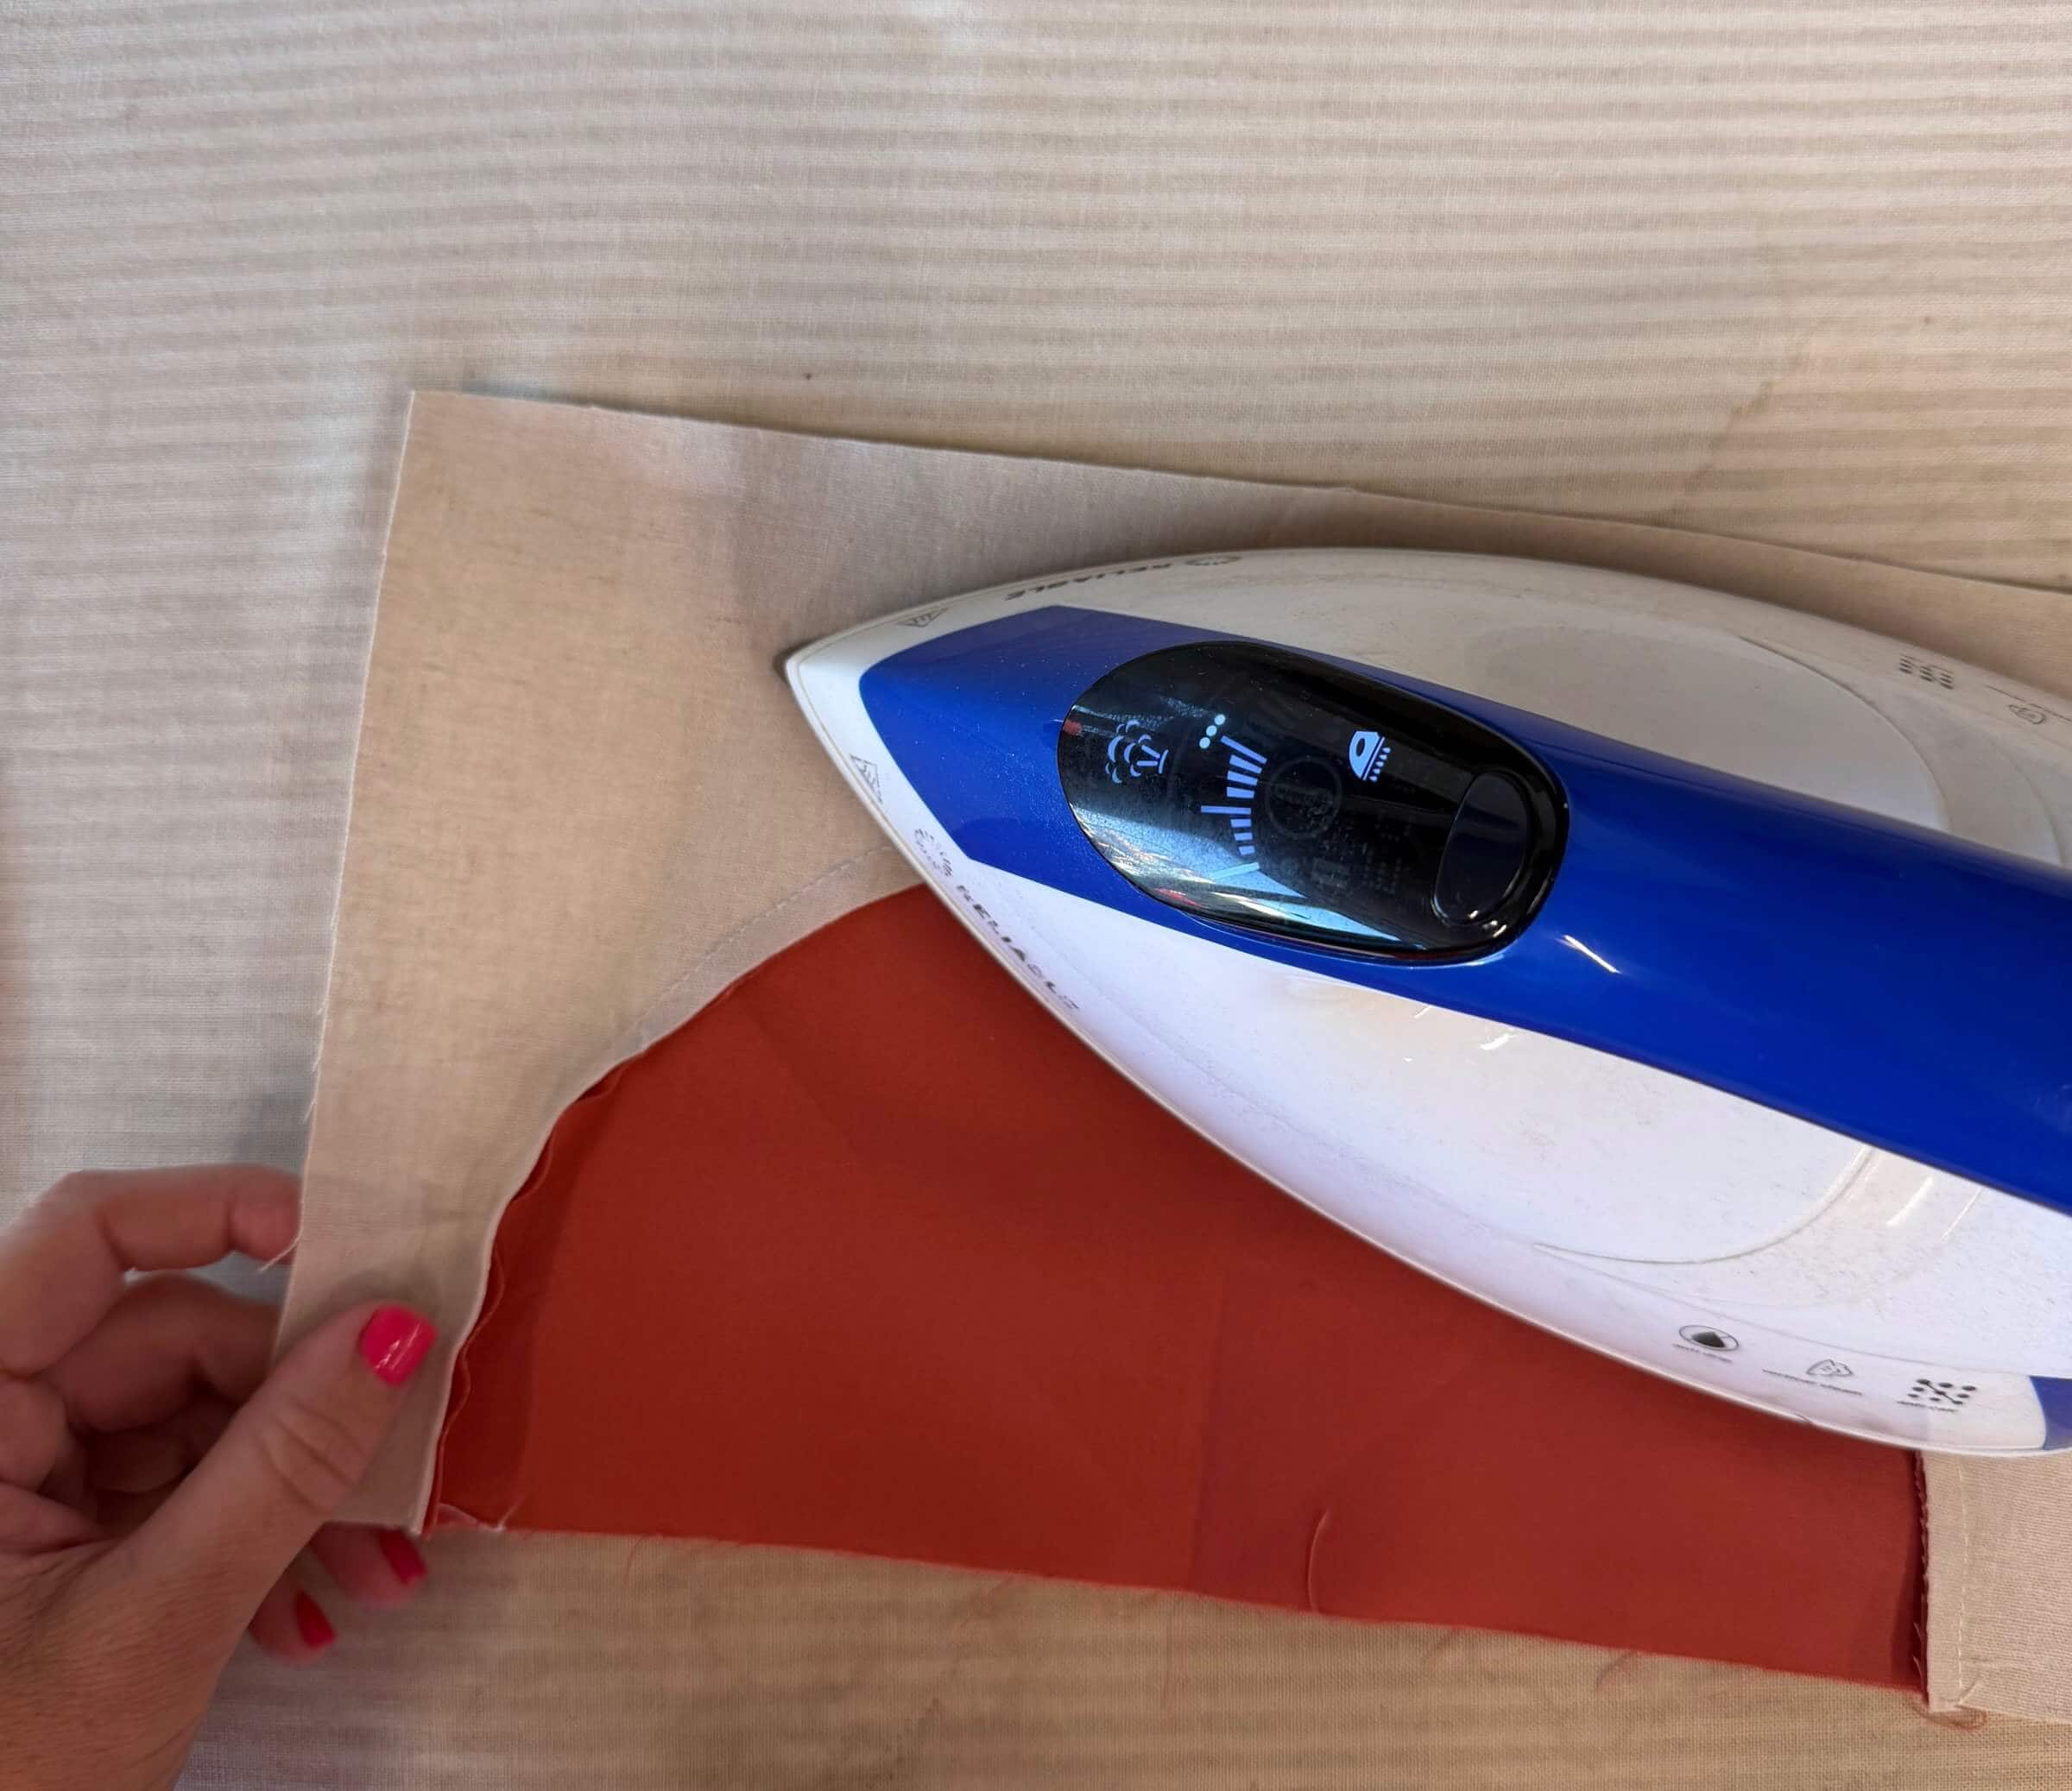
This is my preferred way. To me, it feels like the seams want to go this way. Pressing the seams towards the inner circle also slightly makes the circle look like it is sitting on top of the outer circle, giving it more presence. In the Half Light Quilt, the half circles represent the sun, and I want it to look like it is in front of the sky, so for that quilt, I pressed the seams in.
Pressing open.
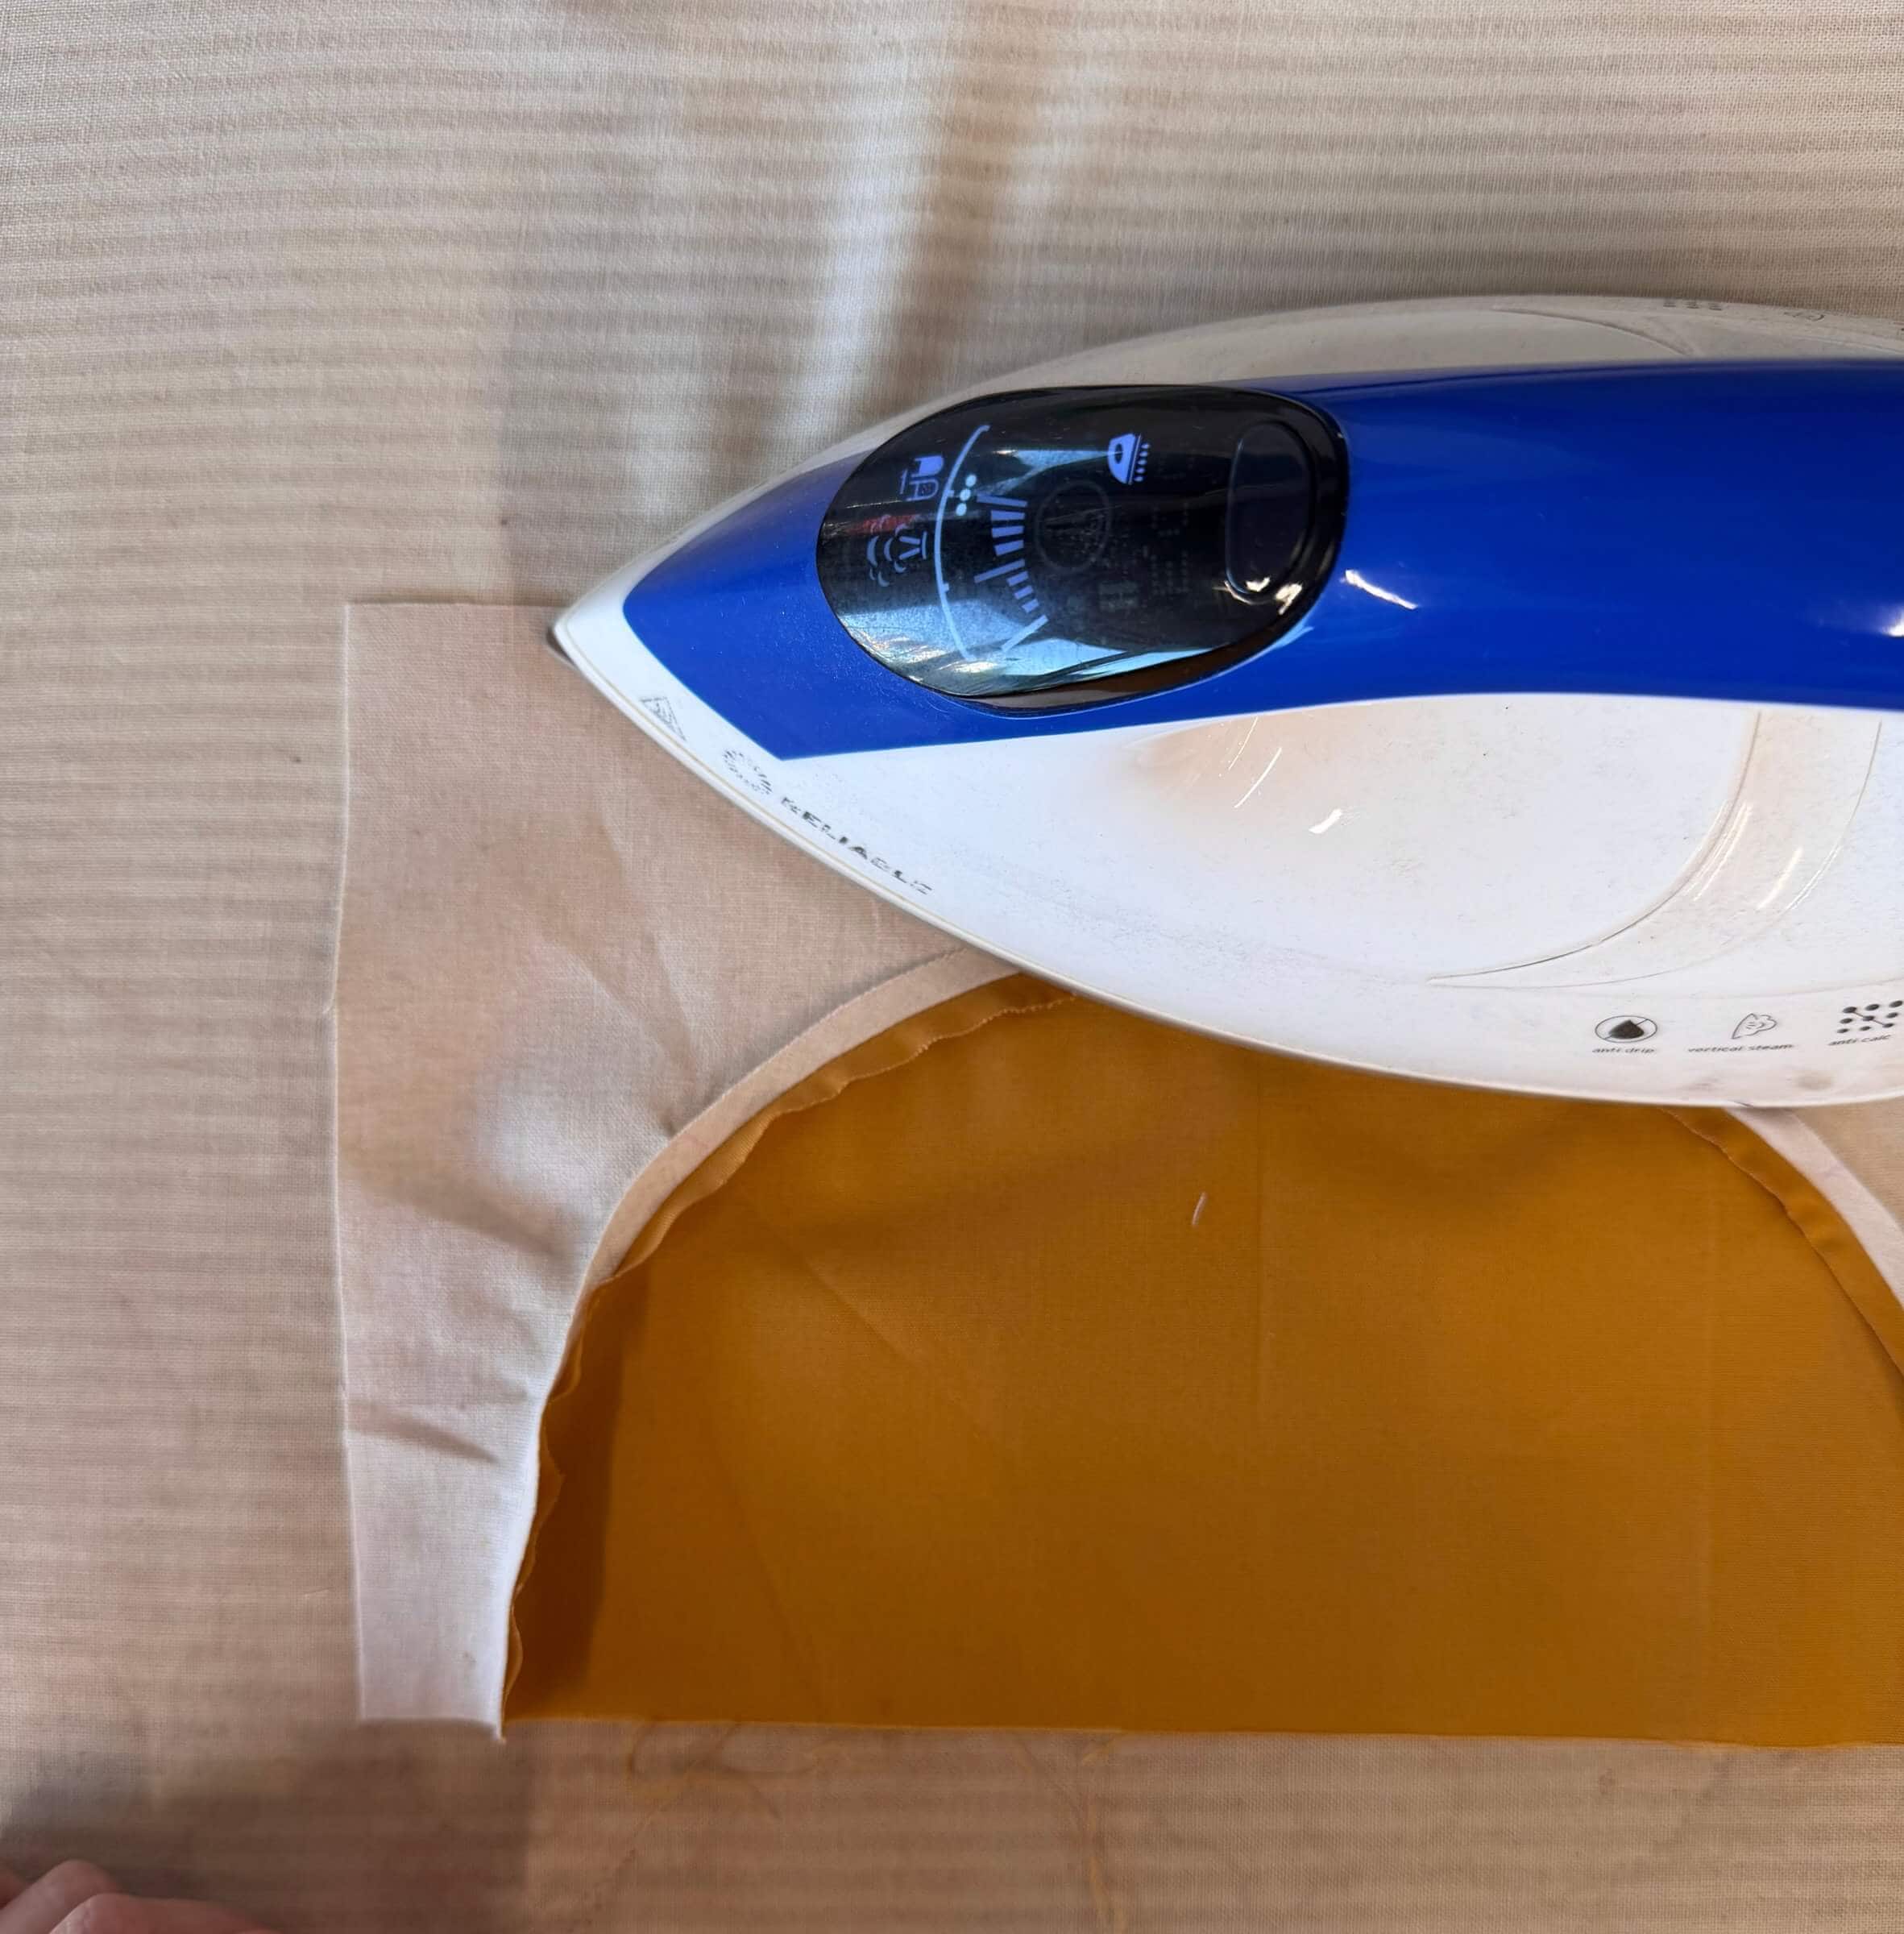
This creates a nice, flat seam; but it feels like the seam is fighting you and doesn’t want to be pressed open. Technically, the outer circle seam allowance has to stretch to be pressed towards itself, but because the cut edges are mostly bias, it stretches and curves nicely if you make it do that.
Pressing out. Oops, I forgot to take a photo of the process of this one. Here’s what the front looks like.
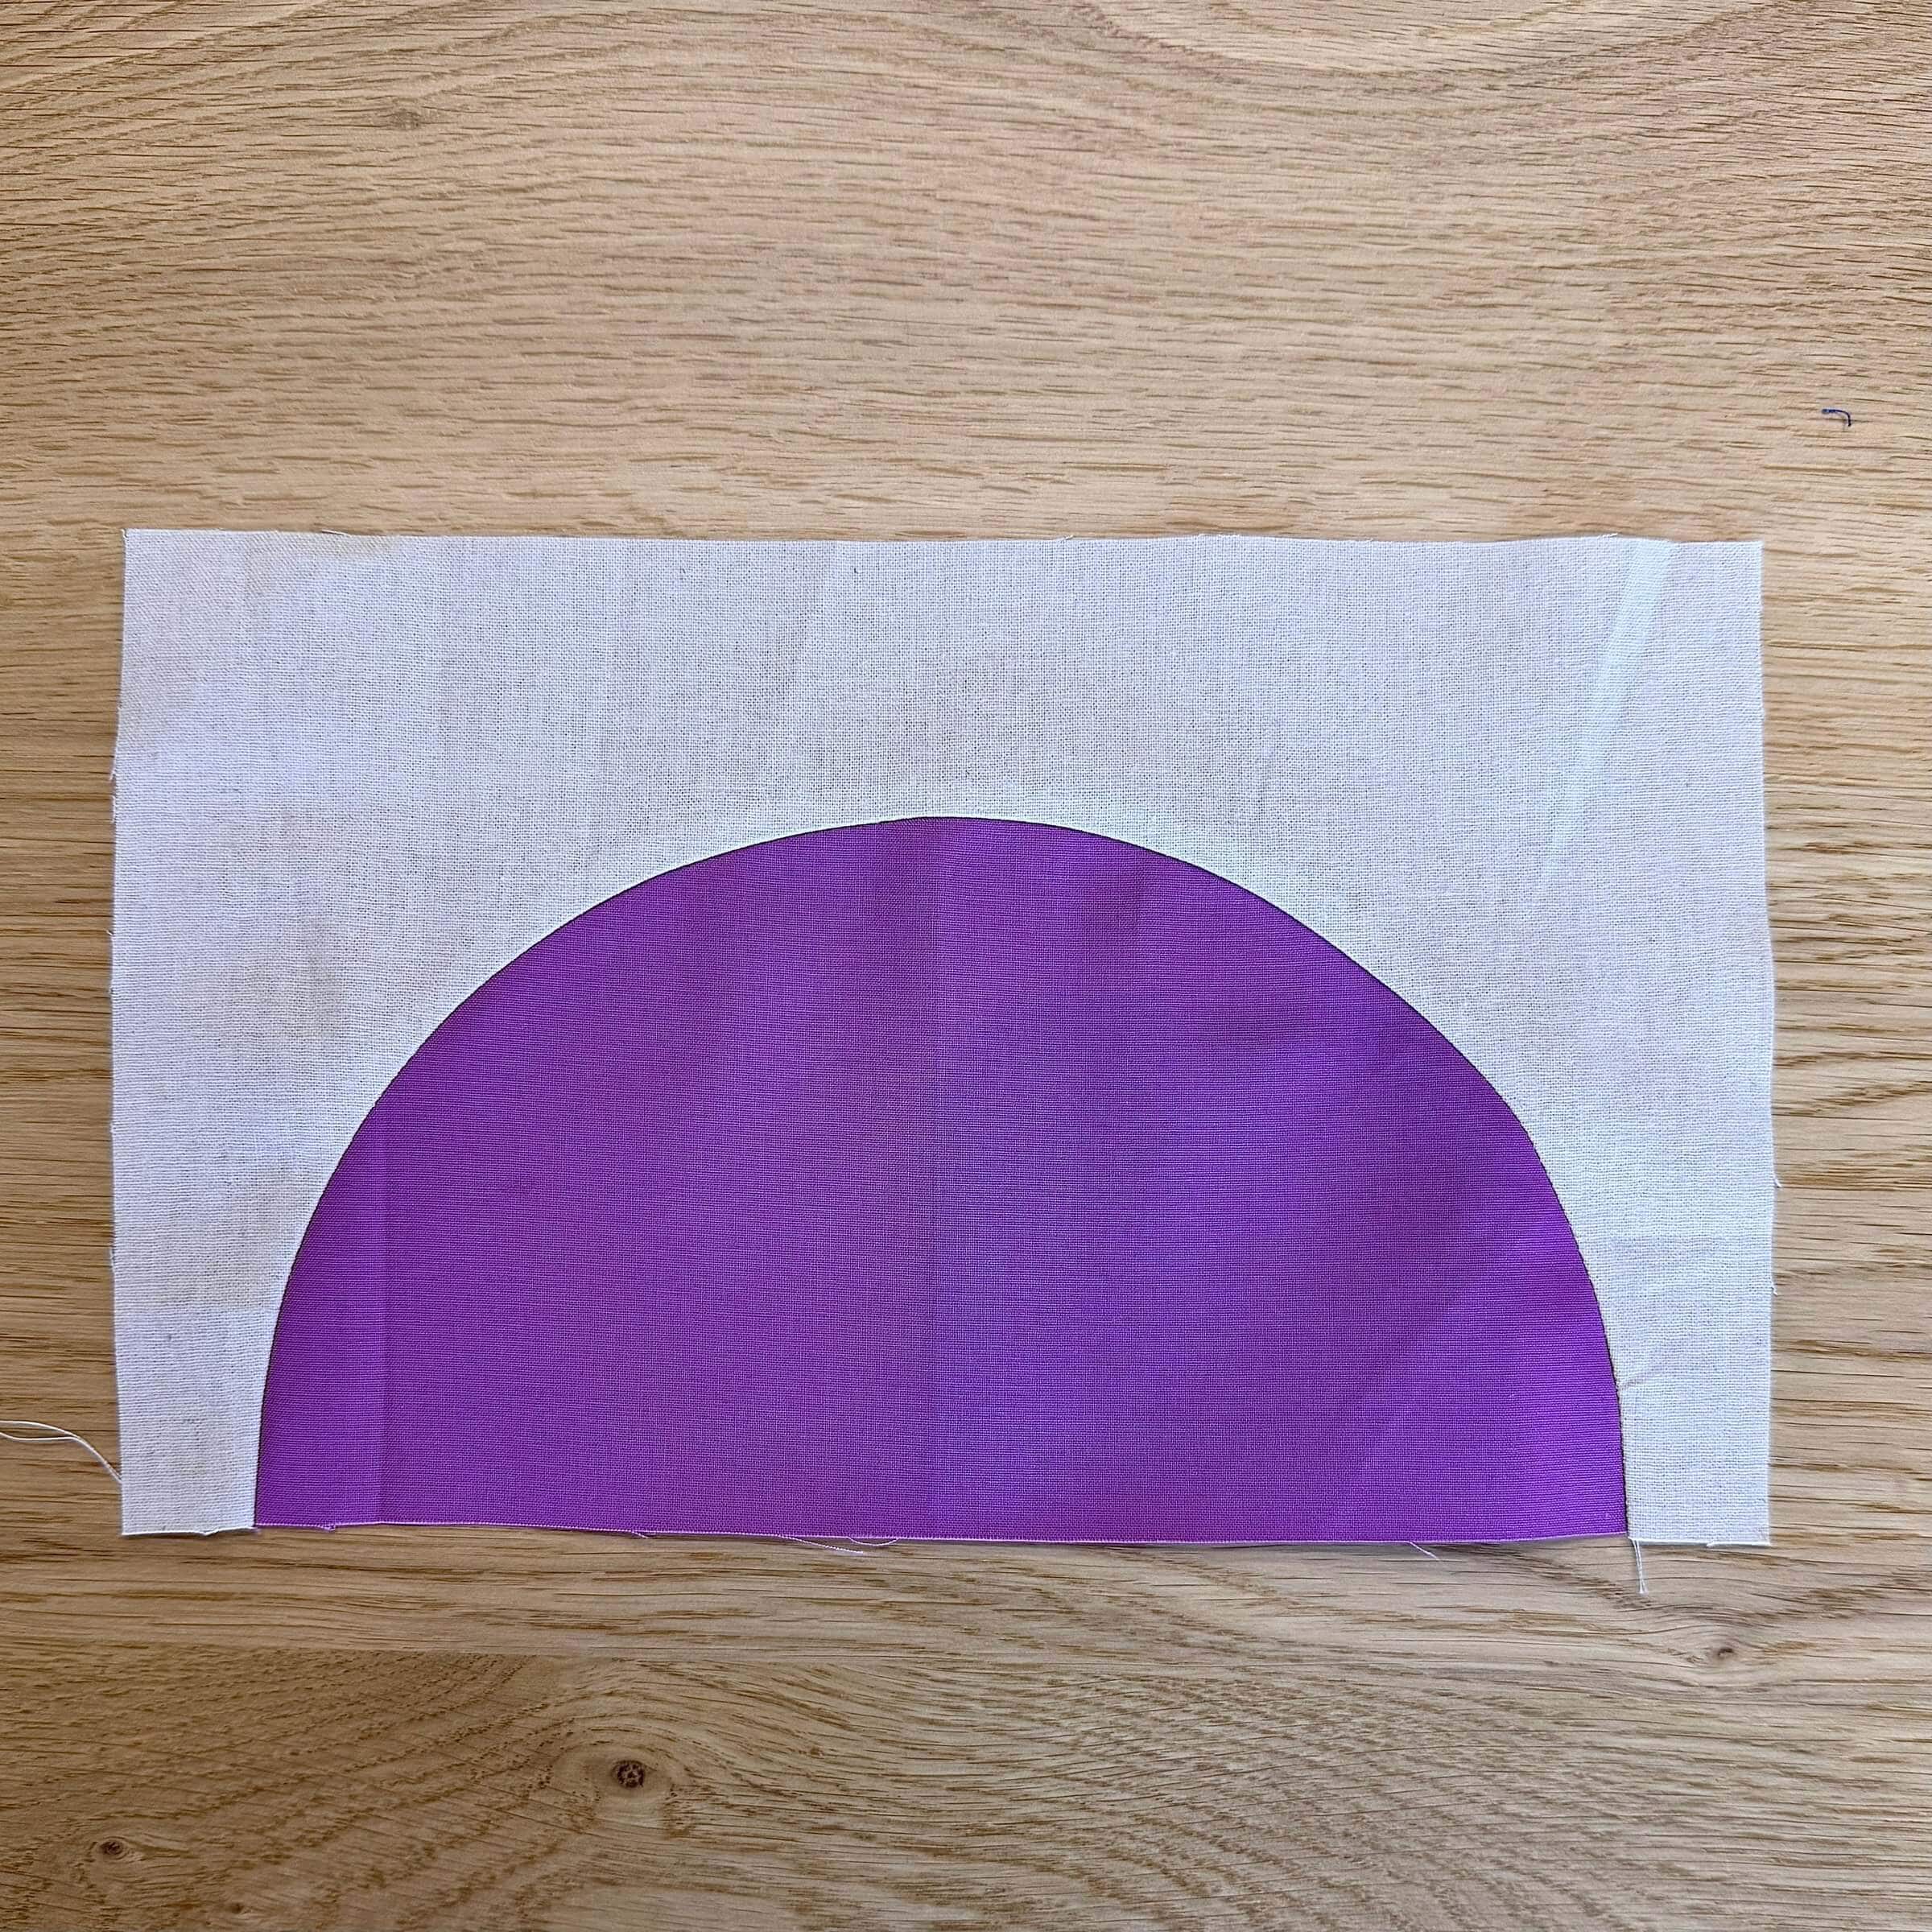
This one is fine. There is nothing wrong with it, it just isn’t my favourite. It’s a useful technique to use if you’d like the circle to look like it is behind the background though! So keep that in mind.
And just like that, we are done!
I know this was a lot to read, but only because I really wanted to break it down for you. It is incredibly simple and I know you can do it!! Go on, try it out on some scrap fabric. Don’t have a template handy? Just search online for “quilting half circle templates free” so that you can easily play around!
Did I miss anything? Do you have any questions? Go ahead and send them to me so I can add the answers to this blog.
Oh, want to see what I did with these random three half circles? I made a quick little wall hanging.
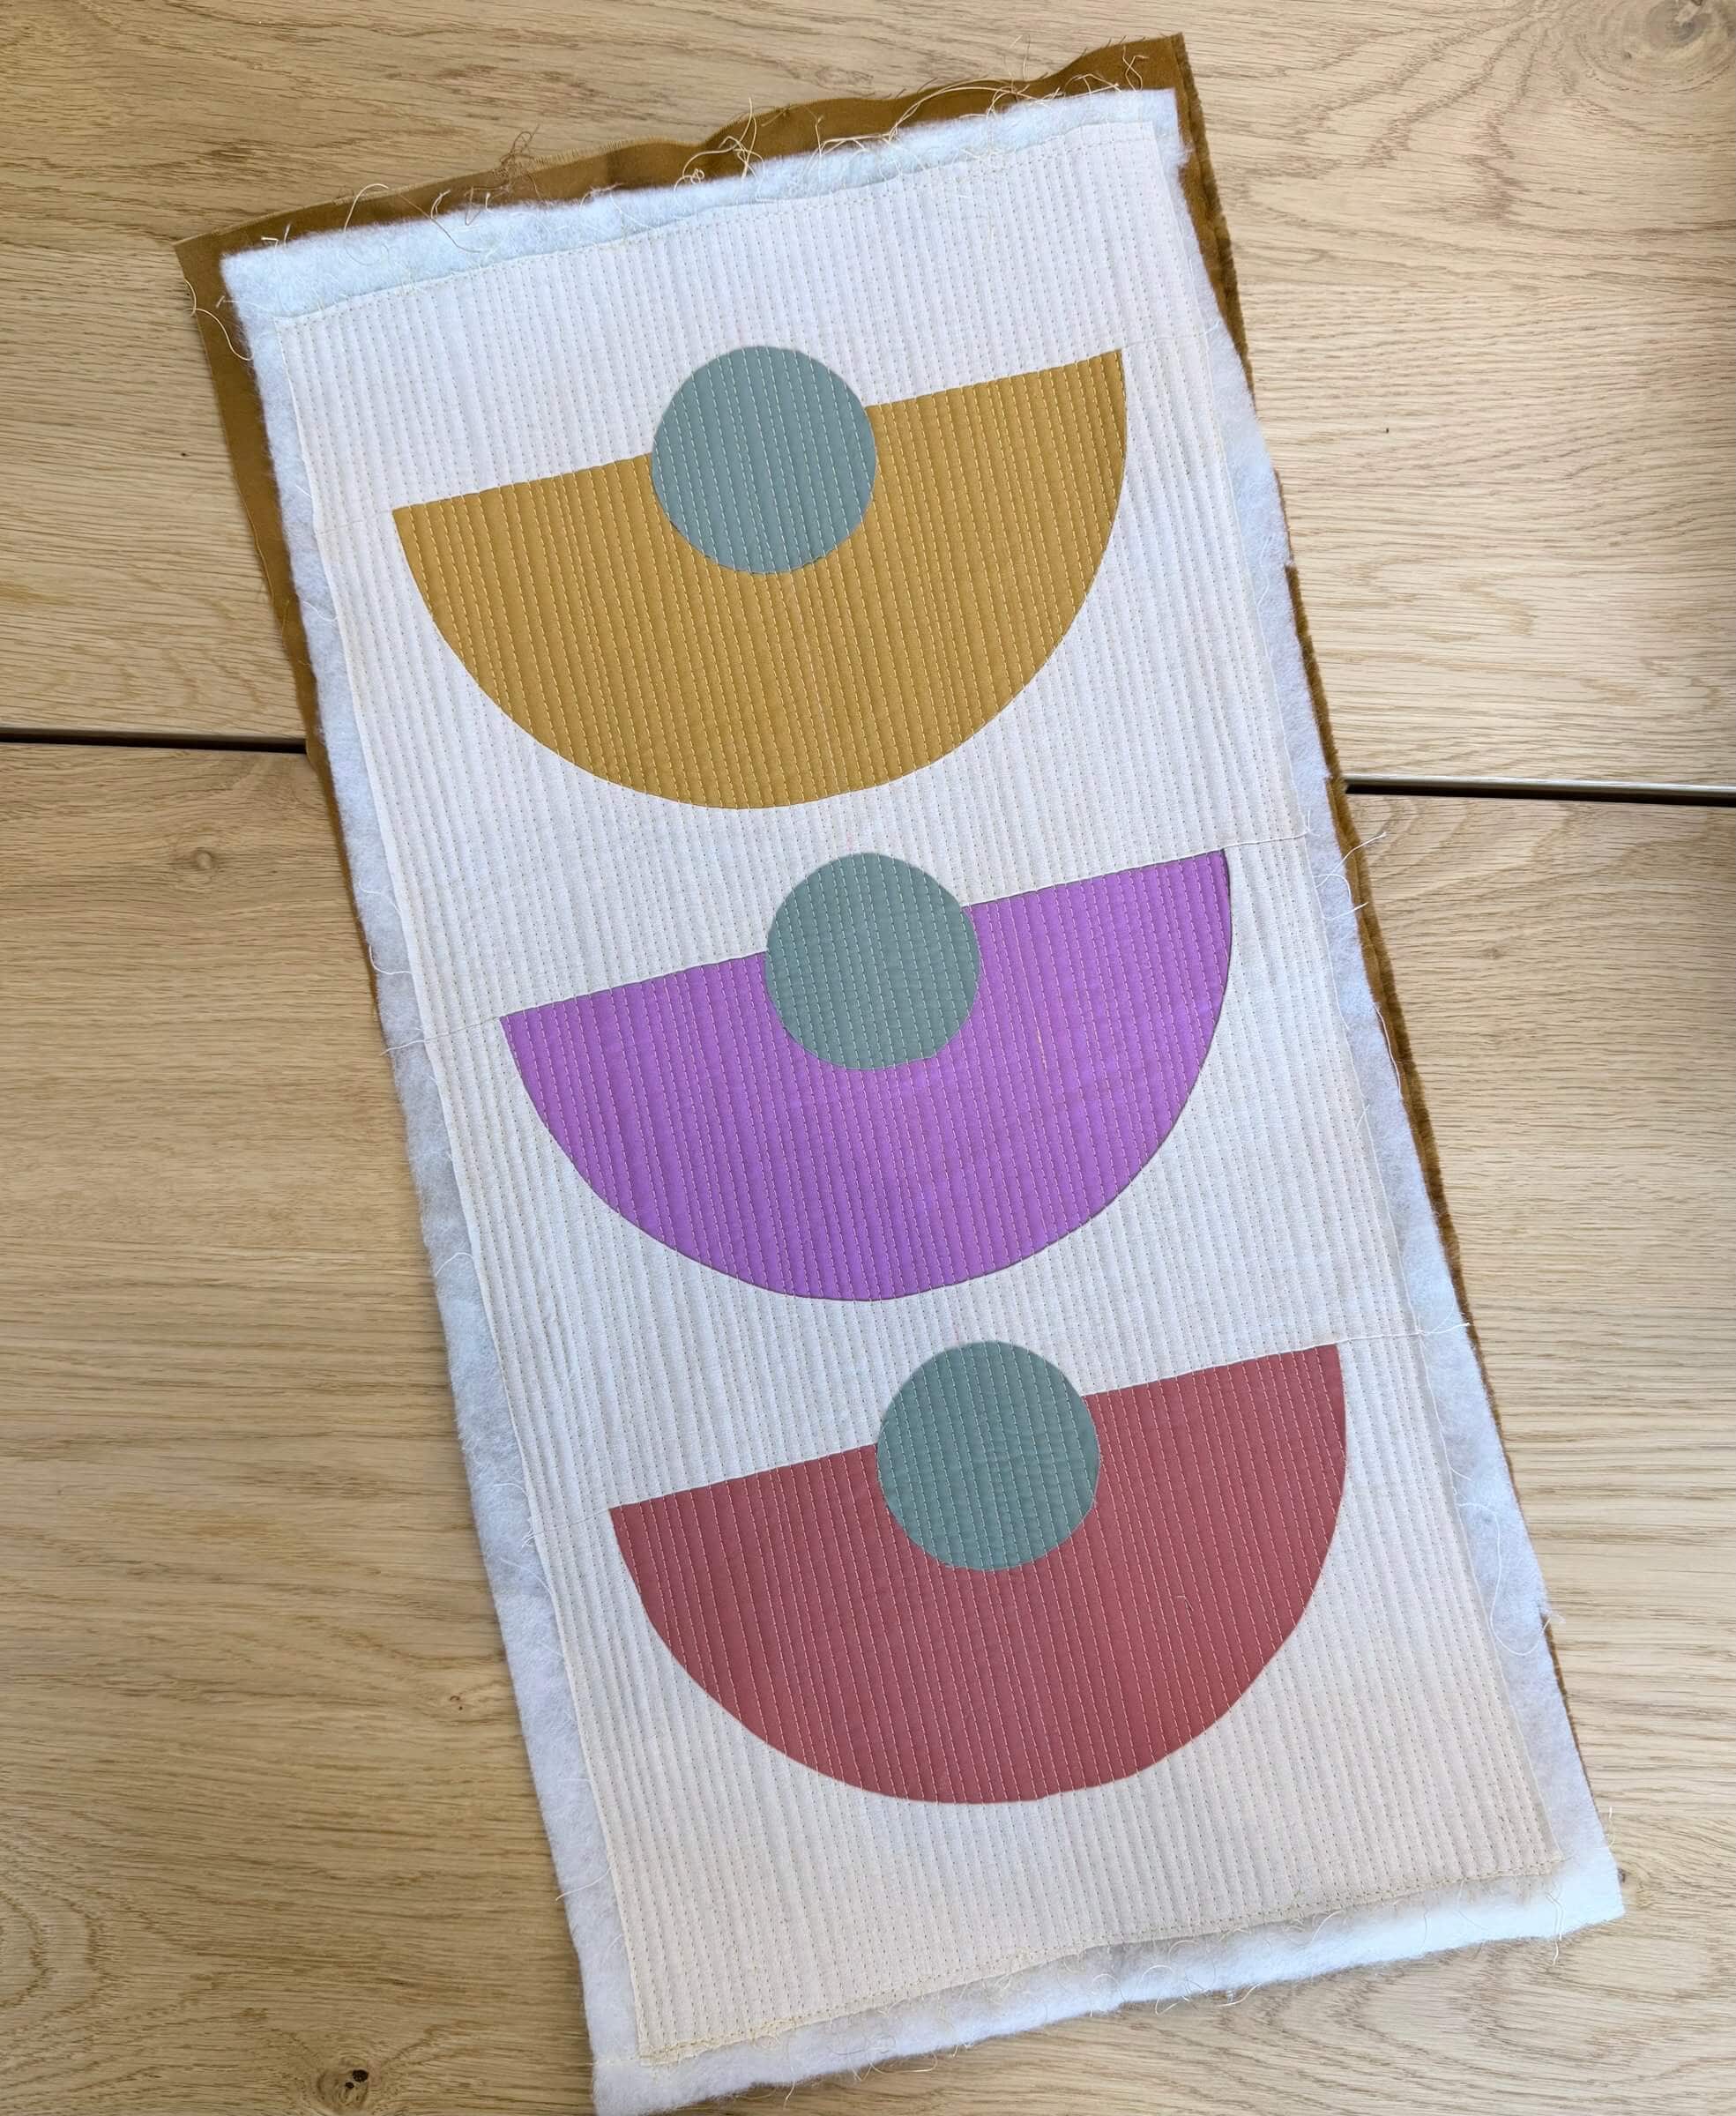
I sewed them together, then lightly glued raw edge circles in place. Then, lines and lines and lines of matchstick quilting were added to hold the circles in place. It will now get added to the stack of “I should bind these someday” quilts and see the light of day in about 3-12 months.
Next I need to tackle my fear of foundation paper piecing!
Happy half circle sewing!
-Kendra